Top Most Feature Rich WordPress Email Plugin Installation with Set Up
Last updated on September 5th, 2023 at 05:03 am
Newsletters by Tribulant
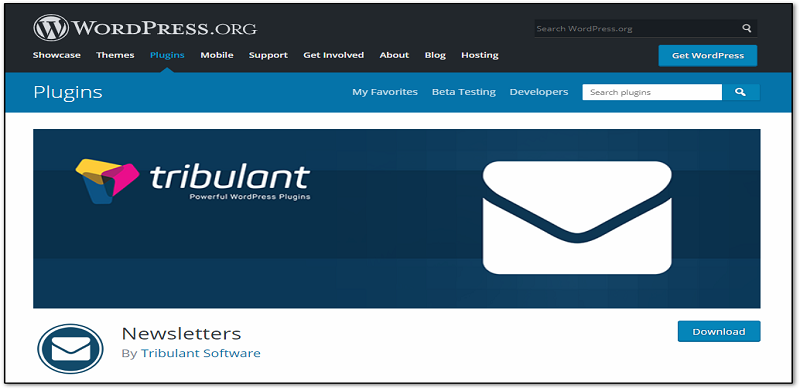
Newsletters by Tribulant is a fully-featured newsletter and email sender plugin for WordPress. You can monitor your subscribers and send them emails easily.
How to install Newsletters
- Login into your dashboard
- Go to the “Plugins” tab and there click on the “Add new” and search for “Tribulant” plugin.
- Click “Install now” button to install it on your site
- Click “Activate” to finish the installation.
How to setup the plugin with your site
- Go back to the dashboard.
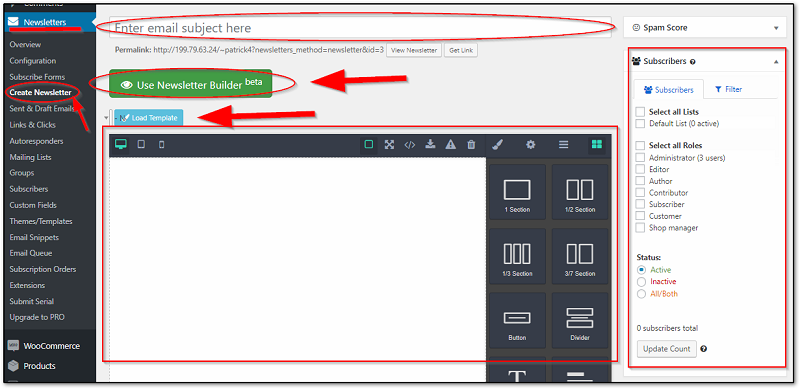
- Click on “Create Newsletter” under “Newsletters” tab on the left side menu of the dashboard.
- Enter the Email subject on the text box.
- You can use the beta “Newsletter Builder” to help you create email format easily.
- Configure what subscriber list you want to send your email on the right side of the screen and select your role as a sender.
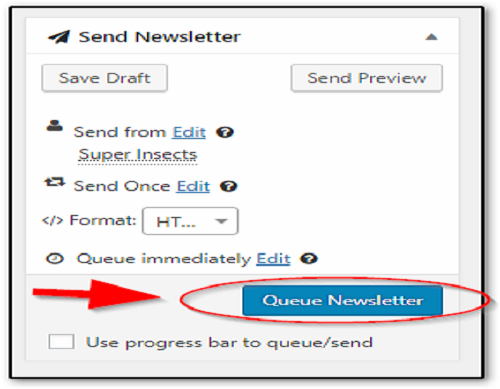
- After creating the email you can send it by clicking on “Queue Newsletter” located on the right side settings menu of the page
Newsletter

Newsletter by Steffano Lissa is a newsletter and email marketing plugin for WordPress. Perfect for creating, sending and tracking emails headache free.
How to install Newsletter
- Open your WP dashboard.
- Move on to the “Plugins” tab and then there click on the “Add new”.
- Search for “Newsletter” on the search bar
- Click “Install Now” button to install it on your site
- Click “Activate”.
How to setup the plugin with your site
- Go back to the dashboard.
- Click on ”Newsletter” on the left side menu of the dashboard.
- Click on “Next” to enter setup.
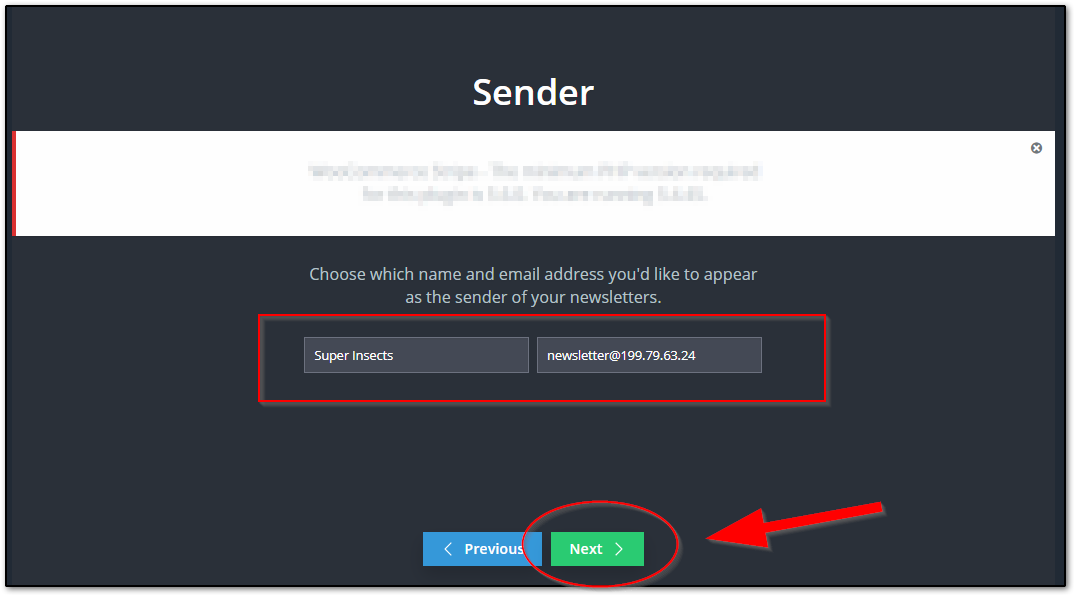
- On the next page, choose which name and email address you’d like to appear as the sender of your newsletters and click “Next”.
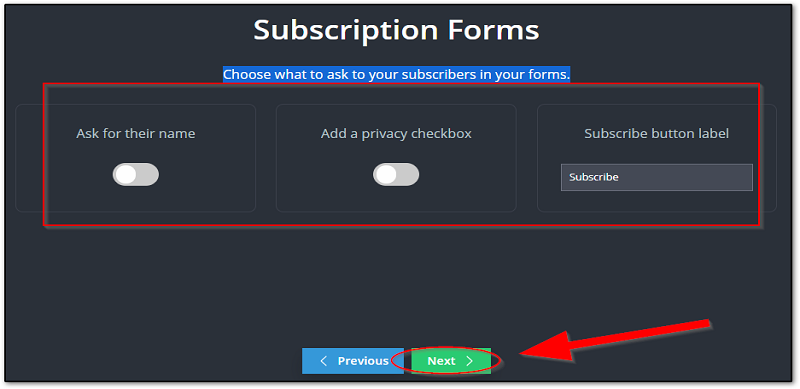
- Choose what to ask to your subscribers in your form and click “Next”.
- On the next page you will see a notice saying that the plugin automatically created a page where your visitors can subscribe and edit preferences.
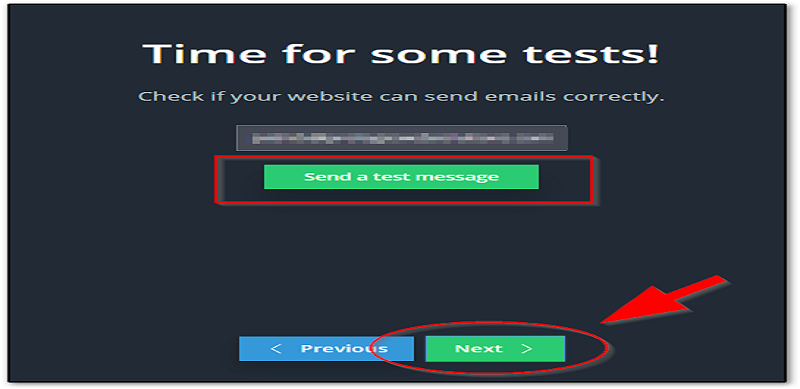
- The next page will let you conduct some test on sending email. Just click on “Send a test message” and check your email if you received it. Click on “Next”.
- Next, you have an option to add newsletter widget to sidebar. If you wish to add just click on “Take me to widget settings (opens in a new window)” button.
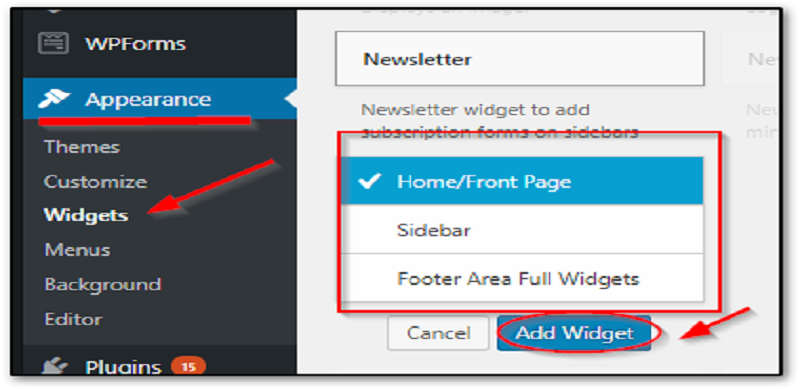
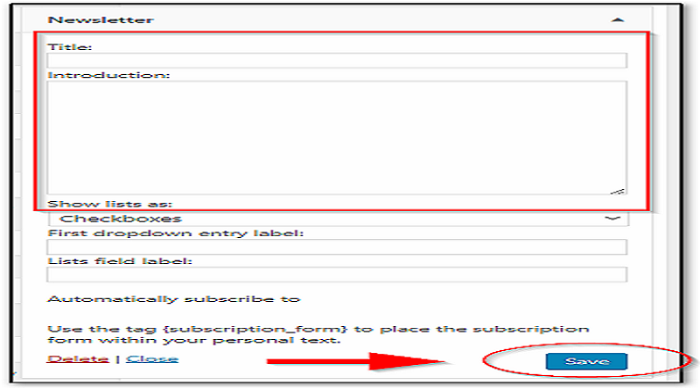
- On the new window (widget page), click on “Newsletter” select where you want to put the widget and click on “Add Widget”
- Enter the title and introduction and click on “Save” that will add your widget on your desired location.
- Back to the Newsletter page, click on “Next” and your done.
- You can create your newsletter email on “Newsletters” under “Newsletter tab located at the left side menu of the dashboard.
- Click on “New Newsletter” to create new newsletter email.
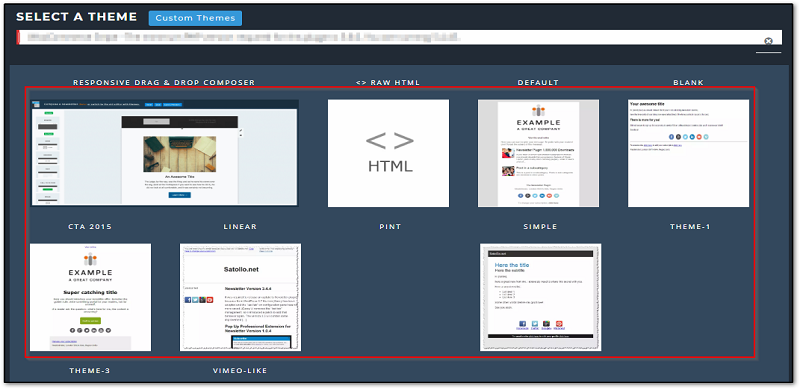
- On the next page, select the theme that you want
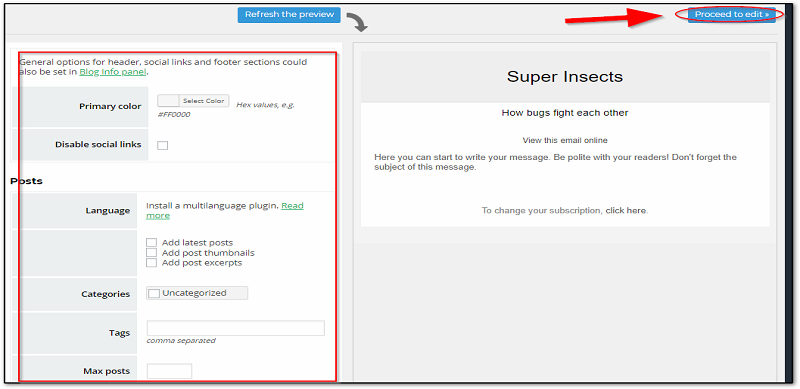
- You can configure some settings on the left side of the page as shown on the picture below, click “Proceed to edit” to start making your newsletter email.
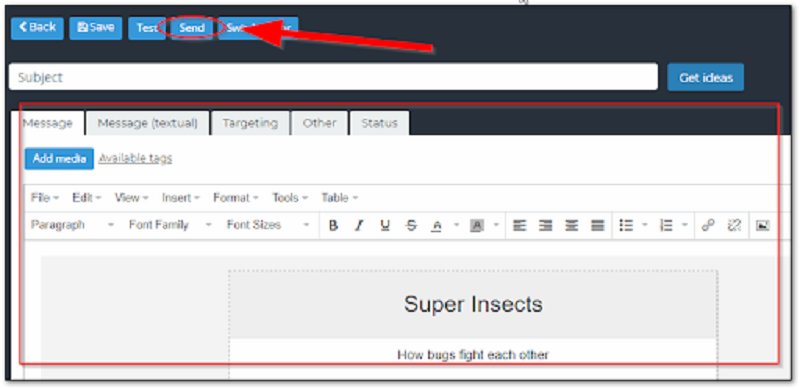
- After editing your message on the email, click on send to send it on your subscribers.
SendPress Newsletters
SendPress Newsletters is an easy to use newsletter plugin for customized newsletter emails for your subscribers.
How to install SendPress Newsletters
- Login into your site dashboard.
- Go to “Plugins” tab on the left side menu then click on “Add new”.
- Search for “SendPress Newsletters” on the search bar.
- Click on the “Install Now” button and wait for the installation process to be complete.
- Click “Activate” to activate the plugin.
How to setup the plugin with your site
- Go back to the dashboard.
- Click on ”SendPress” on the left side menu of the dashboard.
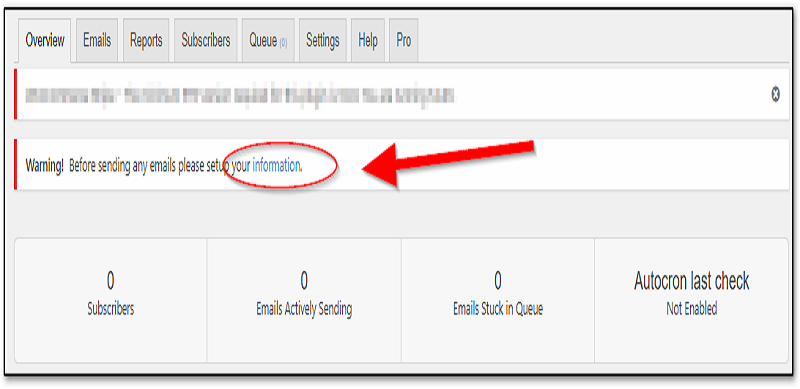
- You will see a warning that you need to setup your information first before sending emails, click on “Information” on the warning.
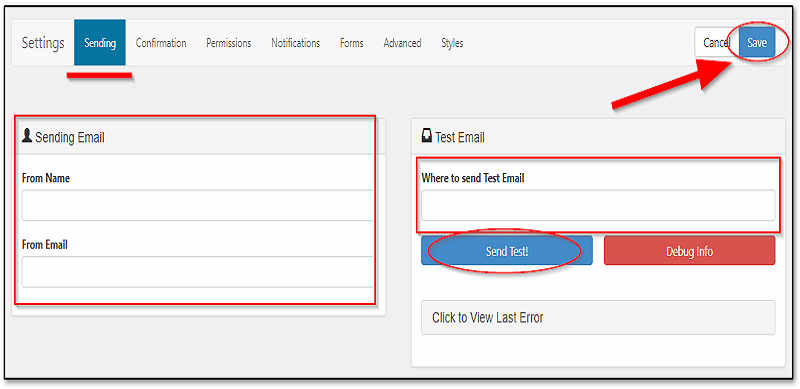
- On the next page under “Sending” tab, write your name and your email on the text boxes. You can perform email sending test on the right part of the page.
- Click “Save” when done.
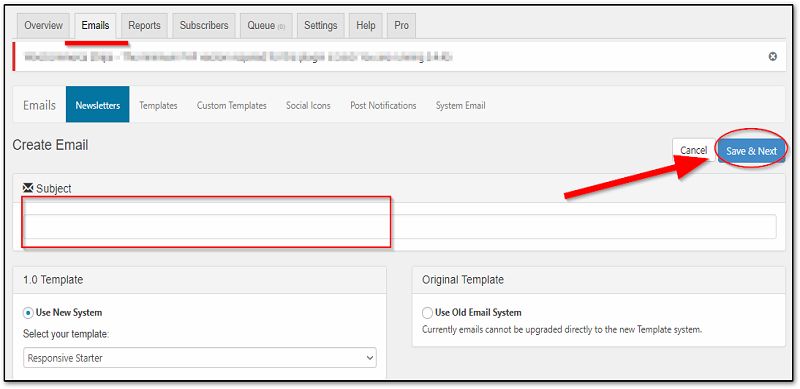
- You can create emails by clicking on “Emails” under “SendPress” tab on the left side menu of the dashboard and click on “Create Email”.
- Enter the email subject and click on “Save & Next”.
- You can choose templates on the “Templates” tab
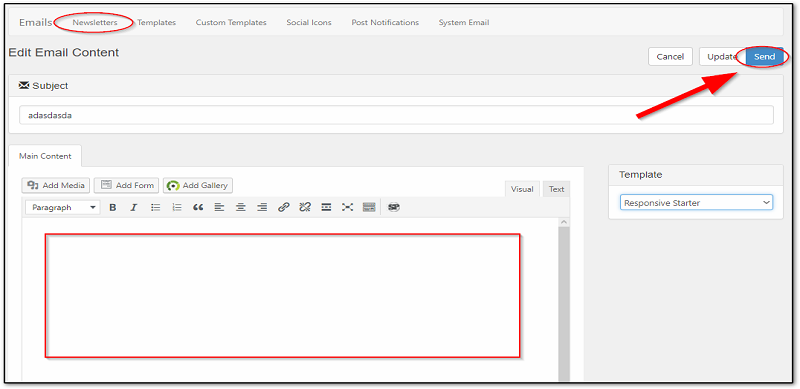
- Compose your email and click on “Send” to send it on your subscribers.


