Easy to Use WordPress Login Plugin Installation With Setup
Last updated on August 30th, 2021 at 08:06 am
Memphis Custom Login
How to Install Memphis Custom Login?
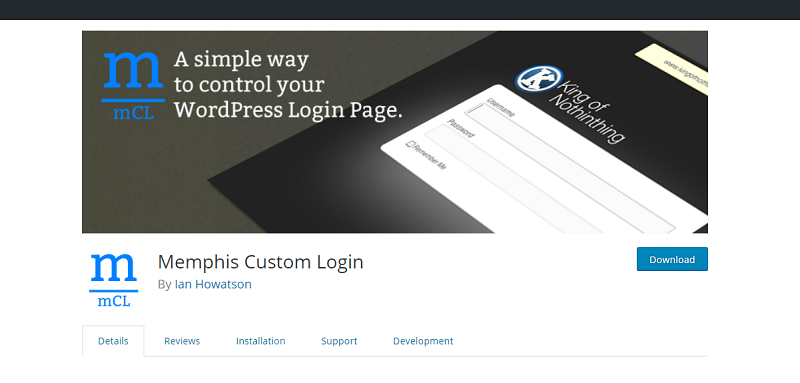
Memphis custom login control your WordPress login page. Some features are Google Analytics support for all page of your site including or not including login, admin and pages, password protected blog, custom redirect after login.
Type Memphis Custom Login in search bar of WordPress.org
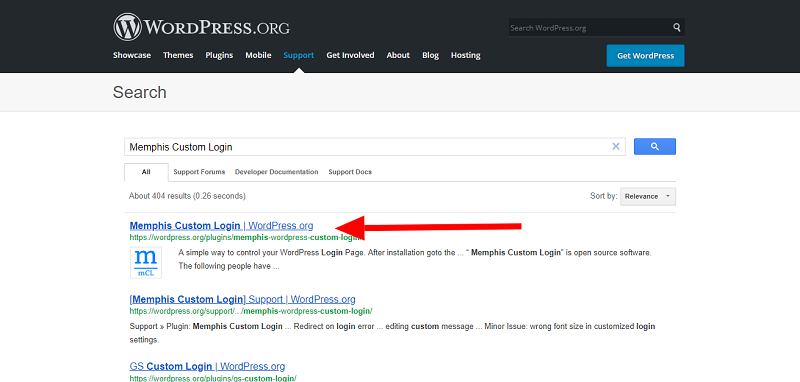
Open the first link and download it from the website.
- Then login into your website.
- A visit to the plugin page & there, click on Add New plugin option.
- There select the upload plugin to show the plugin upload area.
- Open Choose File from local file directory.
- Select the plugin zip file to upload the plugin & install them.
- Click Install Now to install the WordPress Plugin.
- The installation screen will list the installation as successful or note any problems during the install.
- If it’s done successfully then click Activate Plugin to activate it, or Return to Plugin Installer for new installation.
How to Set Up Memphis Custom Login?
1. Install and Activate Plugin.
2. In menu of your dashboard click Memphis CL.
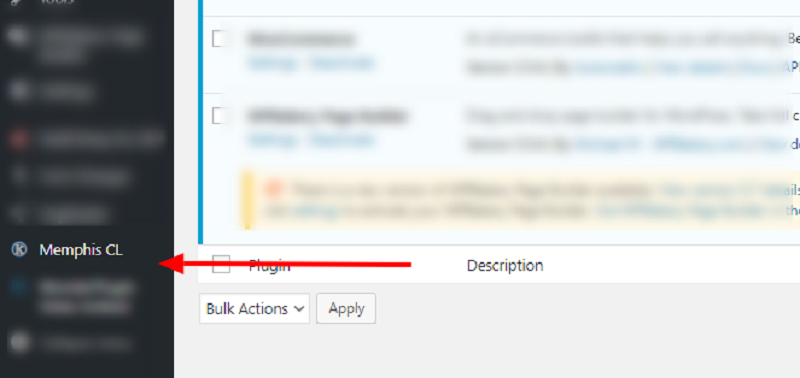
3. Change settings according to your needs and save changes.
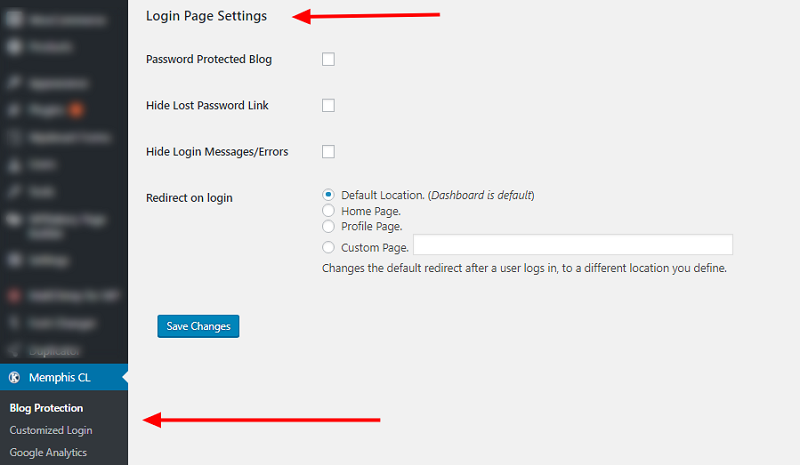
Change settings of Blog Protection, Customized Login, Google Analytics then click “ Save Changes”.
Custom Login Page
How to Install Custom Login Page?
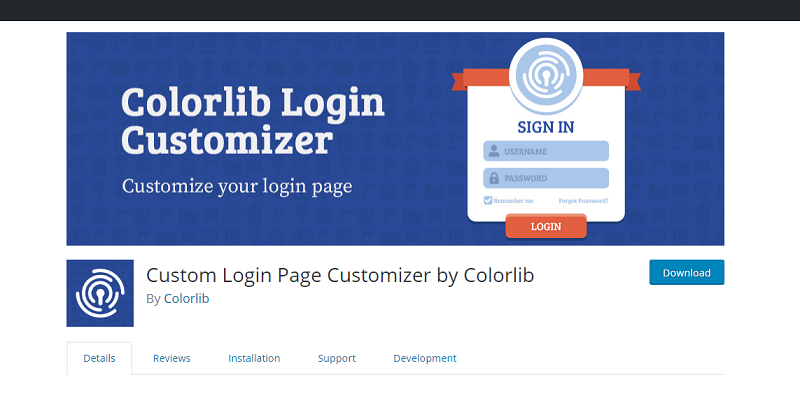
Custom Login Page, an awesome and intuitive login page plugin that helps you personalize your login page and login form directly from the customizer.
Type Colorlib in search bar of WordPress.org.
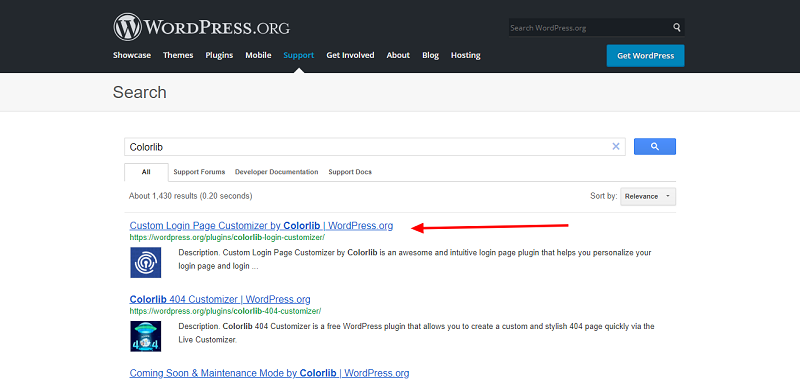
Open the first link and download it from the website.
- Then login into your website.
- A visit to the plugin page & there, click on Add New plugin option.
- There select the upload plugin to show the plugin upload area.
- Open Choose File from local file directory.
- Select the plugin zip file to upload the plugin & install them.
- Click Install Now to install the WordPress Plugin.
- The installation screen will list the installation as successful or note any problems during the install.
- If it’s done successfully then click Activate Plugin to activate it, or Return to Plugin Installer for new installation.
How to Set Up Custom Login Page?
1. Install and Activate Plugin.
2. In menu of your dashboard click Login Customizer.
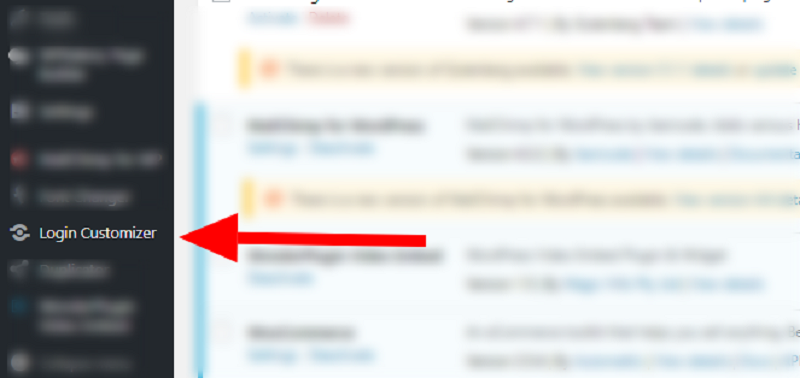
It will bring you to customize section. You can change logo, layout options, background options, general form options, login form text etc.
3. Edit based on your need.
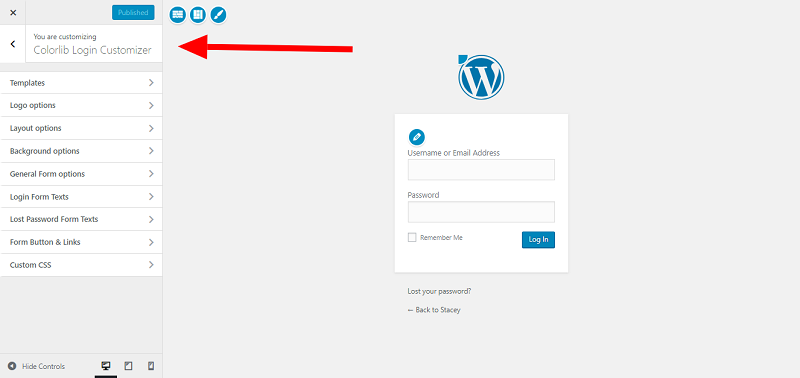
4. Click “Publish” when done customizing.
Erident Custom Login
How to Install Erident Custom Login and Dashboard?
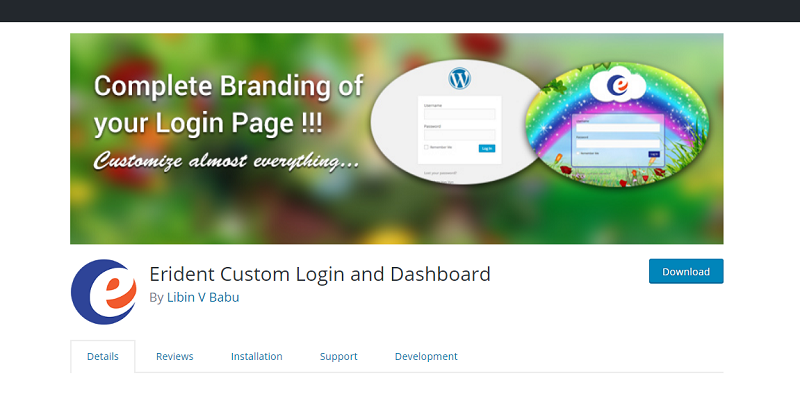
It customize completely your WordPress Login Screen and dashboard. It also customize your dashboard footer text. Erident Custom Login and Dashboard is so easy to use and it will give you better performance for your WordPress site.
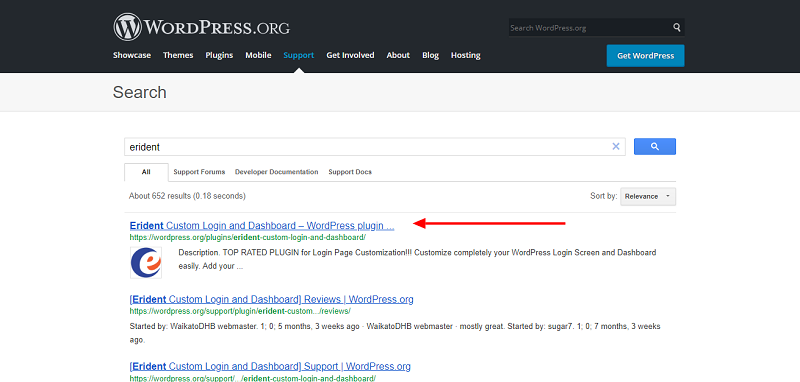
Type Erident Custom Login and Dashboard in search bar of WordPress.org
- Then login into your website.
- A visit to the plugin page & there, click on Add New plugin option.
- There select the upload plugin to show the plugin upload area.
- Open Choose File from local file directory.
- Select the plugin zip file to upload the plugin & install them.
- Click Install Now to install the WordPress Plugin.
- The installation screen will list the installation as successful or note any problems during the install.
- If it’s done successfully then click Activate Plugin to activate it, or Return to Plugin Installer for new installation.
How to Set Up Erident Custom Login and Dashboard?
1. Install and Activate Plugin.
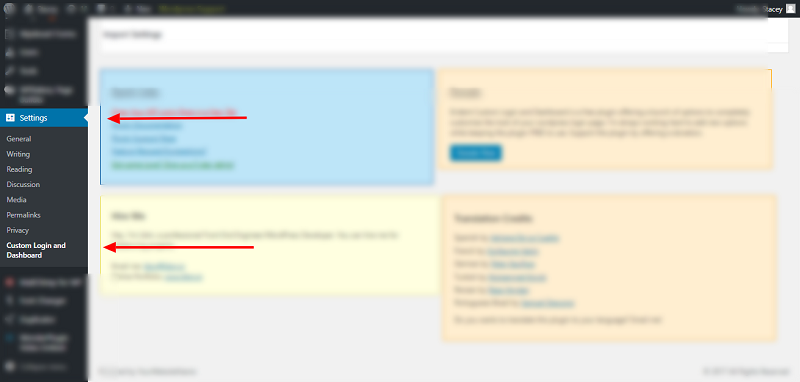
2. Click setting in your dashboard and look for Custom Login and Dashboard.
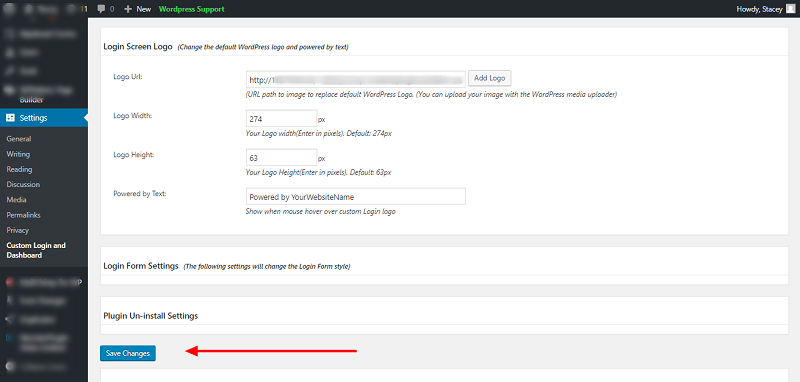
3. Edit settings.

4. Click “Save Changes”.
Custom Login
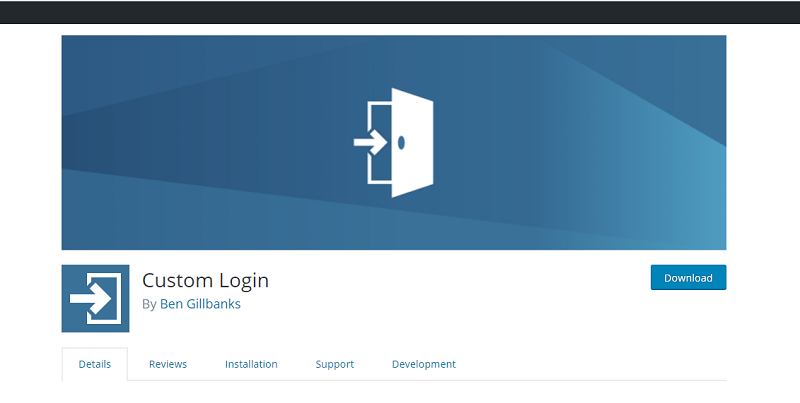
How to Install Custom Login by BM?
An easy way to customize the login screen on your WordPress. You will get the much more benefit by using this plugin:
- When you use this plugin, it means the changes stay even when you upgrade.
- Using this plugin is a simple way to be creative and create unique login screen.
Type Custom Login by BM in search bar of WordPress.org
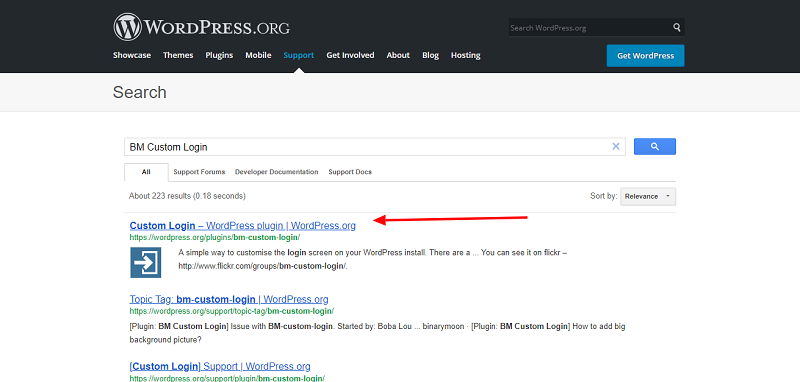
Open the first link and download it from the website.
- Then login into your website.
- A visit to the plugin page & there, click on Add New plugin option.
- There select the upload plugin to show the plugin upload area.
- Open Choose File from local file directory.
- Select the plugin zip file to upload the plugin & install them.
- Click Install Now to install the WordPress Plugin.
- The installation screen will list the installation as successful or note any problems during the install.
- If it’s done successfully then click Activate Plugin to activate it, or Return to Plugin Installer for new installation.
How to Set Up Custom Login by BM?
1. Install and Activate Plugin.
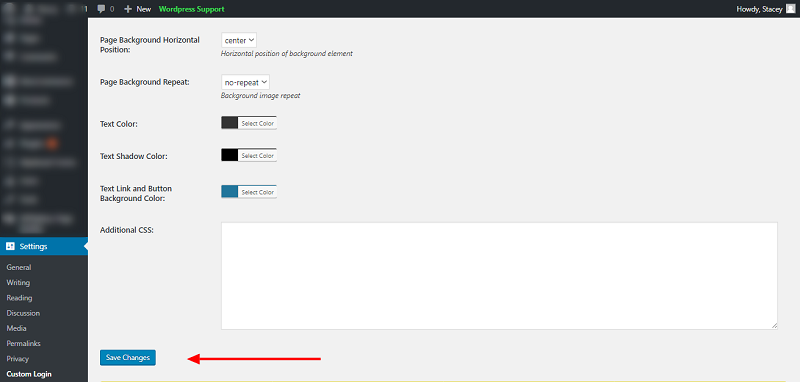
2. In settings of your dashboard click Custom Login.
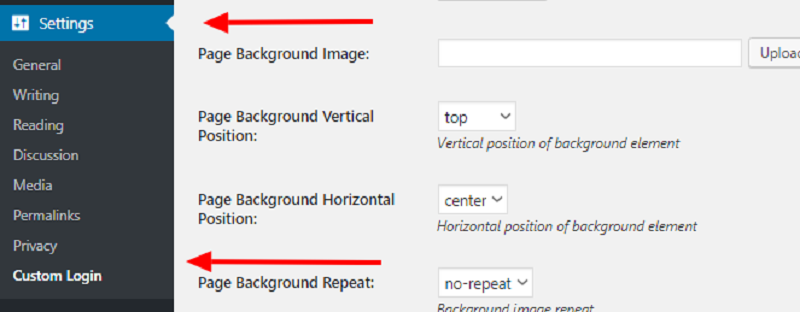
3. Edit based on your needs.
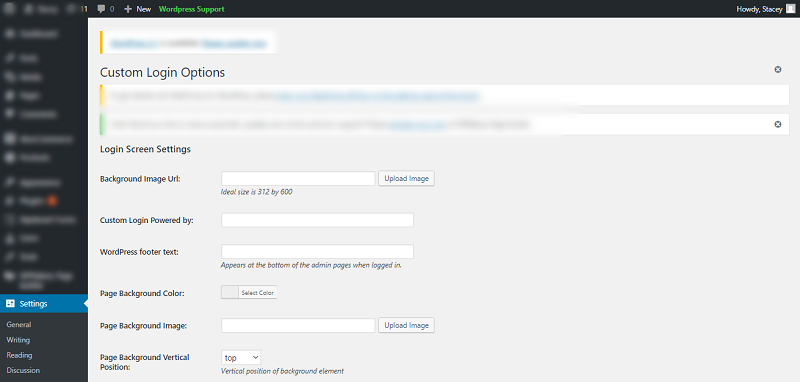
4. Then click “Save Changes”.
