Easiest to Manage WordPress Comments Plugins Installation with Set Up
Last updated on June 19th, 2023 at 07:32 am
No Self Pings
No Self Pings is a plugin used to disable intra-blog pinging where WordPress sends ping from your own site to your own site.
How to install No Self Pings
- Login into your dashboard
- On the “Plugins” tab located at the dashboard click on “Add new” and search for the plugin name
- Click “Install now” button to install it on your site
- Click “Activate” to finish the installation.
How to setup the plugin with your site
- When activated you don’t need to set it up. The plugin is automatically configured to prevent self pings. However, you can specify more domains that won’t be pinged on “Discussion” page under “Settings” tab on the left side menu of the dashboard.
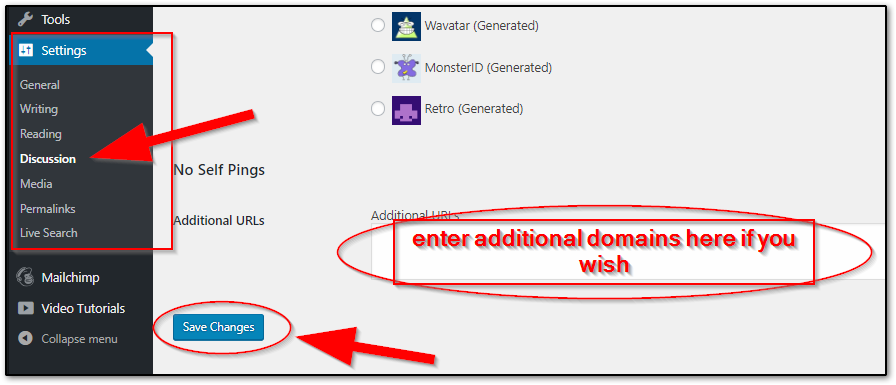
- Click “Save Changes” and it’s done
Jetpack Comments
Jetpack Comments is one of the many features offered by jetpack plugin. It automatically replaces your themes comment form when activated.
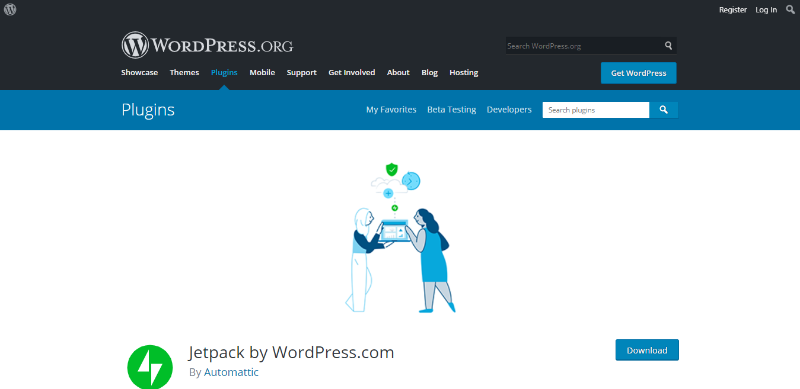
How to install Jetpack Comments
- Open your WP dashboard
- Navigate and go into “Plugins” tab and then Click on “Add new” button
- Search for the plugin name on the search bar
- Click “Install Now” button to install it on your site
- Click “Activate”.
How to setup the plugin with your site
- Go back to the dashboard.
- On the left side menu of the dashboard, click “Settings” under the “Jetpack” tab.
- Activate the jetpack comments by switching on “Let readers use WordPress.com, Twitter, Facebook, or Google+ accounts to comment.” under “Discussion” tab and click on “Save Settings”
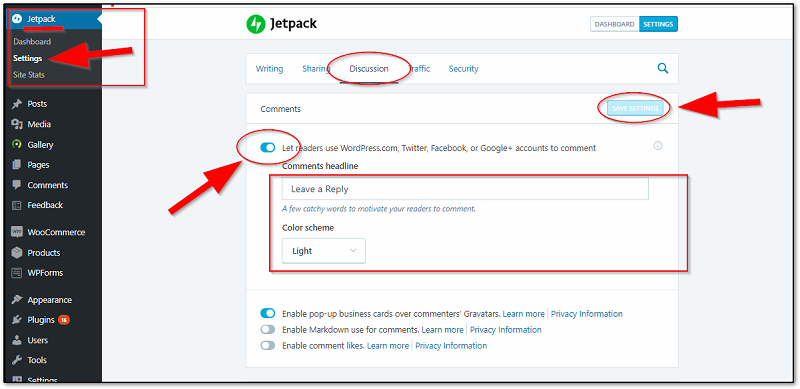
- You can also change the comments headline by typing the headline you want on the text box below the switch.
- Change the color scheme by clicking on the color scheme dropdown menu.
- When activated, jetpack comments will automatically replace your themes default comment.
Comments – wpDiscuz
Comments wpDiscuz is a super fast and responsive plugin for your website comments. This is used to add interactive comment box instead of the default themes comment.
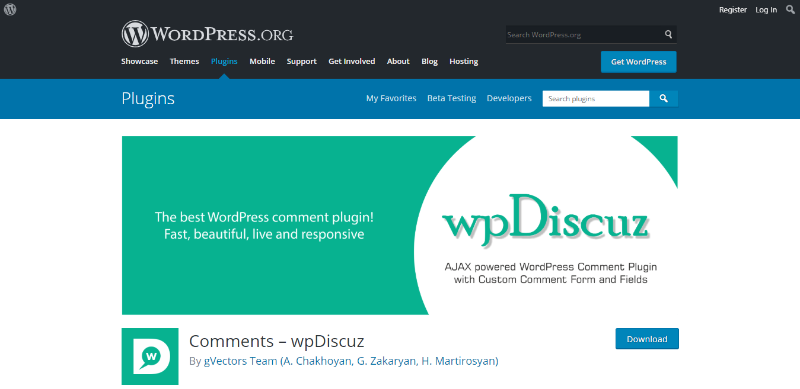
How to install Comments – wpDiscuz
- Login into your site dashboard.
- Go to “Plugins” tab on the left side menu then click on “Add new”
- There Search for the “Projects By WooThemes” plugin on the search bar.
- Then click on the “Install Now” button and wait for the installation process to be complete.
- Click “Activate” to activate the plugin.
How to setup the plugin with your site
- Go back to the dashboard.
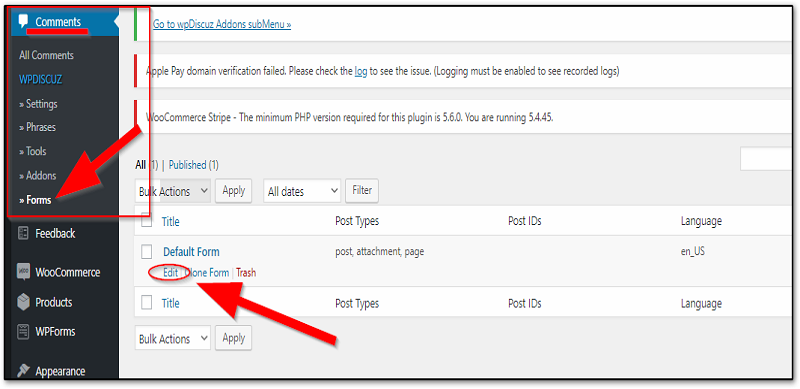
- On the left side menu of the dashboard, click “Forms” under the “Comments” tab.
- That will bring you to the customization page for the comment form.
- Click “Edit” under the default form.
- On the edit form page you can configure the comment form settings.
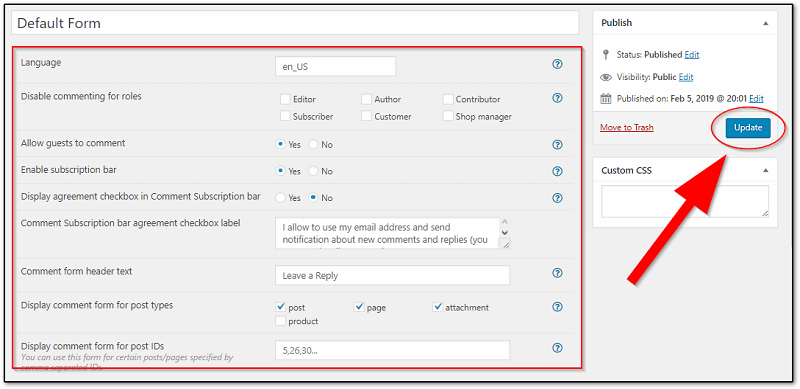
- Click “Update” to save your settings.
WP First Letter Avatar
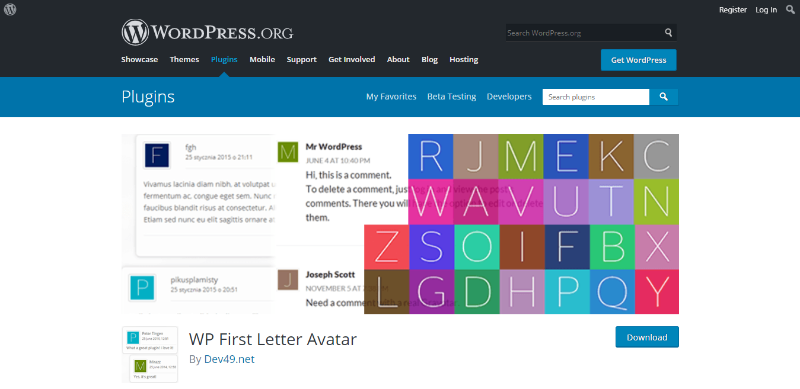
WP First Letter Avatar plugin is used to set custom avatars for your websites comment sections. No need to setup and easy to use.
How to install WP First Letter Avatar
- Login into your site dashboard.
- Go and look for “Plugins” on the dashboard tab then Click on “Add new”
- Search for Dave’s WordPress Live Search on the search bar
- Click on “Install Now” and wait for it to install on your site.
- Click “Activate” to activate the plugin.
How to setup the plugin with your site
- After activation, you don’t need to set it up. It’s already working right out of the box!.
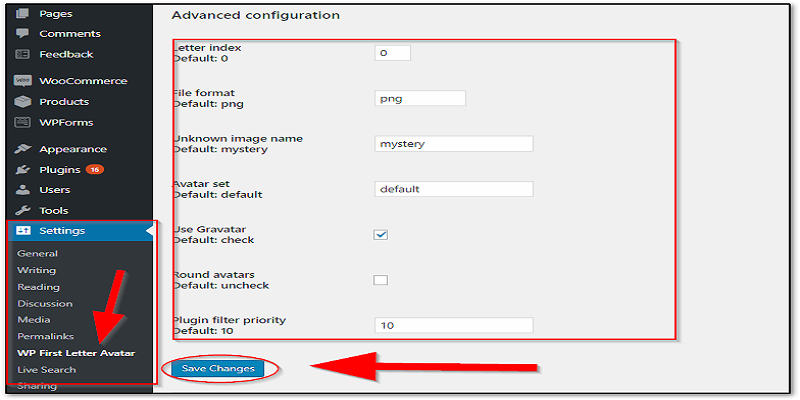
- For additional configurations you can go to “WP First Letter Avatar” under “Settings” tab on the dashboard left side menu.
- Configure the settings and click “Save Changes” and you’re done
