Easiest to Use WordPress Registration Plugins Installation with Setup
Last updated on September 23rd, 2021 at 12:57 pm
Ultimate Member
How To Install Ultimate Member Plugin
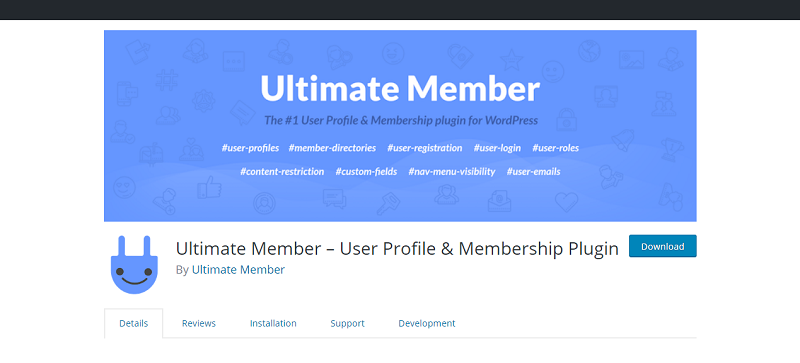
It is the #1 user profile & membership plugin for WordPress. The module makes it a breeze for clients to join and move toward becoming individuals from your site. Lightweight and exceptionally extendible, Ultimate Member will empower you to make practically any sort of site where clients can join and move toward becoming individuals without hardly lifting a finger.
Go to your WordPress site and dashboard.
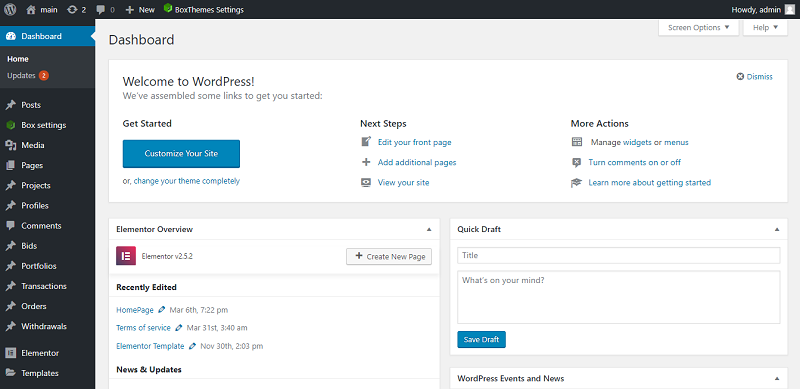
Select the plugin menu and add new.
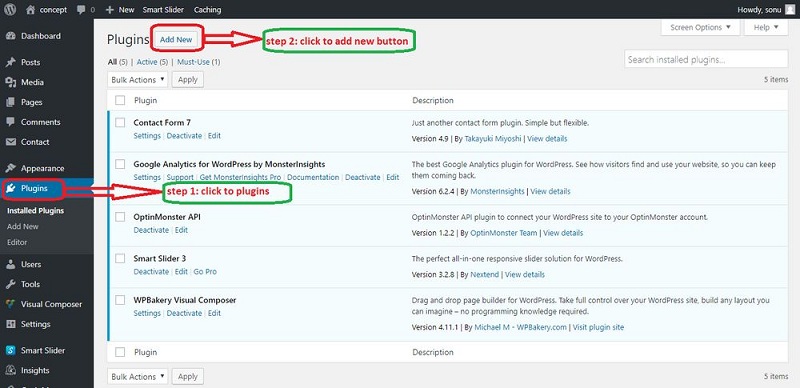
Navigate to the search plugin box and insert your keyword.
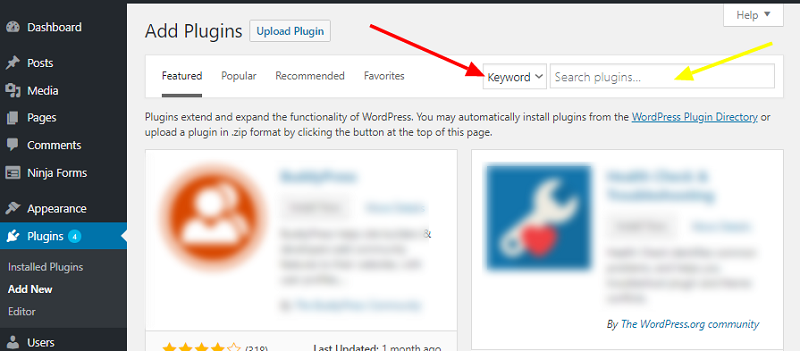
After that click on the install now button and hit activate.
How To Set Up Ultimate Member Plugin
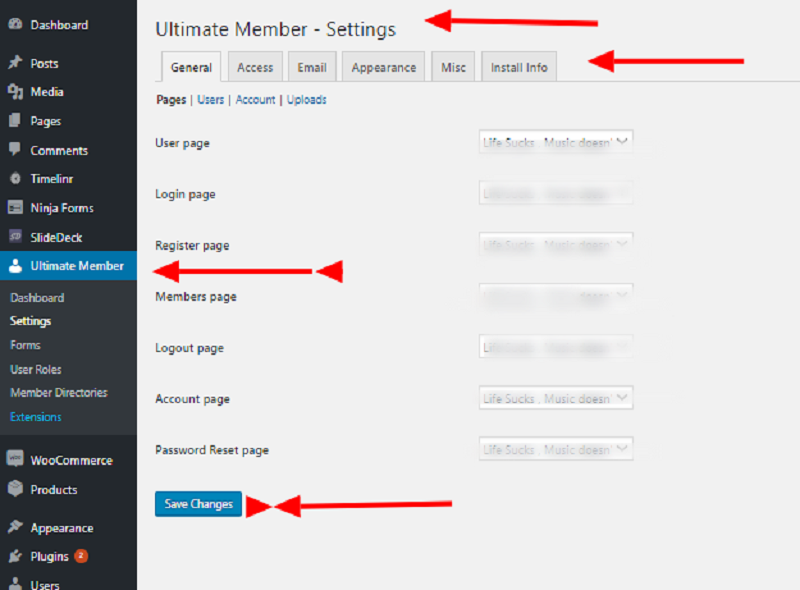
Once the activation process is done just go back to your dashboard and look for the new added menu. That’s it. Visit to the Ultimate Member > then go the settings to customize plugin options.
User Registration
How To Install User Registration Plugin
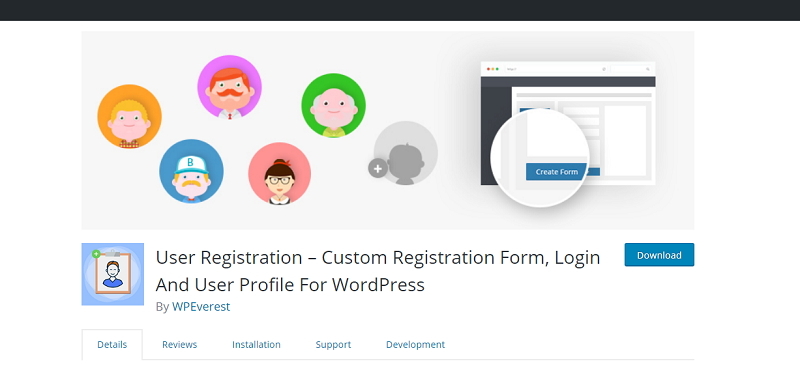
It provides you with an easy way to create frontend user registration and login forms. By drag & drop functionality its make ordering and creating forms extremely easy. The plugin is lightweight and can be used to create any type of registration form.
Go to your WordPress site and dashboard.
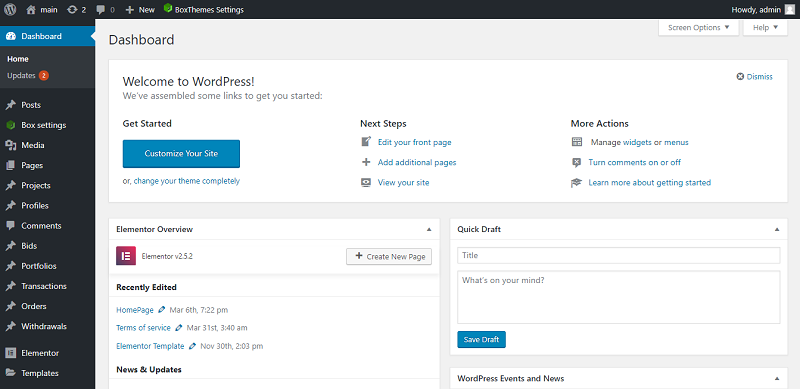
Select the plugin menu and hit add new.

Navigate to the search plugin box and insert your keyword.

Now click on install now button and tap activate.
How To Set Up User Registration Plugin
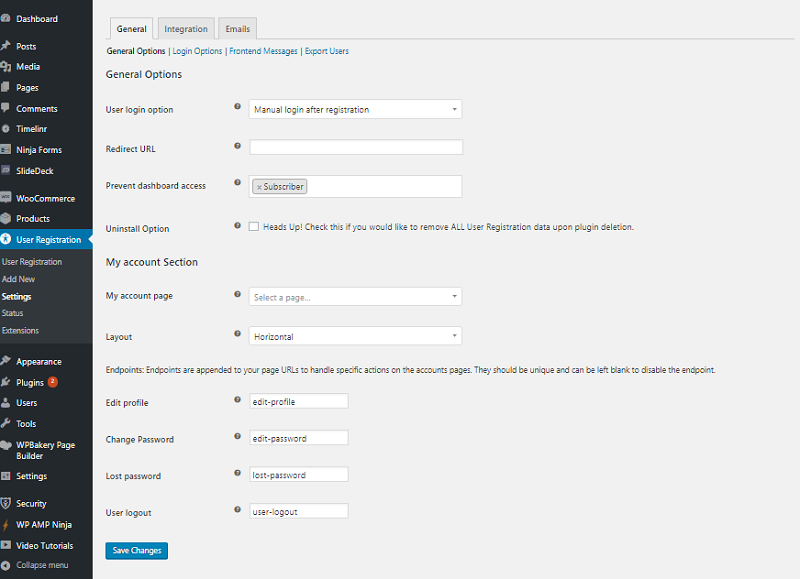
Once done with the activation process just go back to your dashboard and click on the new added menu and then go to User Registration->Add New and start creating a registration form.
UserPro
How To Install UserPro Plugin
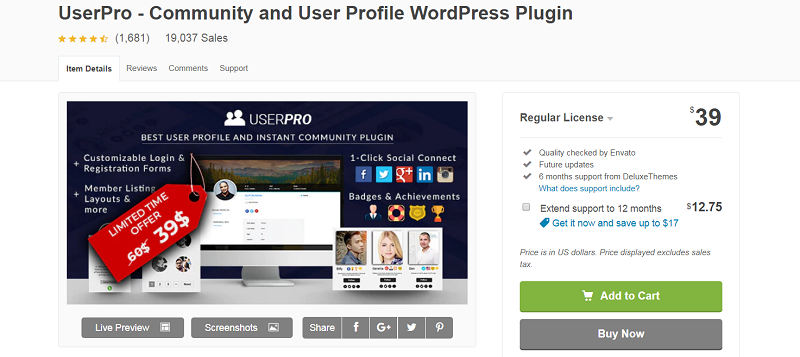
It is a comprehensive user profile premium WordPress plugin. This plugin is fully compatible with all possible options for member profiles, badges, directories and whatever else you need for your membership or community website.
First you need to purchase the plugin.
Then after having the zip file go back to your dashboard and select the plugin menu and tap Add new.

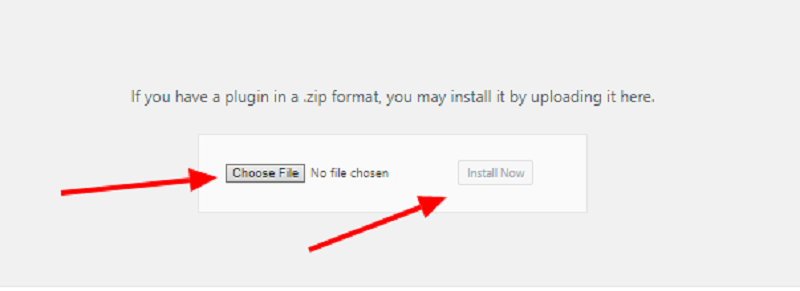
Then click upload plugin as shown below.
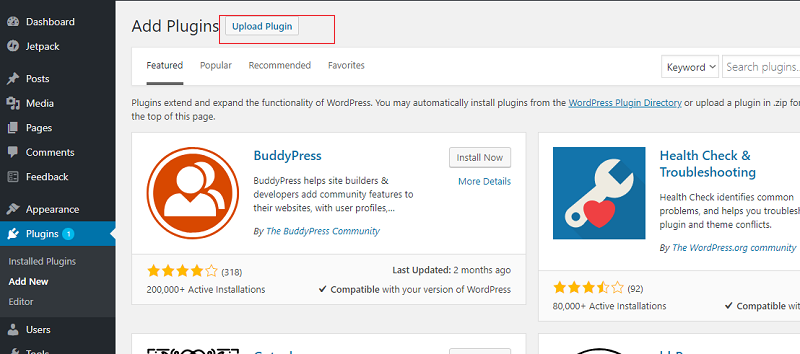
After that click choose file and click install now button and activate.
How To Set Up UserPro Plugin
Log in to the WordPress website admin dashboard and visit to UserPro > Settings > General.
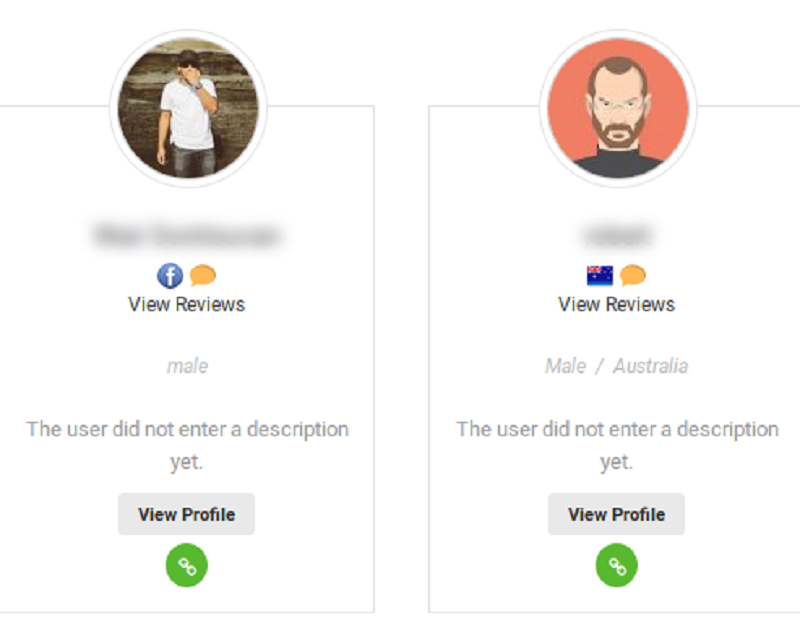
Enable Connections set as “Yes”. After Enabling Connections Feature it will Display Connection Button on Members Directory page.
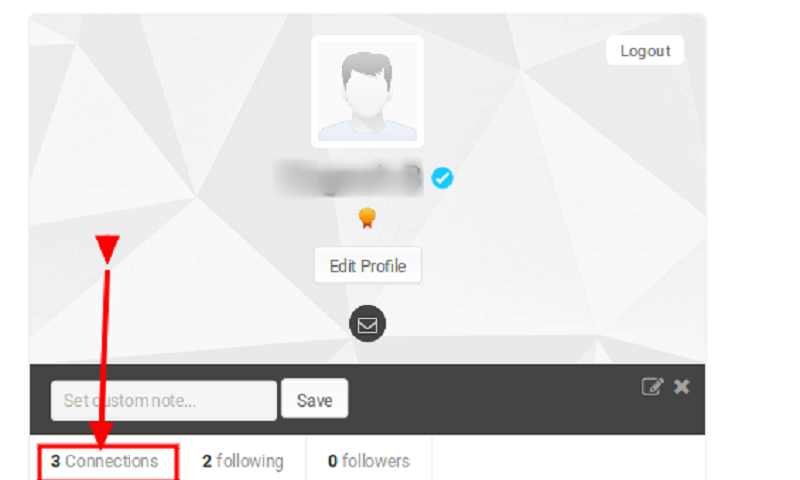
Logged in user has authority to accept/reject the connection request from their own profile page.
Social Login
How To Install Social Login Plugin
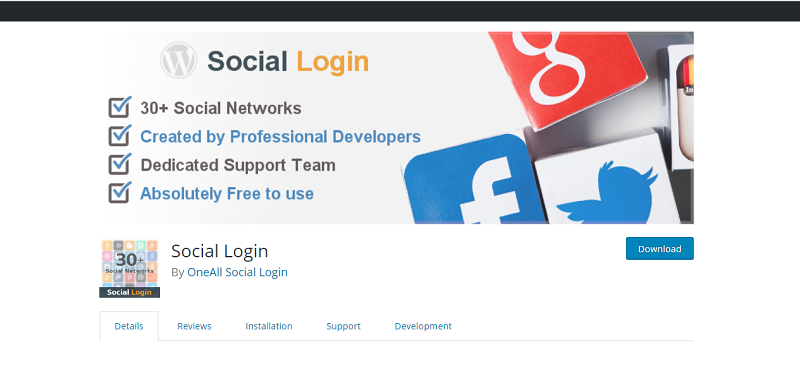
The Social Login plugin is developed by in this way that allows your visitors to comment & its free, user can login & sign up with 30+social networks like for example Facebook, Twitter, Google, LinkedIn, PayPal, LiveJournal, Instagram, Вконтакте or Yahoo amongst other.
Go to your WordPress site and dashboard.
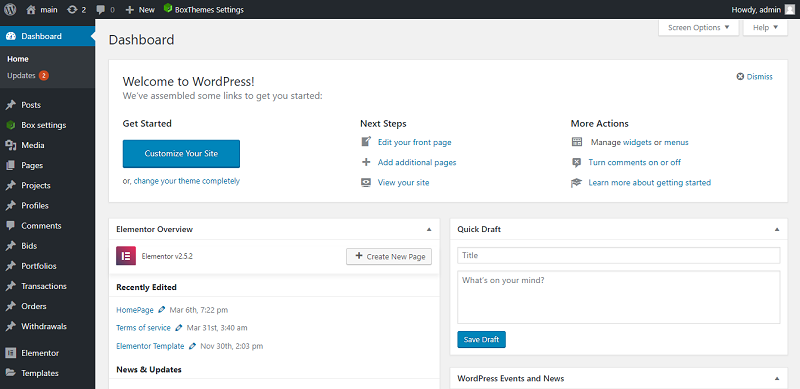
Select plugin menu and hit Add new.

Navigate to the search plugin box and insert your keyword.

And after that click on install now button and hit activate.
How To Set-up Social Login Plugin
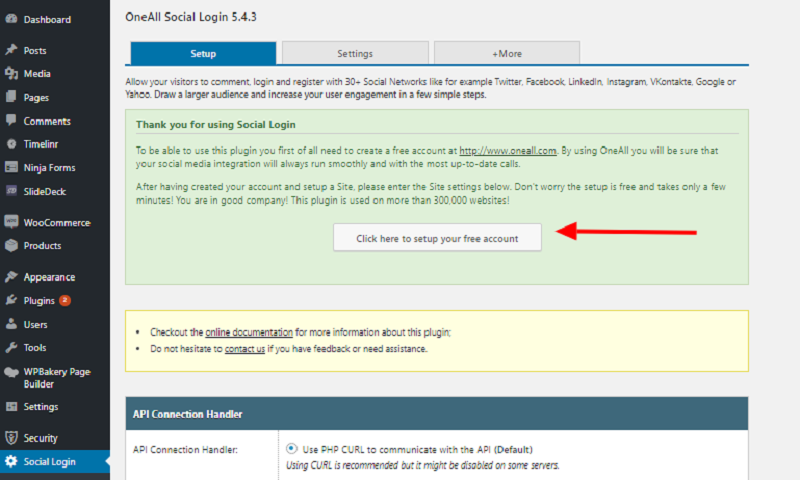
Once done with the activation process go back to your dashboard and click on the new added menu.Then click on “ Click here to setup your free account “.
Login Ninja
How To Install Login Ninja Plugin
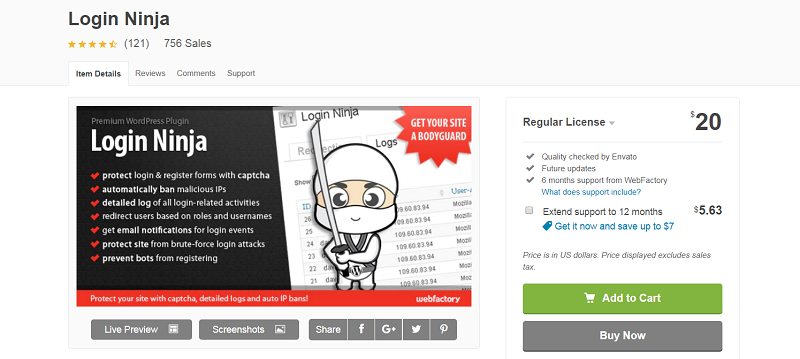
- You can protect your login & resister by using captcha test.
- Automatically ban ips that brute-force attack you
- Detailed log of all login-related activities
- Redirect users based on roles and usernames
- Get email notifications for all login events
- Protect site from brute-force login attacks
- Stop bots from registering
- Manually ban any IP
- Native, easy to use wp GUI
- Detailed documentation
First you need to purchase this plugin to get a zip file.
Once you got the zip file go back to your dashboard and select the plugin menu and add new.

Then click upload plugin and choose file.after the plugin has been uploaded hit the install now button and activate.

How To Setup Login Ninja Plugin
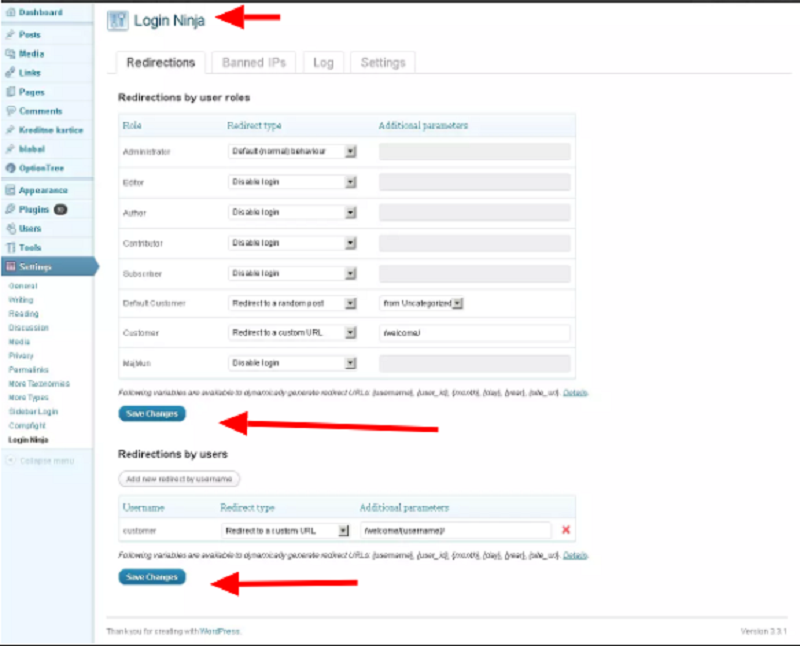
Open Settings – Login Ninja and Configure options and click “Save”.
