How To Add Linkedin Button To WordPress
Last updated on August 10th, 2021 at 01:55 pm
Planning to add a LinkedIn button within your WordPress website?
Well, that’s an excellent idea. LinkedIn is one of the most powerful social media websites giving business owners the ease to get along with people of their likes, expand their professional network and ultimately, promote their business. Where others over the network are more of meet and greet kind of sites, LinkedIn is one that focuses primarily on the professionals and the top influencers across all business verticals.
Communicating with them would not only help share existing business but also get more business ideas. And there’s a lot more than you can do. So, if you are thinking about adding a button, you are on the right path.
Why would you need a LinkedIn button?
As stated above, LinkedIn is an excellent platform to share business ideas. So, having a button would only make things easier. Still not sure, if you need a button?
- In case, you are thinking about expanding your network and adding more prospects, a button would help.
- To share your existing business, get ideas and communicate on a large scale, the LinkedIn button would be the best fit
- To increase the traffic of the website and attract clients, a button is all you need.
So, all set? Let’s move ahead to the steps needed to add a LinkedIn button in WordPress
How to Add LinkedIn Button in WordPress?
There are different ways to add a button in WordPress but the simplest one is through a plugin. Without wasting much time, let me outline the detailed steps to make things better and easier for you.
- Log in to the WordPress dashboard using the credentials.
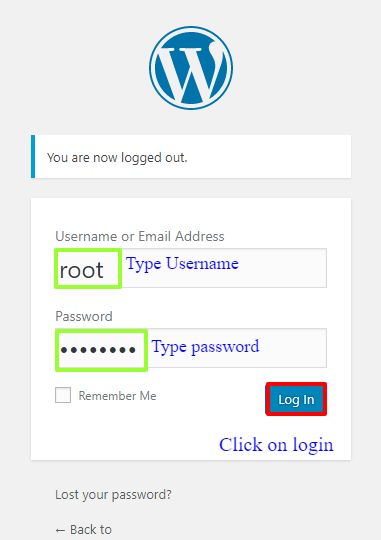
- Enter the username and password to validate your identity.
- Navigate to the left of the screen and click on the plugin and then select add new.
- Under the search option, enter the name of the plugin as “WordPress Plugin Max button”
- Click on the search icon
- A new page opens up with the plugin name.
- Click on install the plugin now.
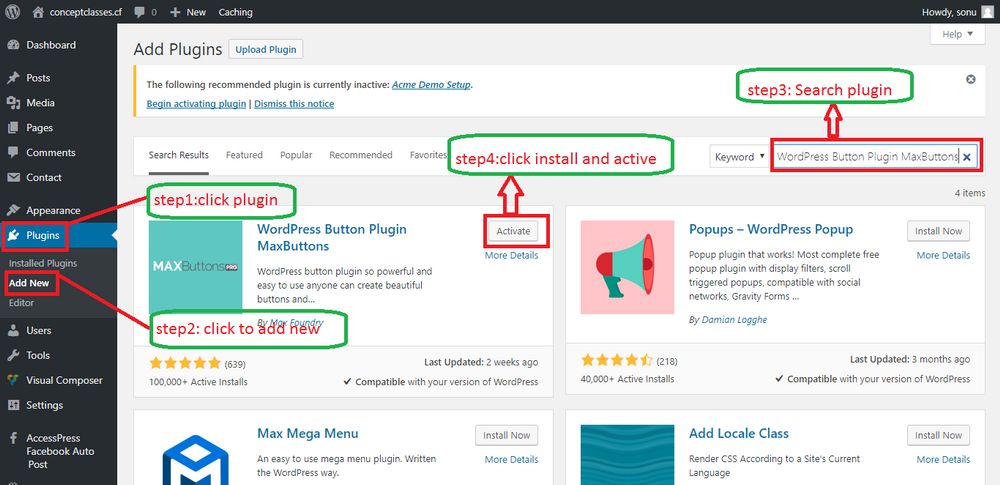
- Once installed, activate the plugin.
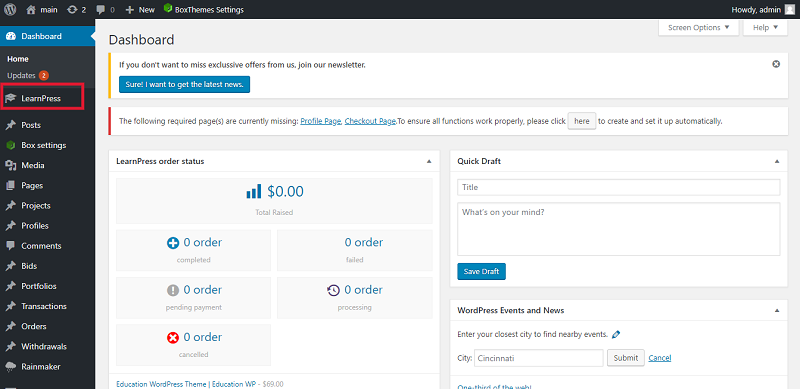
- After the plugin has been activated, you will see the same appear on the left side of the dashboard.
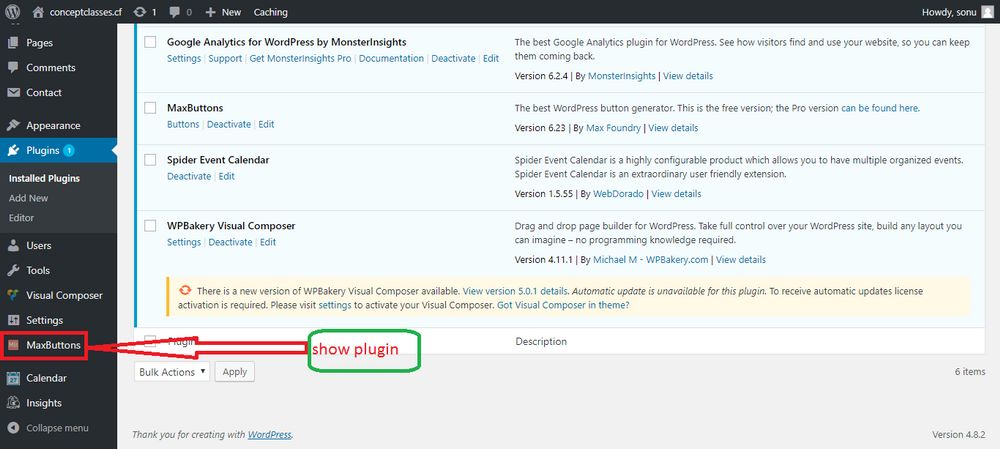
- Click on it and then click on add new.
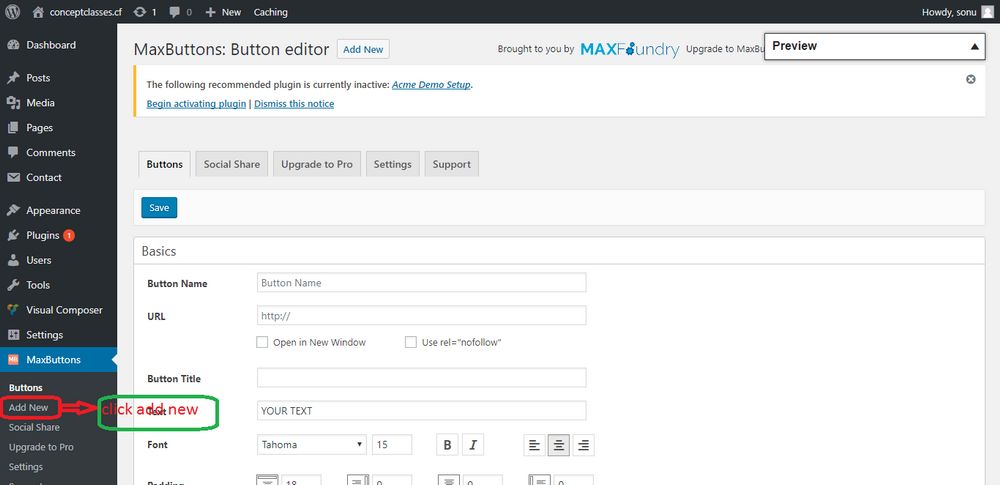
We will create a button first and then assign it to LinkedIn.
- The new page that opens up will have several settings.
- Enter the name of the button, the button URL and other features as needed.
- You can also determine the position of the button, the color, and the font.
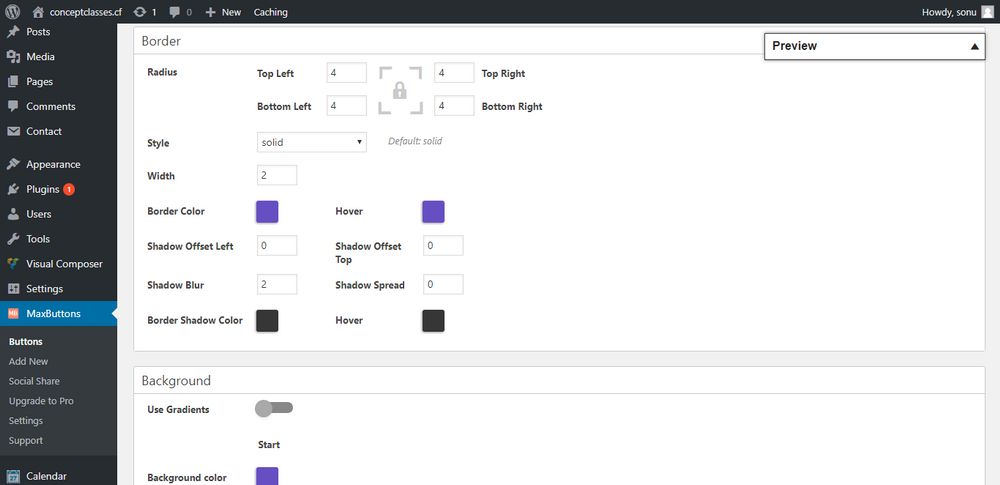
- The next page has the option where you can select where would you like to place the button, and also the radius of the button.
- Next, you can select the style of the button and its width.
- Select the border color. You can change the color when the cursor hovers on top of the button.
- Select the border color.
Since we are to add a LinkedIn button, it’s better to keep the color the same as that of the LinkedIn profile.
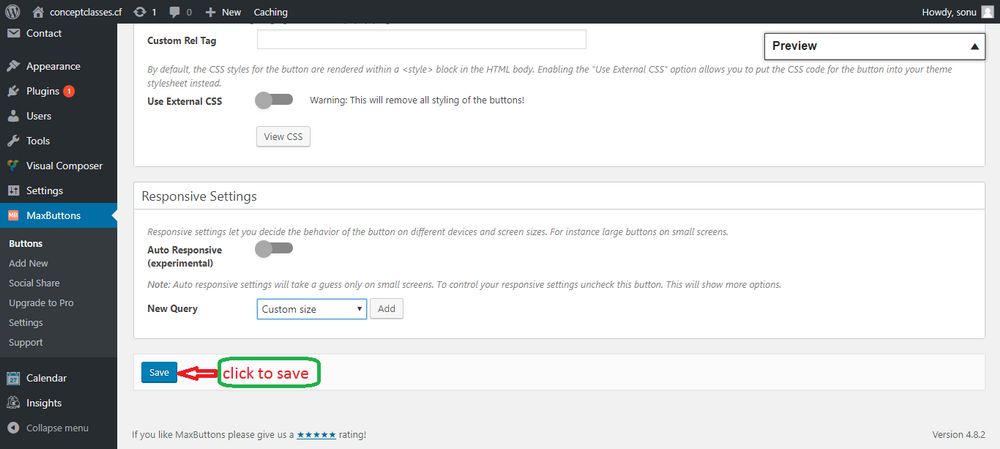
Save the changes made to finally create the button. Remember that we have created a simple button. We are yet to integrate it with LinkedIn.
To do so,
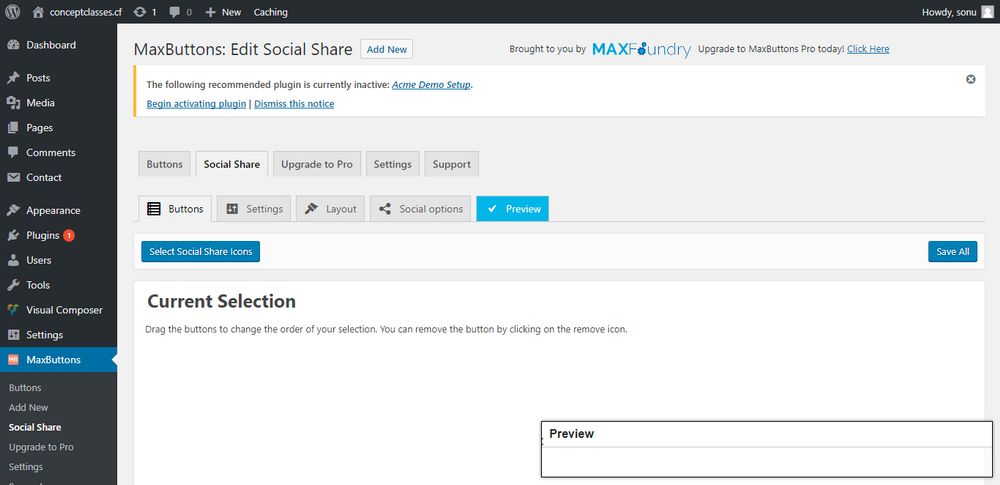
- Click on click to social share. The page that opens has several options. Click on modern social share and press on add selected button.
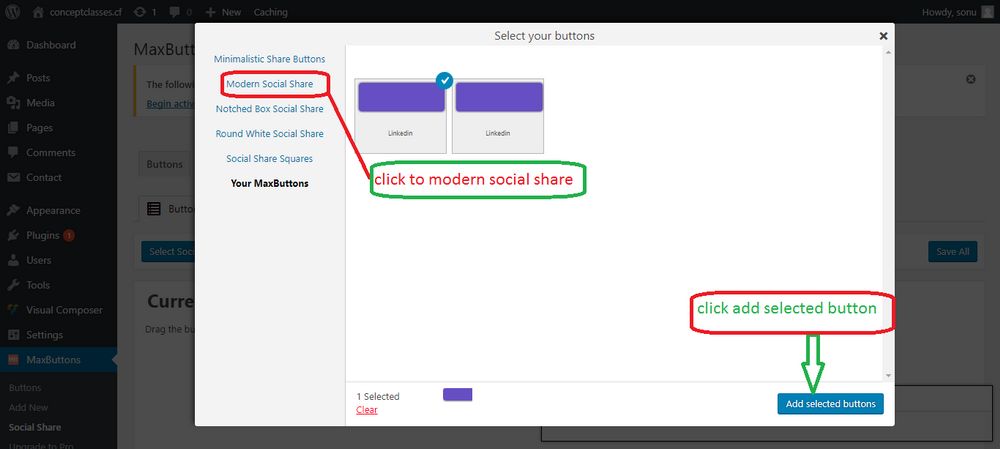
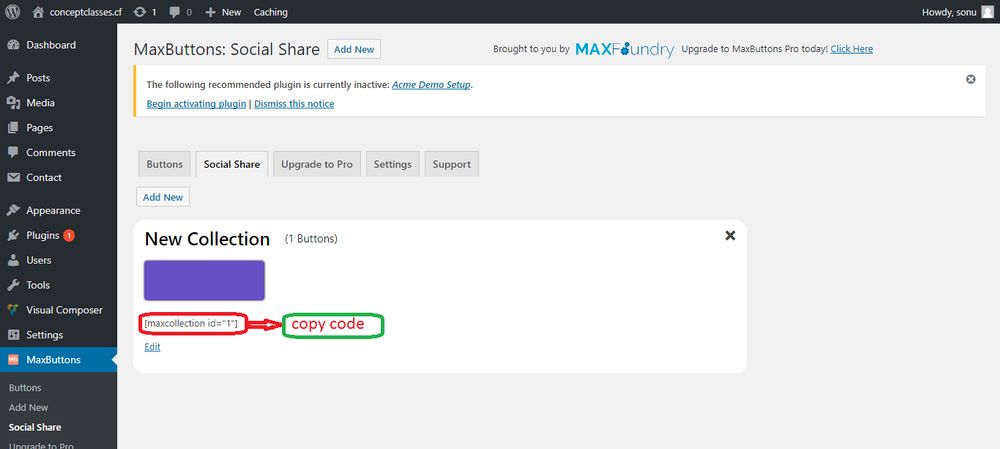
- The next page will have a code at the bottom. You need to copy the same.
- Under appearance go to widgets, select the button and paste the copied code here. Finally, save the changes.
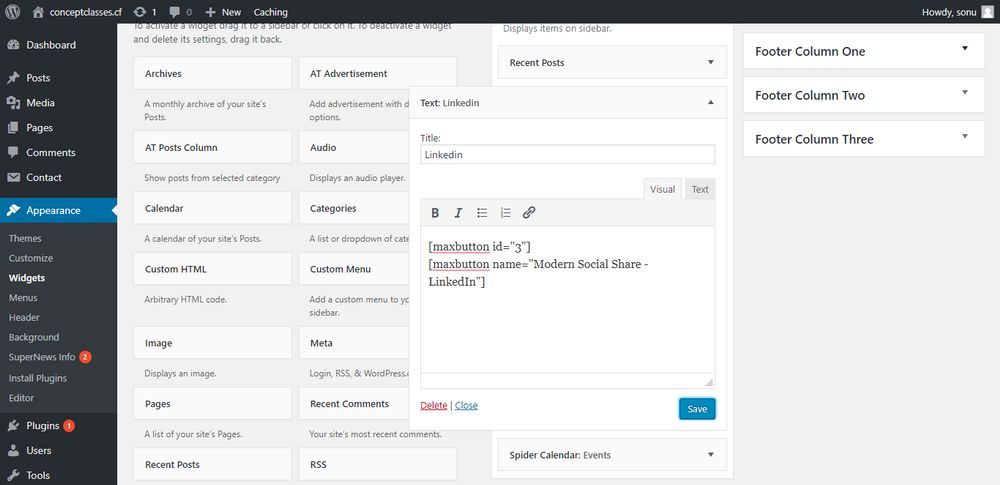
And we are done with adding a LinkedIn button in WordPress.
On the frontend side, the button will display as –
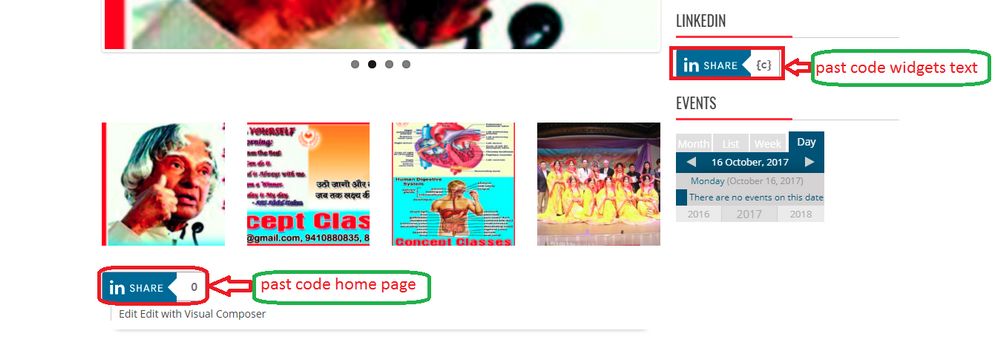
Isn’t this what you wanted? Chat Now


