
How to Add Web Push Notification for Your WordPress Site
Last updated on May 24th, 2024 at 10:22 am
You must know that push notification or web push notification are the same things. Many website blogger businesses and marketers have gained a lot of visitors through a web push notification in the last few years. This is the new virgin or we can say in the new method through which we can capture our audience or customers to increase our business. Today in this article we are going to discuss all the things related to web push notification for our WordPress site in detail so read this article carefully. So let’s get started.
What is a web push notification?
Before going in deep we must understand what is a web push notification? It is a simple means that WordPress allows the post notification method through which we are creating new content and publish that content at that time the content will send to all our readers via push message. Web push notification can be notified in such a way by mobile phone or via a browser. No matter any user or visitor is using which type of browser. Let’s understand with the help of an example.
Example
You have seen many times during browsing any website. Allow and block option popup. User can see the image given below. In that pop-up, the all option stands for allowing web push notification for the certain website full stop, and the block option stands for blocking all types of web push notification related to that website.
If we look towards the history of web push notification around this globe web push notification 45% is generated by Safari and later word Google Chrome followed web push notification and then Firefox in 2016. In today’s era Google holding more than 50% of the browser market share. With the help of web push notification, Google can reach up to a large audience. Currently, the web push notification is not supported in iOS we hope they will be releasing soon.
What is the benefit of WordPress push notification?
Before web push notification email marketing is in trend, but the disadvantage of email marketing is that most of the people are not going to read emails that were sent by the organization. This demerit will be overcome by web push notification. Web push notification is sent by the organization that is pink to the visitors on their gadgets as a notification. So there is more than 99% chance that visitor comes back to their website. Let’s study case one by one
- 19% of retention has been reverted by the web push notification.
- Web push notification game hundred percent marketing on E-Commerce sales
- A network achieves more than a 200% increment of engagement for new visitors.
How to setup WordPress push notification with the help of one signal plugin?
Here we are going to discuss how to set a web push notification on WordPress with the help of one signal plugin in detail so follow all the steps carefully which are given below.
How to install the Onesignal plugin in WordPress?
- First of all, the user needs to login to their dashboard by entering a username or email id and entering a password after that click on the submit option.
- Now the user clicks on the dashboard which is present on the left top corner of the screen after that a context menu appears in front of the user.
- In that context menu, the user will see a login option now users click on the plugin option. After that is a context menu appear on the screen user need to click add a new plugin.
- After clicking on add new plugin user will see a new screen appear on that screen uses a search box where the user enters a keyboard “Onesignal plugin“.
- Now the user will see an install option after clicking on the installing option users will see the activate option appear on the screen.
- A user must click on the activate option. Now user can see the Onesignal plugin has been installed successfully in WordPress.
How to setup Onesignal push notification in any WordPress website?
First of all, the users must visit one signal website and click on going to start the option of web push as you can see in the image given below.

- Now one signal will ask to enter your email id and password for creating a new account and generating a dashboard for the user.
- Now the user must click on the add app button to create a user-first app list. As you can see in the image given below.
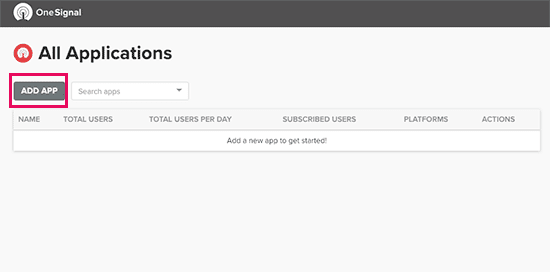
- After that a popup appears in front of the user then the user needs to enter the app name in that popup after that user must click on add app as you can see in the image given below.
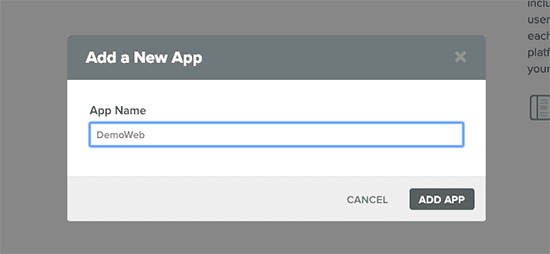
- Now another popup appears in front of the user where the user must select the applied form for sending a web push notifications. We advise the user to select the web-push platform for it as you can see in the image given below.
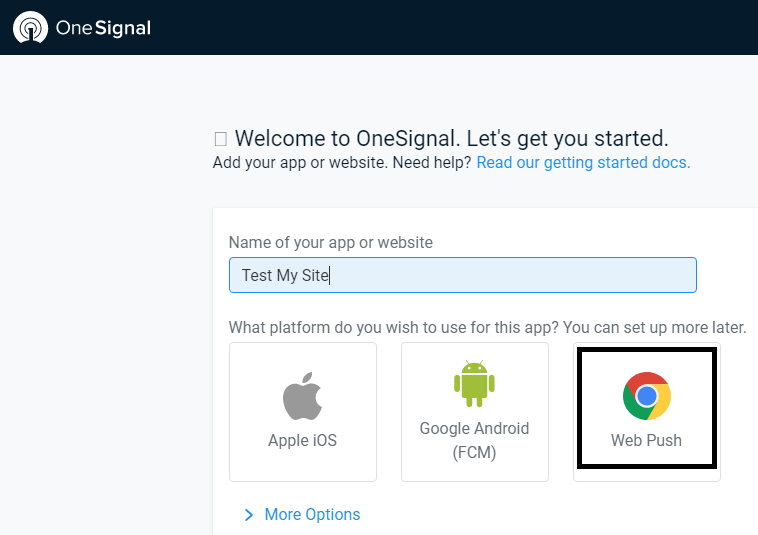
- Now in the next step, it will ask integrating for embedding method, then the user must select WordPress plugin for a website builder which is given in the image below
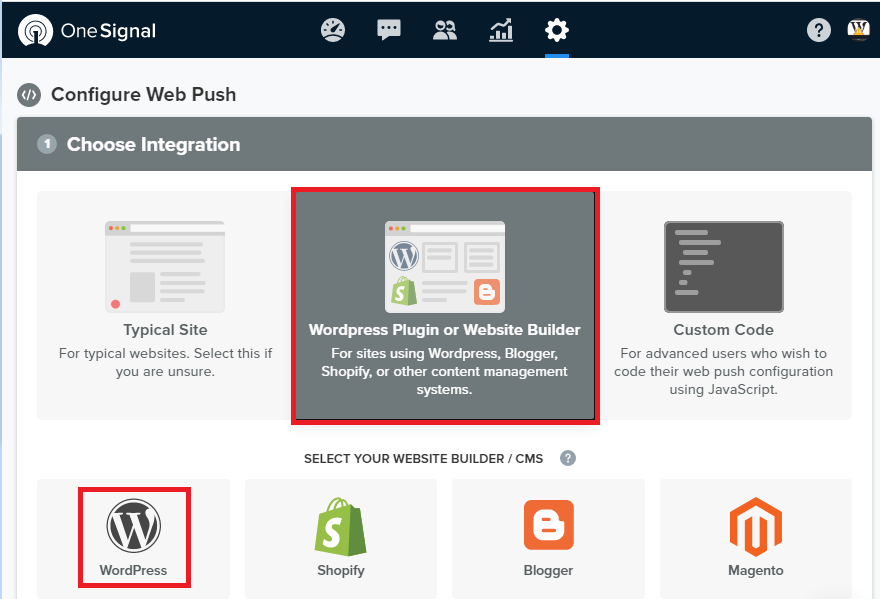
- Now the user needs to enter a website URL address and upload a logo also. As you can see in the image given below
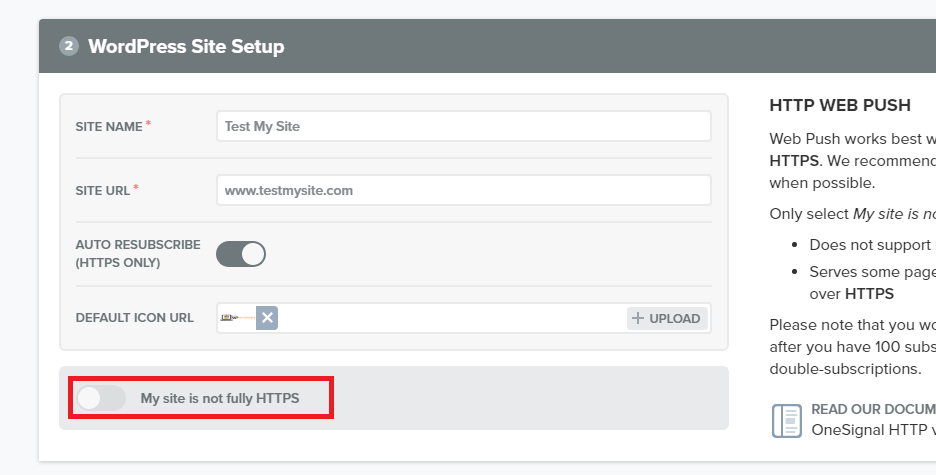
- Once the user completes all the step successfully, then the user must click on the save button to store all the details which are entered in one signal setting.
- Now one signal will generate an API key which is required in the further process so the user, copy that API key as you can see in the image given below.
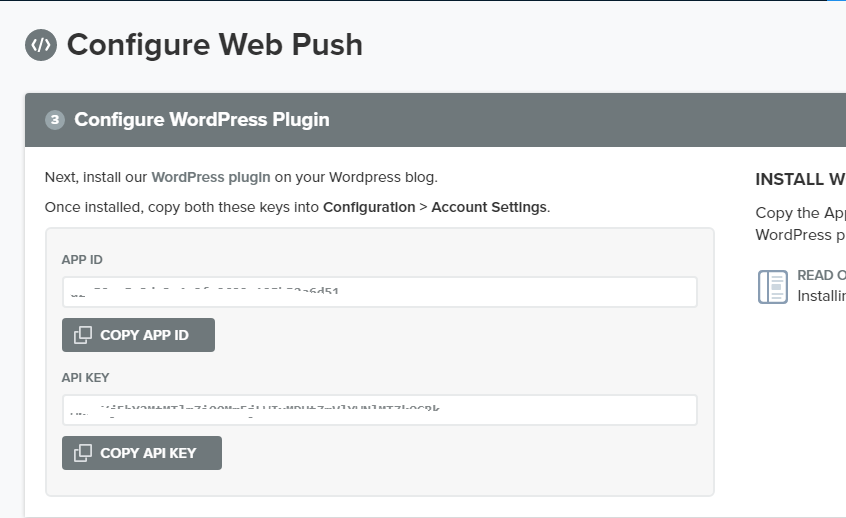
- Now user returned to the WordPress dashboard and the open configuration tab. In this configuration tab user required to paste the app and API key that has been copied from one signal website. As you can see in the image given below.
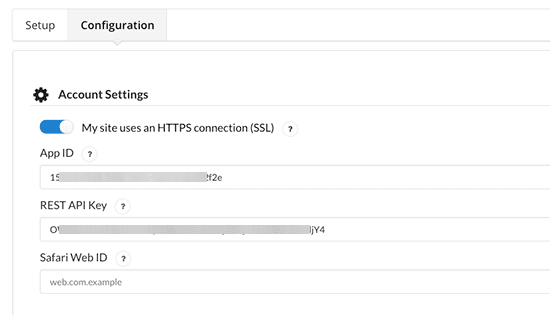
- The user makes sure that these API keys are going to use send a web push notifications two different browsers and different mobile gadgets.
How to customize web push notification popup?
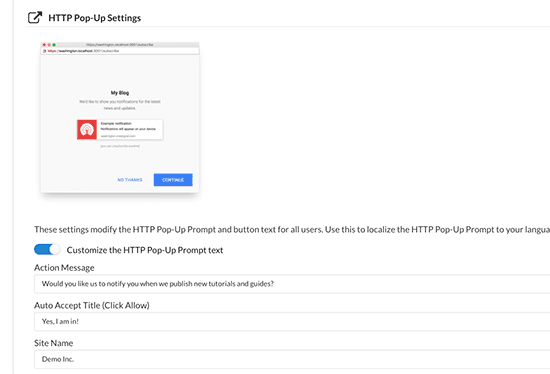
The web push notifications popup is a fully customized user that can add it that pop-up and customized according to their requirements. The user just clicks on the radio button that is present below HTTP pop upsetting as you can see the image given below. After that. Users can add all the details according to their requirements.
How to send web push notification from WordPress website?
This setting is by default done by a web push notifications organization that users can create any post that has been sent a push notification to the visitors. If you want automatically, then the user can set this feature from an automatic notification setting. Users can also send web push notifications manually just by clicking the Onesignal push notification meta box that is present on the right-side toolbar.
This is how you can set up and send web push notifications from the WordPress website by one Onesignal plus notification.
Do we hope that you like this article which is based on how to add a web push notifications for your WordPress site? At last, we are always curious to know your feedback, so please send your valuable feedback into the comment box, and we always welcome your queries and. Our expert resolves your all queries in a very short time so if you have any query related to this article we are always welcome you in the comment box and comment there


