How to Configure Contact Form 7 In WordPress
Last updated on April 29th, 2025 at 07:07 am
Creating a contact form isn’t the final step of adding them to the WordPress website. Apparently, the process has a lot more than it can be done. For one, WordPress website owners can effectively configure and customize the contact forms, turning them at par with the website needs.
To help you seamlessly configure contact form 7 in the WordPress website, we articulate this piece. But before diving into the technical specifications, one thing to be sure is the need for a contact form.
A very controversial topic here is, why do you need a separate contact form when you already have email forms on the website? Why take the pain to design a distinct form and not use the existing one?
Ok, this is a pretty good question. And as much as the question seems intriguing, the answer is far beyond satisfying.
Why Do You Need To Configure Contact Form In WordPress?
We agree that almost every WordPress website includes an email form. This form is embedded within the site to make it easier for readers to communicate with the site manager. However, it is often seen that email forms are not effective in capturing all the relevant details needed to initiate a meaningful conversation.
This is where a dedicated contact form becomes essential. One of the best advantages of a contact form is that it protects you from spammers. Additionally, you can include an email field within the contact form, making it a far better choice than a simple email link.
Another important reason to use a contact form when building a WordPress website is its flexibility. Contact forms can be fully customized, allowing you to add as many fields as needed. They also help you engage with your readers in a more organized and professional manner.
What is Contact Form 7?
Contact Form 7 is a free WordPress plugin that lets you create and manage multiple contact forms. It allows easy customization of the form and the mail contents flexibly with simple markup.
The plugin is highly popular because it is lightweight, reliable, and open-source. You can create simple forms or more complex ones with file uploads, dropdowns, and checkboxes.
Whether you are a blogger, business owner, or creative professional, Contact Form 7 makes it easy to add a contact form to your website without coding knowledge.
Why Choose Contact Form 7?
There are many form plugins available, but Contact Form 7 stands out for good reasons:
- Free and Open-Source: No hidden fees or subscriptions.
- Lightweight: It does not slow down your website.
- Flexible: You can add multiple fields, validation rules, and custom messages.
- Integration Options: Supports Google reCAPTCHA, Akismet, and other anti-spam measures.
- Expandable: Many add-ons are available to extend its functionality.
If you want a simple, no-fuss contact form solution, Contact Form 7 is perfect.
How to Configure Contact Form 7 in WordPress?
Without wasting much time, let’s move ahead to the process of configuring contact form 7 on your WordPress website.
Install via WordPress Dashboard
Installing Contact Form 7 is quick and easy. Follow these steps:
- Log in to your WordPress dashboard.
- Go to Plugins → Add New.
- In the search bar, type Contact Form 7.
- Find the plugin by Takayuki Miyoshi.
- Click Install Now, then click Activate.
Once activated, you will see a new menu item called Contact on your dashboard.
Verify Installation
After activation, go to the Contact menu. You should see a sample form named Contact Form 1. Congratulations! You have successfully installed Contact Form 7.
How to Create Your First Form
Default Form Setup
Contact Form 7 automatically creates a default form. You can use it as it is or customize it according to your needs.
To view it:
- Go to Contact → Contact Forms.
- Click on the form name to edit.
- Change the form title to something meaningful like “Main Contact Form.”
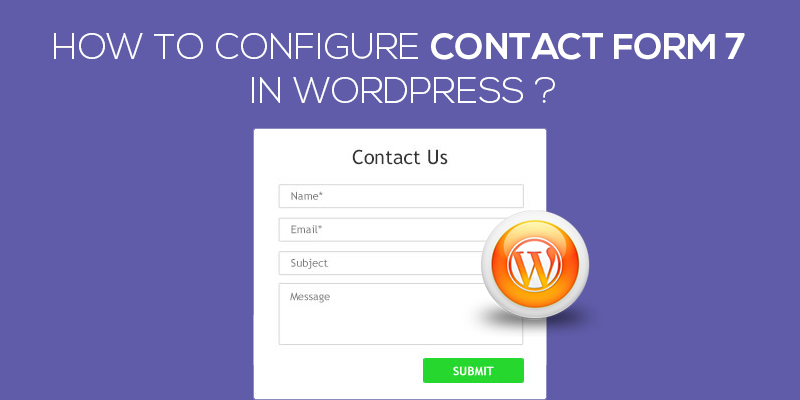
This form already contains basic fields like name, email, subject, and message.
Adding New Form Fields
To customize the form:
- Click on the form editor.
- Add new fields by clicking the buttons above the editor (text, email, URL, radio buttons, etc.).
- Each button generates a shortcode. Place it where you want the field to appear.
For example:
<label>Phone Number
[tel your-phone]
</label>
Always test the form after adding new fields.
Configuring Email Settings
Setting Up Mail Tab
The Mail tab is crucial because it defines how you receive form submissions.
Important fields you need to set:
- To: Your email address where the form submissions will be sent.
- From: The email address used for sending emails (use your domain email like info@yourdomain.com).
- Subject: Define the subject line for incoming emails.
- Message Body: Structure how the submitted data appears in the email.
Make sure all field tags match your form fields. Otherwise, emails may not send properly.
Troubleshooting Email Issues
If you don’t receive emails:
- Check the spam folder.
- Ensure you are using a domain-based email.
Install an SMTP plugin like WP Mail SMTP to improve deliverability.
Adding the Contact Form to a Page or Post
Using Shortcode
Each form has its own shortcode. To add a form:
- Copy the shortcode from Contact → Contact Forms.
- Paste it into any page, post, or widget area.
Example:
[contact-form-7 id=”1234″ title=”Main Contact Form”]
Using Block Editor (Gutenberg)
If you are using the block editor:
- Create a new page or edit an existing one.
- Add a Shortcode block.
- Paste the form shortcode into the block.
- Publish or update the page.
Now, your form is live!
Customizing Form Design
Basic Styling with CSS
Contact Form 7 uses your theme’s default styling. If you want a custom design:
- Add CSS rules in Appearance → Customize → Additional CSS.
Example:
.wpcf7 input[type=”text”],
.wpcf7 textarea {
width: 100%;
padding: 10px;
border-radius: 5px;
}
You can style buttons, inputs, error messages, and more.
Using Third-Party Add-ons
There are many plugins available that extend Contact Form 7’s design options. Some popular ones include:
- Contact Form 7 Styler
- CF7 Skins
These add-ons provide ready-made templates and visual styling options.
Setting Up Spam Protection
Google reCAPTCHA Integration
Spam is a common issue with contact forms. Fortunately, Contact Form 7 supports Google reCAPTCHA.
Steps to set it up:
- Go to Google reCAPTCHA.
- Register your website and get Site Key and Secret Key.
- In WordPress, go to Contact → Integration.
- Click reCAPTCHA and enter your keys.
Once set up, users will see a “protected by reCAPTCHA” badge.
Akismet Integration
If you already use Akismet (popular anti-spam plugin), Contact Form 7 works with it automatically.
Make sure Akismet is active on your site. Then, Contact Form 7 will filter spam form submissions quietly in the background.
Useful Tips for Managing Contact Form 7 Forms
Here are a few best practices to keep in mind:
- Always Test Your Forms: After creating or editing a form, submit a test entry.
- Use a Domain-Based Email: This improves email deliverability.
- Keep the Plugin Updated: Regular updates fix bugs and improve security.
- Backup Form Settings: If you update WordPress or change themes, having a backup helps.
Limit Fields: Only ask for necessary information to improve user experience.
Conclusion
Configuring Contact Form 7 in WordPress is easy once you know the steps. From installation to email setup and spam protection, the plugin offers everything you need to create functional and beautiful contact forms.
By following this guide, you can ensure that visitors can reach you smoothly. A well-designed contact form not only improves communication but also builds trust with your audience.
If you need further help setting up or troubleshooting Contact Form 7, feel free to contact us. Happy form building!
Need help setting up or fixing your Contact Form 7 on WordPress?
Our experts are available 24×7 to assist you!
✅ Live Chat Support: Click Here to Chat
✅ Call Us Anytime:
- US & Canada: 888-818-9916
- UK: 800-069-8778
- Australia: 1800-990-217
We can help you install, configure, customize, and troubleshoot Contact Form 7 — so you can focus on growing your website!
Related posts: