How to Repair Database in WordPress
Last updated on August 10th, 2021 at 02:03 pm
In order to keep your WordPress website healthy and fully-functional, you need to make sure that your WordPress database is working fine.
It is this database that stores all of the website-related information. And if your WordPress database stops functioning, you might have a hard time accessing the site. A quick fix here would be to repair the database and make sure things resort back to the normal stage.
Well, if you aren’t sure then don’t worry we will help you out. This article is specifically designed to outline the steps you need to follow, in order to repair your WordPress database.
Before getting into the details of the same, let’s see the different situations under which you would need to repair your database.
Why Do You Need To Repair a WordPress Database?
At times, things do not work the way we expect to. A sudden server crash or a WordPress table went wrong, and your website might come to a pause. Often, it is seen that the most common reasons where a WordPress owner needs to repair a database are when the existing one gets corrupted.
There could be several reasons for the same. But what we focus on, here is the need to combat the backdrop of this corruption rather than introspecting on how. Considering that your WordPress website is of great importance and shutting down the site for even a minute would cost you high.
A corrupted database would redirect them to a page not found an error. This increases the bounce rate of the website and then, disrupting the overall page rankings. Of course, you would not want this to happen, right?
The best you can do is follow the steps given below and then repair your corrupted database.
Another reason as to why you would need to repair a database is when your WordPress tables are behaving unexpectedly. Wrong outputs, irrelevant retrieval and other issues related to database tables might lead to denied access to the site. And, hence repairing them is the only thing that would help you restore the functionality of your website.
Convinced?
Let’s see how we can repair your WordPress database.
How to Repair Database?
Data Backup
Even before you start with the process of repairing your WordPress database, it is important to have a backup of the same. In case, you have not created one, we will start with it
Remember, without creating a backup of the website, you might lose some of the important data.
For instances where your website is already corrupted and you are no longer allowed to access the WordPress website, you can backup the site manually.
Start PHPMyAdmin
Once you have successfully created a backup of your data, we next need to start the PHPMyAdmin.
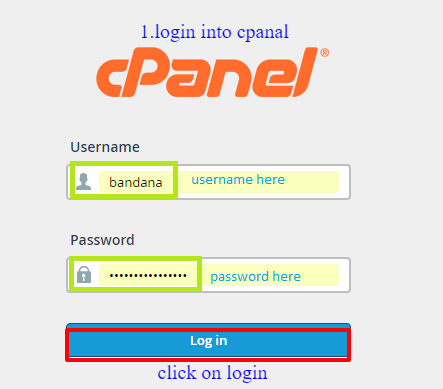
For this, you would need to log in to the cPanel of your WordPress website.

- Type in the username and the password to log in to the WordPress cPanel.
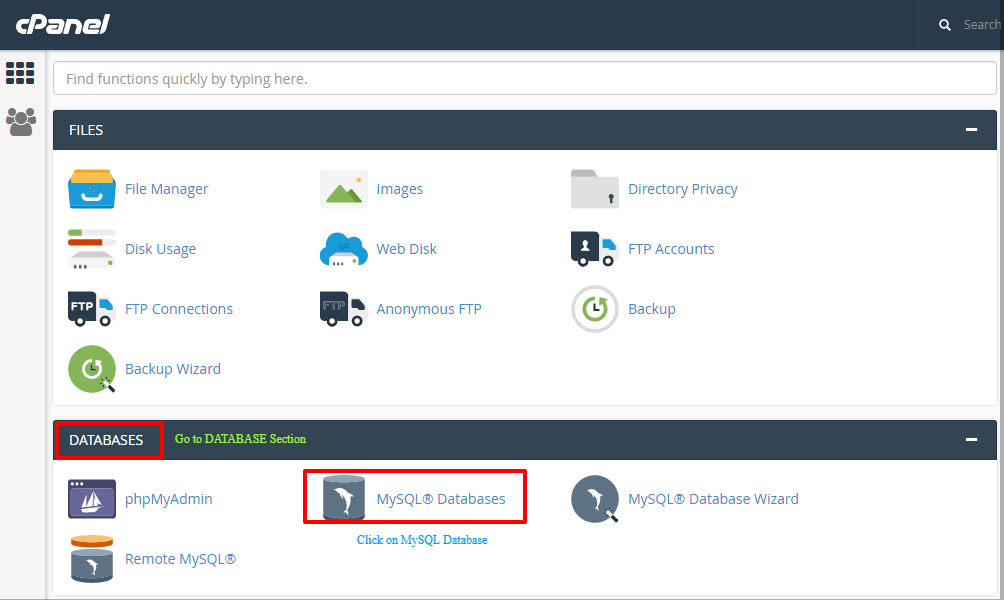
- Once you are in, a panel opens up.
- Here, you would need to search for PHPMyAdmin.

- You can trace it under the database header.
Selecting a WordPress Database
After entering into the PHPMyAdmin section of the control panel, the next step involves a selection of the WordPress database that you need to repair and fix.
- Navigate to the left of the PHPMyAdmin screen.
- All of the databases hosted on the same can be found there.
- In case, you have only your website, it won’t take long to find the same.
- However, if there is more than one file, look for the one that has an extension of _wp_. This specifies a WordPress file or database.
- After you have identified the database, select it.
Repairing WordPress Database
- Entering into the database panel, you will find all of the website tables.
- Since we want to repair all of them, move to the end of the page and click on select all boxes. This will help you select all of the tables present in the WordPress database.
- Once you have selected all, there is a drop-down adjacent to the check all option
- Click on it to select the repair table.
- This will start the process of database repair on all of the selected tables.
- Once done, the repair is complete
Verifying the Process
We know that you have successfully repaired all of the databases but to be on the safer side, we advise you to recheck whether or not the process we executed without fail.
To do so, you don’t need to do anything but stay connected. After the process has been finished, you will see a message on the screen that says, Your SQL Query has been successfully executed.
In case, there appears a message that says: The storage engine for the table doesn’t support repair, you need to re-run the repair on the said table, following the steps stated above.
And we are done! Chat Now


