How To Use Nextgen Gallery In WordPress
Last updated on September 28th, 2021 at 11:02 am
Galleries aren’t just meant for WordPress to store photos, it is apparently an important part of every website. Whether you are just a blogger or a pro photographer, having an image gallery within your WordPress website is always a plus. Now, as much as the idea of creating image galleries appeal to you, the process waves off the excitement.
Apparently, if you are a newbie and have no clue on how to create a web gallery, this process would seem tiring and too long. We understand your concern and hence, we have articulated this piece to introduce to you, an exceptional plugin, NextGen gallery.
This plugin has been dedicated to all those WordPress users who wish to share, upload or incorporate an image gallery within their website. Whether it is a pixeled image or a high-quality SLR image, the gallery is just the right place to store them.
Before we delve into the specs of how can you use the plugin, let me answer why?
Why Do You Need To Add A Photo?
An image gallery isn’t meant solely for the photographers or the picture-specific nerds. Whether you run an eCommerce store, or simply share photos with your friends, upload content or have a photography site, an image gallery is a must.
You always upload images to your posts, and it needs to be of very high quality. You cannot afford to compromise on what you deliver to your readers. This is where having an image gallery helps. It helps you to embed top-notch quality images within the website.
What could be a better way than to use the NextGen plugin? Easy to use, install and implement, the plugin offers all that you need to create an image on a gallery on your WordPress website.
Who Needs To Create An Image Gallery?
- One who sells artwork or photographs online.
- One that wishes to share photos with peers
- An eCommerce store owner who needs to display products in the best quality
So, which category do you fall in?
Found yourself! Now let’s see how to use the NextGen gallery in WordPress!
How To Use NextGen Gallery in your WordPress Website?
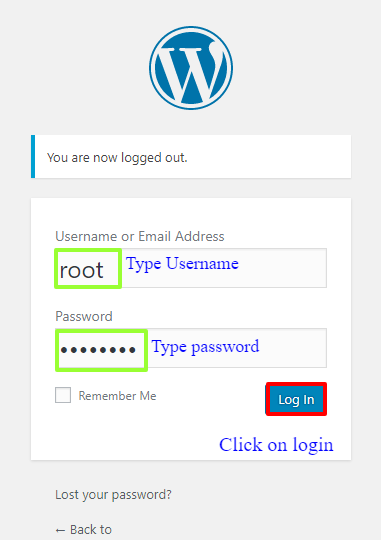
- To start, you would need to first login to the WordPress dashboard.

- Enter your username and the password and click on login to sign in the WordPress dashboard.

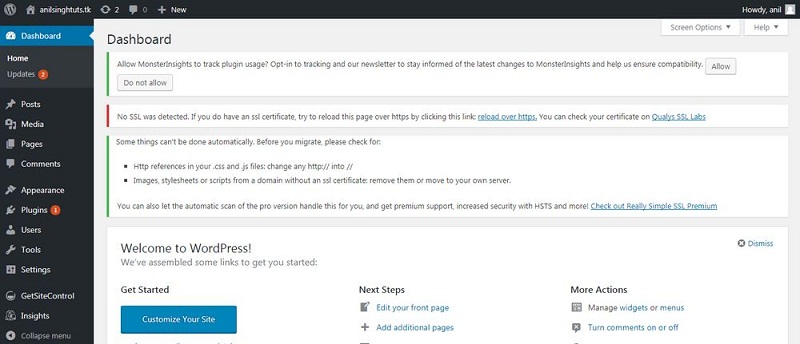
- Next, move around the dashboard band search in the plugin option for NextGEN Display 1.9x or higher version.
- Now move to the tab of Display and click on Collection. Here, you will find a total of four displays as visible in the center section.
- Now, we need to edit and make some changes:
- The first collection will have the option of “Include new collection” region and snap “Include”. Fill in the above details to make sure the first collection is ok.
- You can put any of the names. For now, let’s stick to the name “test collection”. As soon as you enter the name, you will find a new collection pops up and is visible on the great orange tablet.
- Now, we need to modify other settings. Move to download the Dropdown named “Select Collection” and here, click on the collection name, one that you have made from the above dropdown. After doing this, you will notice that the left-field that was empty, now says “Collection ID X: test-album”.
- Once, we are done with the creation and selection of the collection, we are now ready to shift the exhibition tablet (that currently is on the center section) or a different collection tablet (that currently is on the correct segment) within the newly created collection region. Once done, we can now populate the collection, add images, and finally, tap on the “Refresh” tab catch to spare.
This was all about the first part, next we will see how to place an album on any of your WordPress pages.
How to place an album on a page
- Here, move to the altering region of the WordPress posts or the page, the one where you wish to put the created collection.
- Now, keep your cursor at a place where you want to show the created collection.
- Next, click on the symbol of “Include NextGEN Exhibitionx”. You will find this in the toolbar.
- Move to the “Collection” tab.5.
- Now, chose the collection as visible on the drop-down menu of the same and then select on either the “broadened form” or the “reduced form”.
- Next, click on the “Embed” catch.
- Here, you can see two things: One is spare your page and the other is to view all your outcomes.
You have now successfully created a NextGen gallery using WordPress and also placed an album onto a WordPress page. Though this appears a bit confusing, once you get started with the process, you will realize that it is nothing but simple.


