Most Feature Rich WordPress Gallery Plugins Installation with Setup
Last updated on June 9th, 2023 at 07:35 am
Envira Gallery
How To Install Envira Gallery?
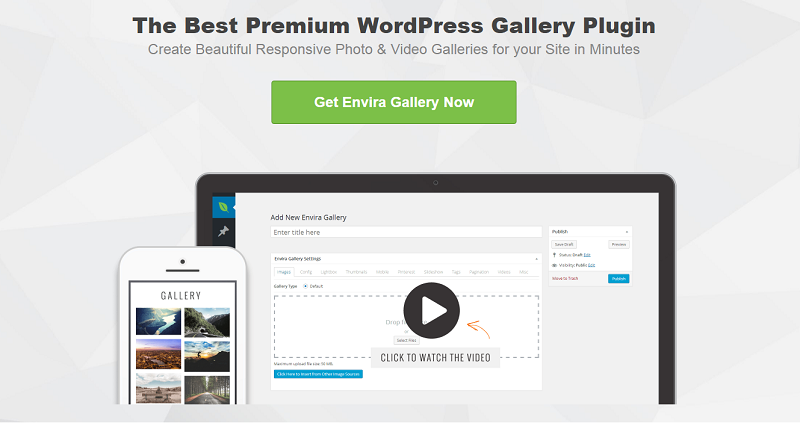
Envira Gallery is a powerful and user-friendly WordPress gallery plugin in the market. You can easily create photo and video galleries with just a few clicks. It has pre-built templates to customize the appearance of your gallery.
Type Environ Gallery in search bar of WordPress. Org
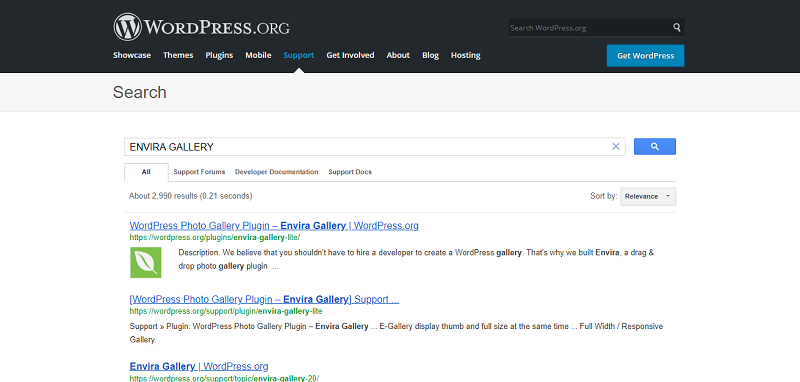
Open the first link and download it from the website.
- Then login into your website.
- A visit to the plugin page & there, click on Add New plugin option.
- There select the upload plugin to show the plugin upload area.
- Open Choose File from local file directory.
- Select the plugin zip file to upload the plugin & install them.
- Click Install Now to install the WordPress Plugin.
- The installation screen will list the installation as successful or note any problems during the install.
- If it’s done successfully then click Activate Plugin to activate it, or Return to Plugin Installer for new installation.
How to set up Envira Gallery?
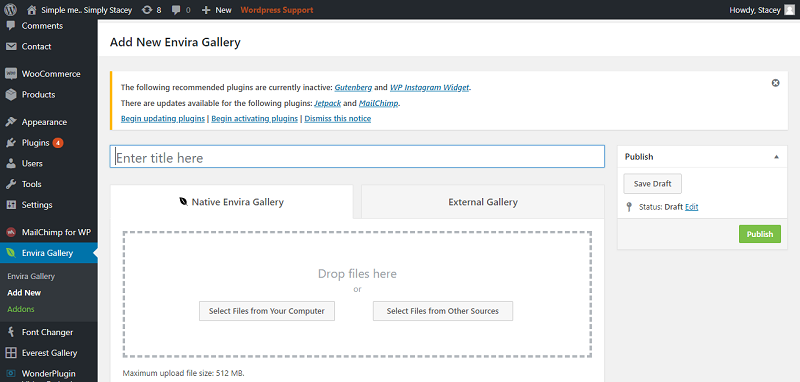
- Add New Gallery. To create your very first Envira gallery is to click the add new button in the Envira gallery plugin admin screen.
- Name Your Gallery and Upload Images.
- Editing Image Metadata.
- Configure Your Gallery.
- Embed your Envira Gallery.
Photospace Gallery
How to install Photospace Gallery?
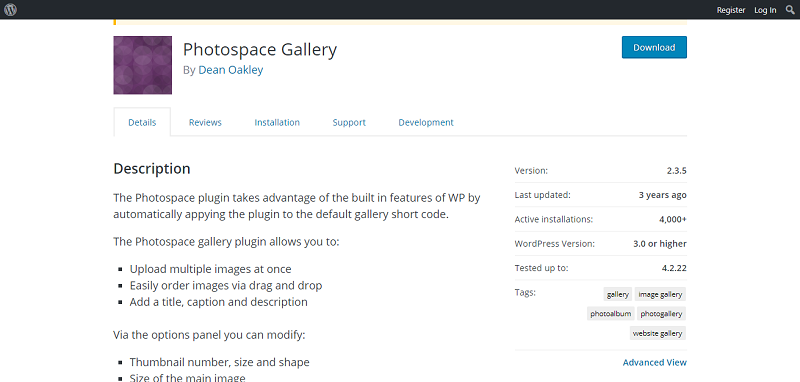
Photospace Gallery plugin automatically adds any images attached to the post or page into the gallery. Then simply use the short code tag and your done. The Photospace gallery plugin allows you to upload multiple images at once and many more gallery features.
Type Photospace Gallery in search bar of WordPress.Org
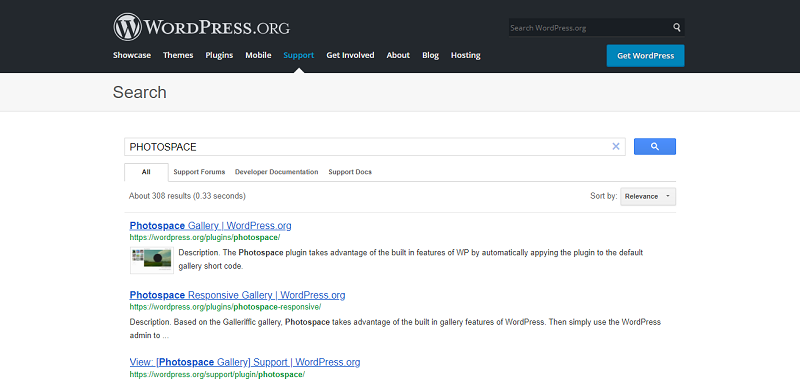
Open the first link and download it from the website.
- Then login into your website.
- A visit to the plugin page & there, click on Add New plugin option.
- There select the upload plugin to show the plugin upload area.
- Open Choose File from local file directory.
- Select the plugin zip file to upload the plugin & install them.
- Click Install Now to install the WordPress Plugin.
- The installation screen will list the installation as successful or note any problems during the install.
- If it’s done successfully then click Activate Plugin to activate it, or Return to Plugin Installer for new installation.
How to set up Photospace Gallery?
1. Once you installed Photospace Gallery, click “Activate”.
2. Upload your photos to the post/page where you want the gallery.
3. Lastly, go to dashboard to build your gallery and insert shortcode it in the page content.
Gmedia Gallery
How to install Gmedia Gallery?
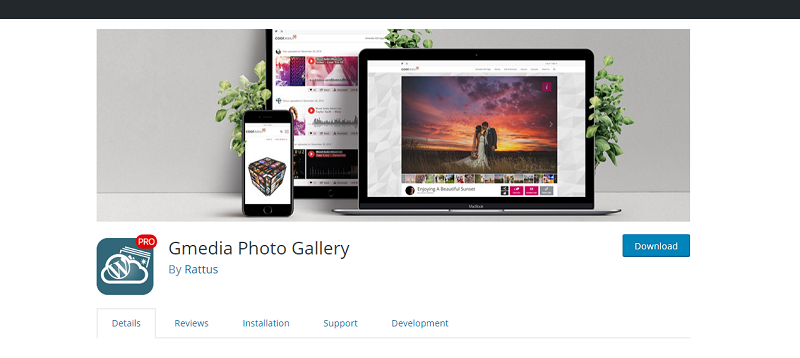
Gmedia gallery is a versatile plugin good for handling Videos, MP3 and Photos. You can edit photos the way you want, upload images, create multiple galleries, group pictures in categories, and add tags for each photo.
Type Gmedia Gallery in search bar of WordPress.Org
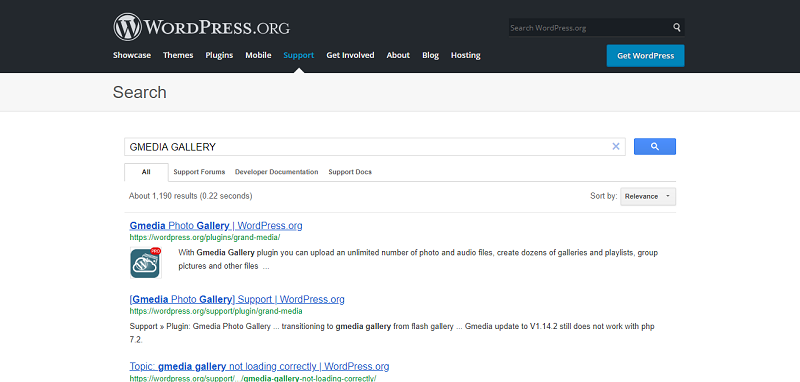
Open the first link and download it from the website.
- Then login into your website.
- A visit to the plugin page & there, click on Add New plugin option.
- There select the upload plugin to show the plugin upload area.
- Open Choose File from local file directory.
- Select the plugin zip file to upload the plugin & install them.
- Click Install Now to install the WordPress Plugin.
- The installation screen will list the installation as successful or note any problems during the install.
- If it’s done successfully then click Activate Plugin to activate it, or Return to Plugin Installer for new installation.
How to set up Gmedia Gallery?
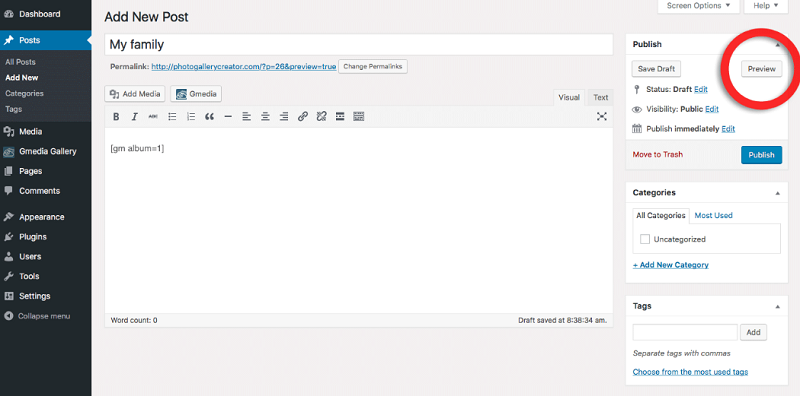
1: Install and Activate Gmedia Gallery Plugin.
2: Click on Gmedia Gallery in the sidebar. Click on Add/Import Files. Create a new Album and add your images
3: Add your image gallery to a post/page. An upload box will then come up. Select which album where the image will go under the Add to Album box.
4. Clicking on “Insert into post” button will close the Gmedia uploader and insert the gallery code inside your WordPress post. Shortcode will appear like this:
[gm album=1]
Once you are satisfied with the way it looks, you can publish your post.
WP Canvas Gallery
How to install WP Canvas Gallery?
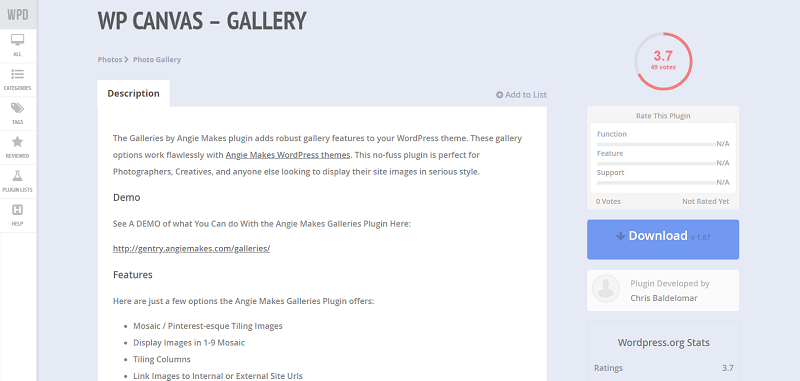
WP Canvas or “The Galleries by Angie Makes” plugin adds gallery features to your WordPress theme. This plugin is flexible for creative persons or anyone else looking to display their images in unique style.
Type WP Canvas in search bar of WordPress.Org
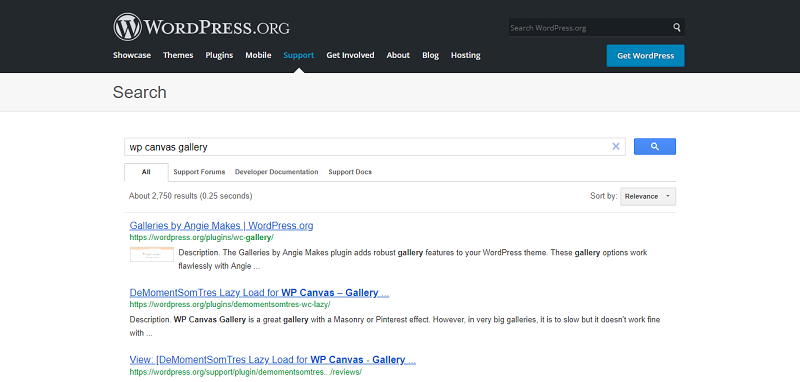
Open the first link and download it from the website.
- Then login into your website.
- A visit to the plugin page & there, click on Add New plugin option.
- There select the upload plugin to show the plugin upload area.
- Open Choose File from local file directory.
- Select the plugin zip file to upload the plugin & install them.
- Click Install Now to install the WordPress Plugin.
- The installation screen will list the installation as successful or note any problems during the install.
- If it’s done successfully then click Activate Plugin to activate it, or Return to Plugin Installer for new installation.
How To Set Up WP Canvas Gallery?
1: Install and Activate WP Canvas – Gallery Plugin.
2: Create a New Album and add images you want.
3: Add your image gallery to a post/page. An upload box will then come up. Select the album where the image will go under the Add to Album box. You can choose different styles and fonts.
4. Insert the gallery code inside your post. It’s a shortcode, just copy and paste in your post. Once you are satisfied, you can publish your post.
NextGEN Gallery
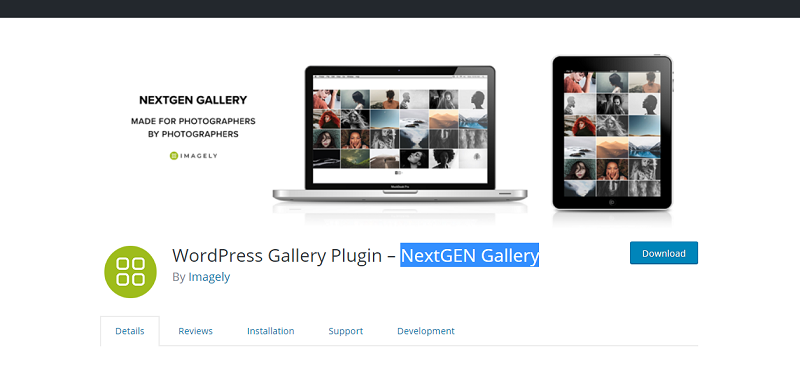
How to install NextGEN Gallery?
NextGen Gallery provides thumbnail galleries with plenty of options for customization. It comes with four built-in lightboxes, including Fancbox, Thickbox, Shutter, and Shutter Reloaded. It also has responsive slideshows with a wide array of transition speed and style settings. They can provide more features in Pro Version.
Type NextGEN gallery in search bar of WordPress. Org
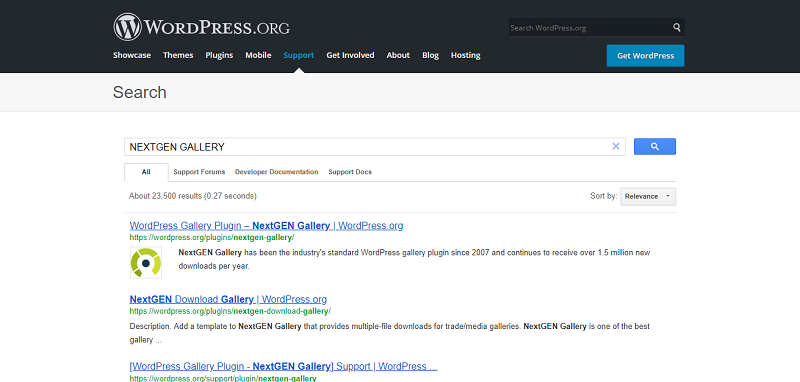
Open the first link and download it from the website.
- Then login into your website.
- A visit to the plugin page & there, click on Add New plugin option.
- There select the upload plugin to show the plugin upload area.
- Open Choose File from local file directory.
- Select the plugin zip file to upload the plugin & install them.
- Click Install Now to install the WordPress Plugin.
- The installation screen will list the installation as successful or note any problems during the install.
- If it’s done successfully then click Activate Plugin to activate it, or Return to Plugin Installer for new installation.
How to set up NextGEN Gallery?
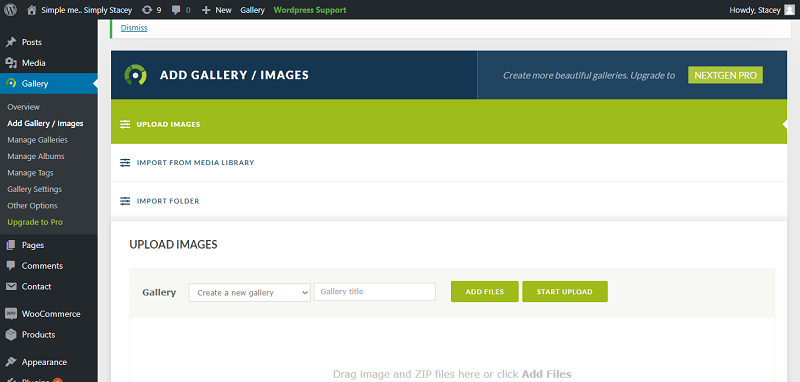
1: Install and Activate NextGEN Gallery Plugin.
2: Go to Gallery >> Album.
3: Create your first album >> “Add new album” and click “Add” You will see your new album appear on the right.
4: Go to the Dropdown “Select Album” and select the album you just created from the dropdown.
5: After you create and select an album, you can drag and drop a gallery tablet (from the middle column) or another album tablet (from the right column) into your new album area. When you are done, populating your album, click the “Update” button to save.

