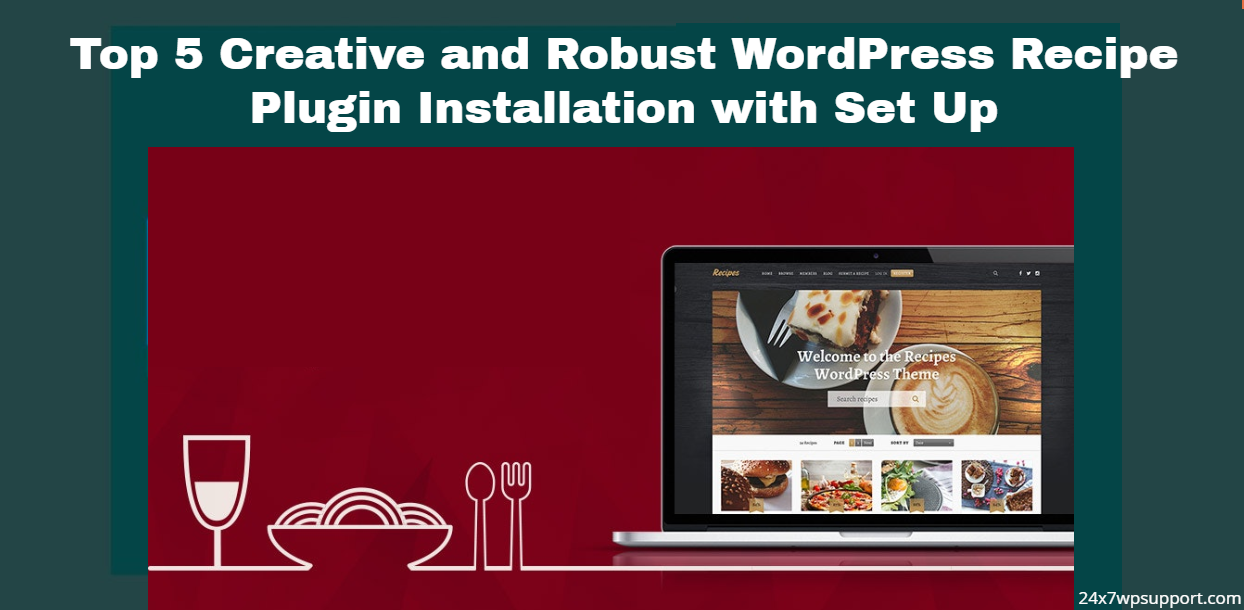
Top 5 Creative and Robust WordPress Recipe Plugin Installation with Set Up
Last updated on July 3rd, 2024 at 07:53 am
Recipe Card

By using Recipe Card plugin you can create stunning and beautiful recipes that readers can print, save and review.
How to install Recipe Card
- Login into your dashboard
- On the “Plugins” tab click on “Add new” and search for the plugin name
- Click “Install now” button to install it on your site
- Click “Activate” to finish the installation.
How to setup the plugin with your site
- Go back to your WP dashboard.
- Click on “Recipe Card” on the left side menu of the dashboard.
- Choose the theme, background, font and layout that you want on the right side of the page.

- Click “Apply to Blog” to save your settings.
- Click on “Add New” under “Post” tab on the left side menu of the dashboard to start making your recipe post.
- On the add new post page, click on the Recipe Card icon as shown on the picture below (make sure you are on the “visual” tab).
- The Recipe Card popup window will appear,
- By clicking on the “Select Image” button you can add an image.
- Enter all your recipe information and details on the popup window text boxes.

- Click on “Save” and “Publish” to publish your recipe post.
WP Ultimate Recipe

WP Ultimate Recipe is a very easy to use recipe maker plugin available on WordPress, you can create professional looking recipes in just a few clicks.
How to install WP Ultimate Recipe
- Open your WP dashboard.
- Navigate into “Plugins” on the dashboard menu then Click on “Add new”.
- Search for the plugin name on the search bar.
- Click “Install Now” button to install it on your site.
- Click “Activate”.
How to setup the plugin with your site
- WP Ultimate Recipe is very straight forward, just go back to the dashboard.
- Click on ”Add New” under “Recipes” tab on the left side menu of the dashboard.
- Enter your recipe title, image and details on the form.

- Click “Publish” and it will automatically create your recipe post on your site.

WP Recipe Maker

WP Recipe Maker, another recipe plugin by Bootstrapped Ventures. More easier to use, beginner friendly with professional output.
How to install WP Recipe Maker
- Login into your site dashboard.
- Go to “Plugins” tab on the left side menu then click on “Add new”.
- There you can search for the “WP Recipe Maker” plugin on the search bar.
- Then you can click on the “Install Now” button and wait for the installation process to be complete.
- Click “Activate” to activate the plugin.
How to setup the plugin with your site
- Click on “Add New” under “Post” tab on the left side menu of the dashboard to start making your recipe post.
- On the add new post page, click on the WP Recipe Maker icon as shown on the picture below (make sure you are on the “visual” tab).

- WP Recipe Maker popup window will appear.

- Add the image and title of your recipe.
- Enter all the recipe details and information in “Recipe Details” tab in the popup window.
- Add ingredients and instructions on the “Ingredients & Instructions” tab.
- Click on “Save” and “Insert & Close” button to save your recipe and insert it on the post.

- Click on “Publish” to publish your recipe post.
Yummly Rich Recipes

Casengo Live Chat Support is a paid plugin that allows you to add live chat widget on your site quickly and easily.
How to install Yummly Rich Recipes
- Go to your Dashboard.
- On the dashboard left side menu under “Plugins” tab Click “Add
New” button. - Write “Yummly Rich Recipes” on the search bar, it will
automatically search for the plugin. - hen you can click on the “Install Now” button and wait for the
installation process to be complete. - Click “Activate” to activate the plugin.
How to setup the plugin with your site
- Click on “Add New” under “Post” tab on the left side menu of the dashboard to start making your recipe post.
- On the add new post page, click on the Yummly Rich Recipes icon as shown on the picture below (make sure you are on the “visual” tab)

- Yummly Rich Recipes popup window will appear.

- Enter all the recipe details and information on the text boxes.
- Click “More Options” to add additional details like recipe
summary, prep, cook and total time, serving size, calories, fats and recipe notes. - Click on “Add Recipe” to save your recipe and insert it on the
post.

- Click on “Publish” to publish your recipe post.
Meal Planner Pro Recipes

Meal Planner Pro Recipes is a free recipe builder plugin with automatic recipe scheme that is fully compliant with google requirements.
How to install Meal Planner Pro Recipes
- Login into your dashboard.
- On the “Plugins” tab then click on the “Add new” and search for
“Meal Planner Pro Recipes” plugin in the search bar. - Click the “Install now” button to install it on your site.
- Click “Activate” to finish the installation.
How to setup the plugin with your site
- Click on “Add New” under “Post” tab on the left side menu of the dashboard to start making your recipe post.
- On the add new post page, click on the Meal Planner Pro icon as shown on the picture below (make sure you are on the “visual” tab)

- Meal Planner Pro popup window will appear.

- Enter all the recipe details and information on the text boxes.
- You can click on “Tag Manager” if you want to insert tags like
course, cuisine, occasion, cooking, diet, and allergies. - Click “More Options” to add additional details like author, recipe
summary, prep, cook and total time, serving size and recipe notes.

- Click on “Add Recipe” at the bottom of the popup window to save your recipe and insert it on the post.

- Click on “Publish” to publish your recipe post.