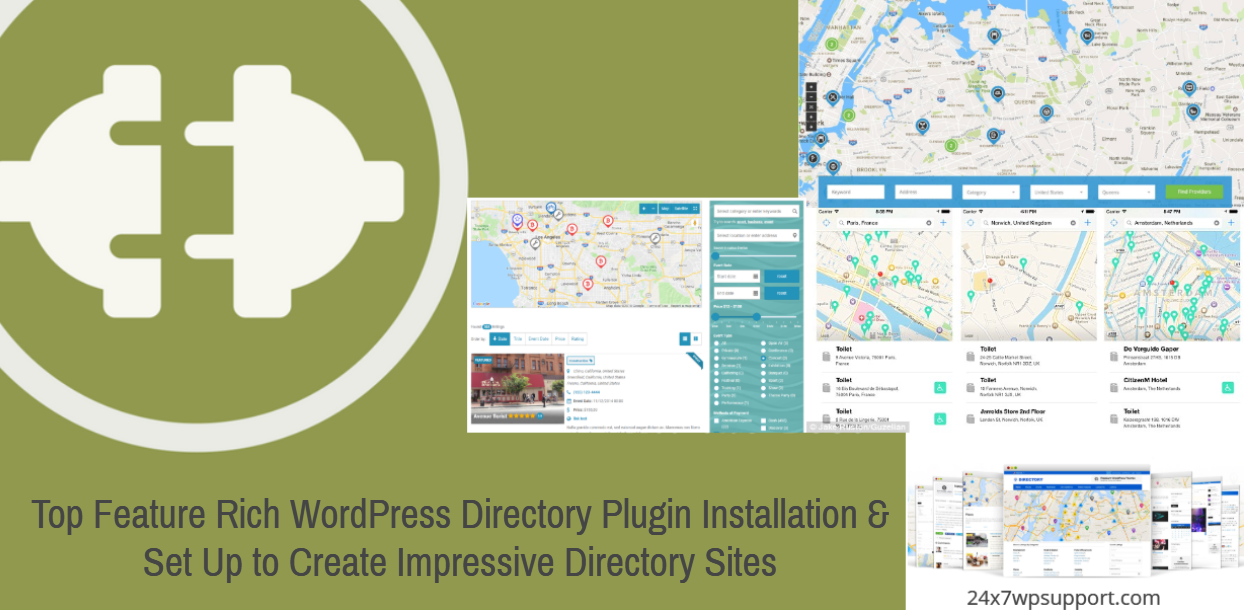
Top Feature Rich WordPress Directory Plugin Installation & Set Up to Create Impressive Directory Sites
Last updated on September 5th, 2023 at 04:28 am
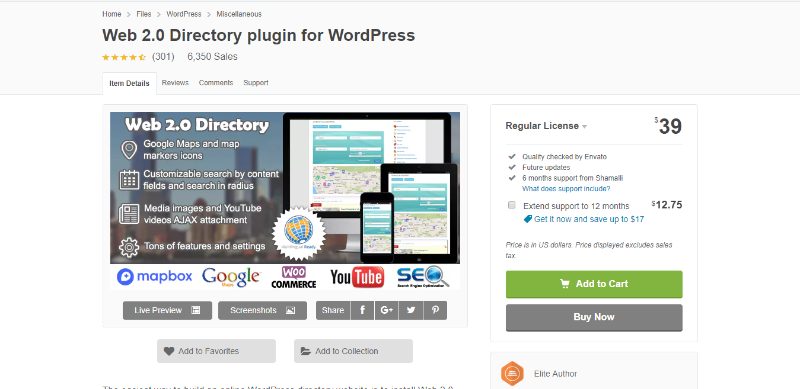
Web 2.0 Directory Plugin
User Listing image ,videos,audio & content very easily in your website. Please purchase this plugins and download this plugin then install your wordpress website.
And goto on site then purchase these plugin.
Web 2.0 Directory Plugin Installation
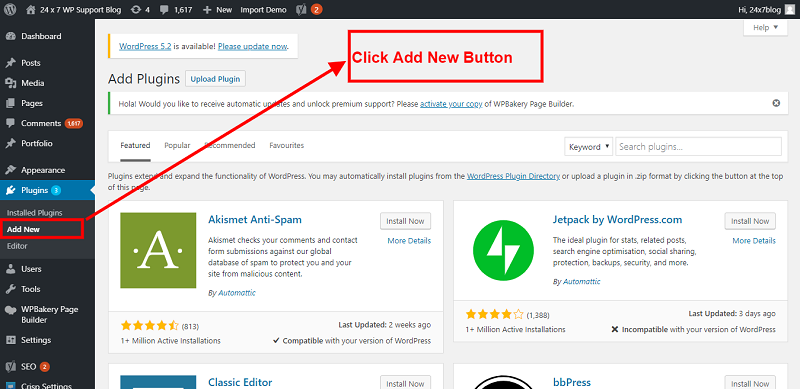
To add the WordPress Plugin use the built-in plugin installer:
You need to open the first selected link and you can download it from the website.
You can Install Plugin using Upload method in WordPress admin panel
- Then login into your website.
- Visit to the Plugins page and there click on Add New.
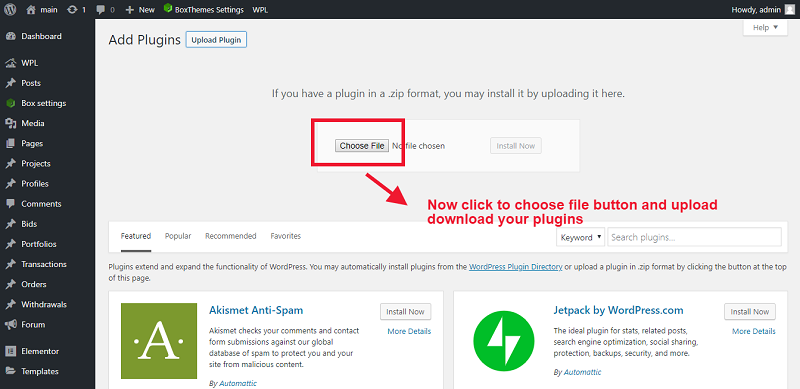
- Choose Upload Plugin to display the Plugin upload field.
- Open Choose File from local file directory.
- Choose the Plugin zip archive to upload and install.
- Click Install Now to install the WordPress Plugin.
- The installation screen will list the installation as successful or note any problems during the install.
- If it’s done successfully then click Activate Plugin to activate it, or Return to Plugin Installer for new installation.
How You Can Setup Web 2.0 Directory Plugin for WordPress
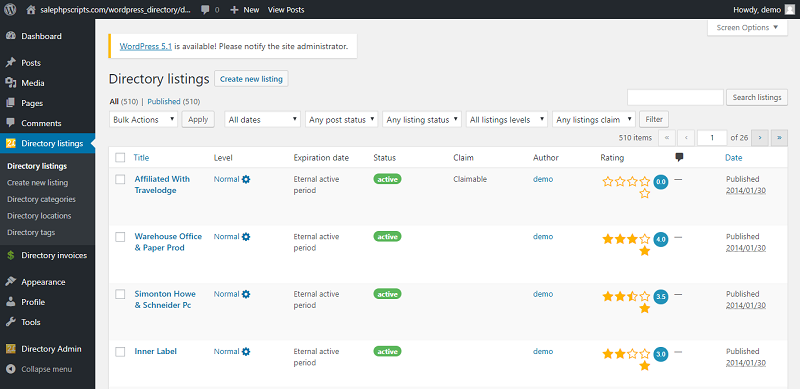
After installing the plugin you can see left side option in wordpress dashboard . click here and setup which you have requirement
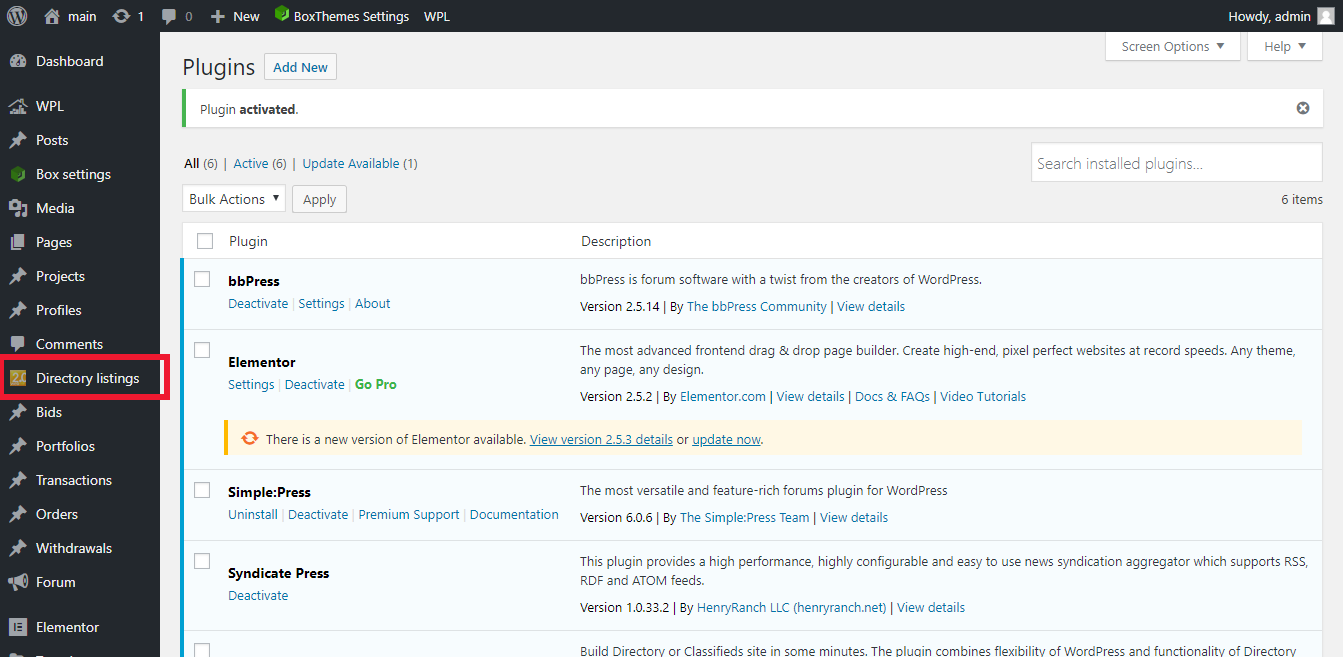
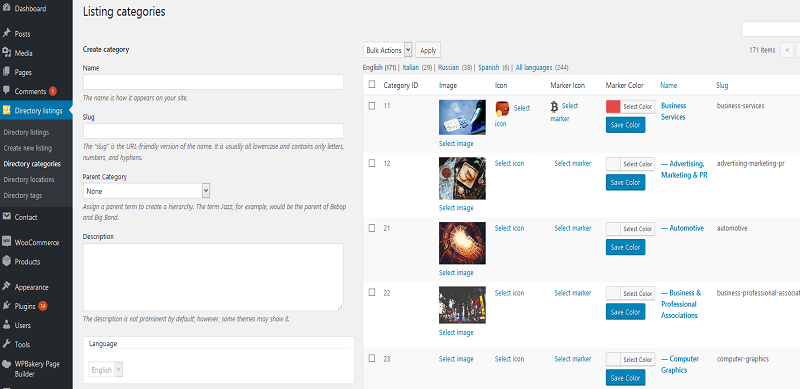
As you can Add New FAQ On Backend
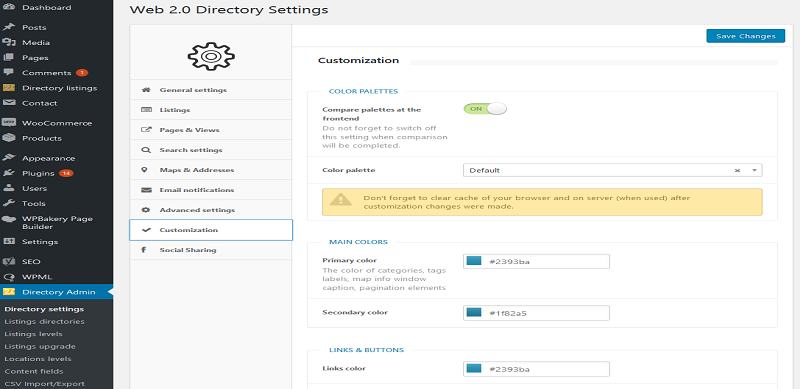
Directory settings:
First of all look at “Directory Admin -> Directory settings” page and setting step by step all directory.
Now click to add submit button
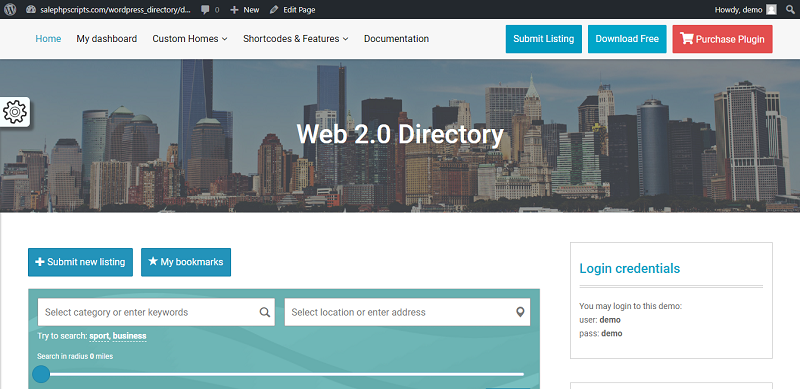
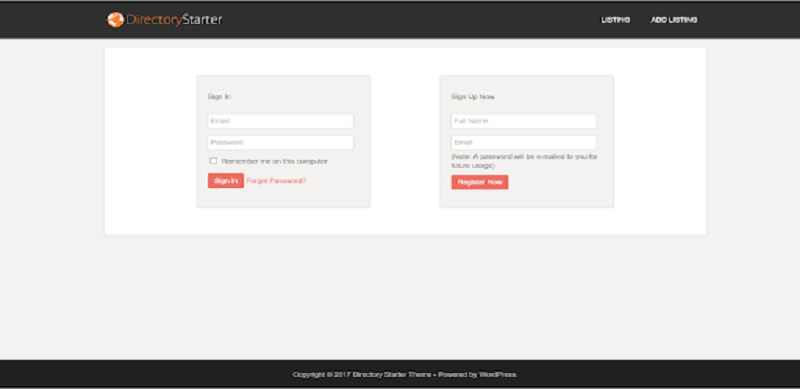
Please open user dashboard
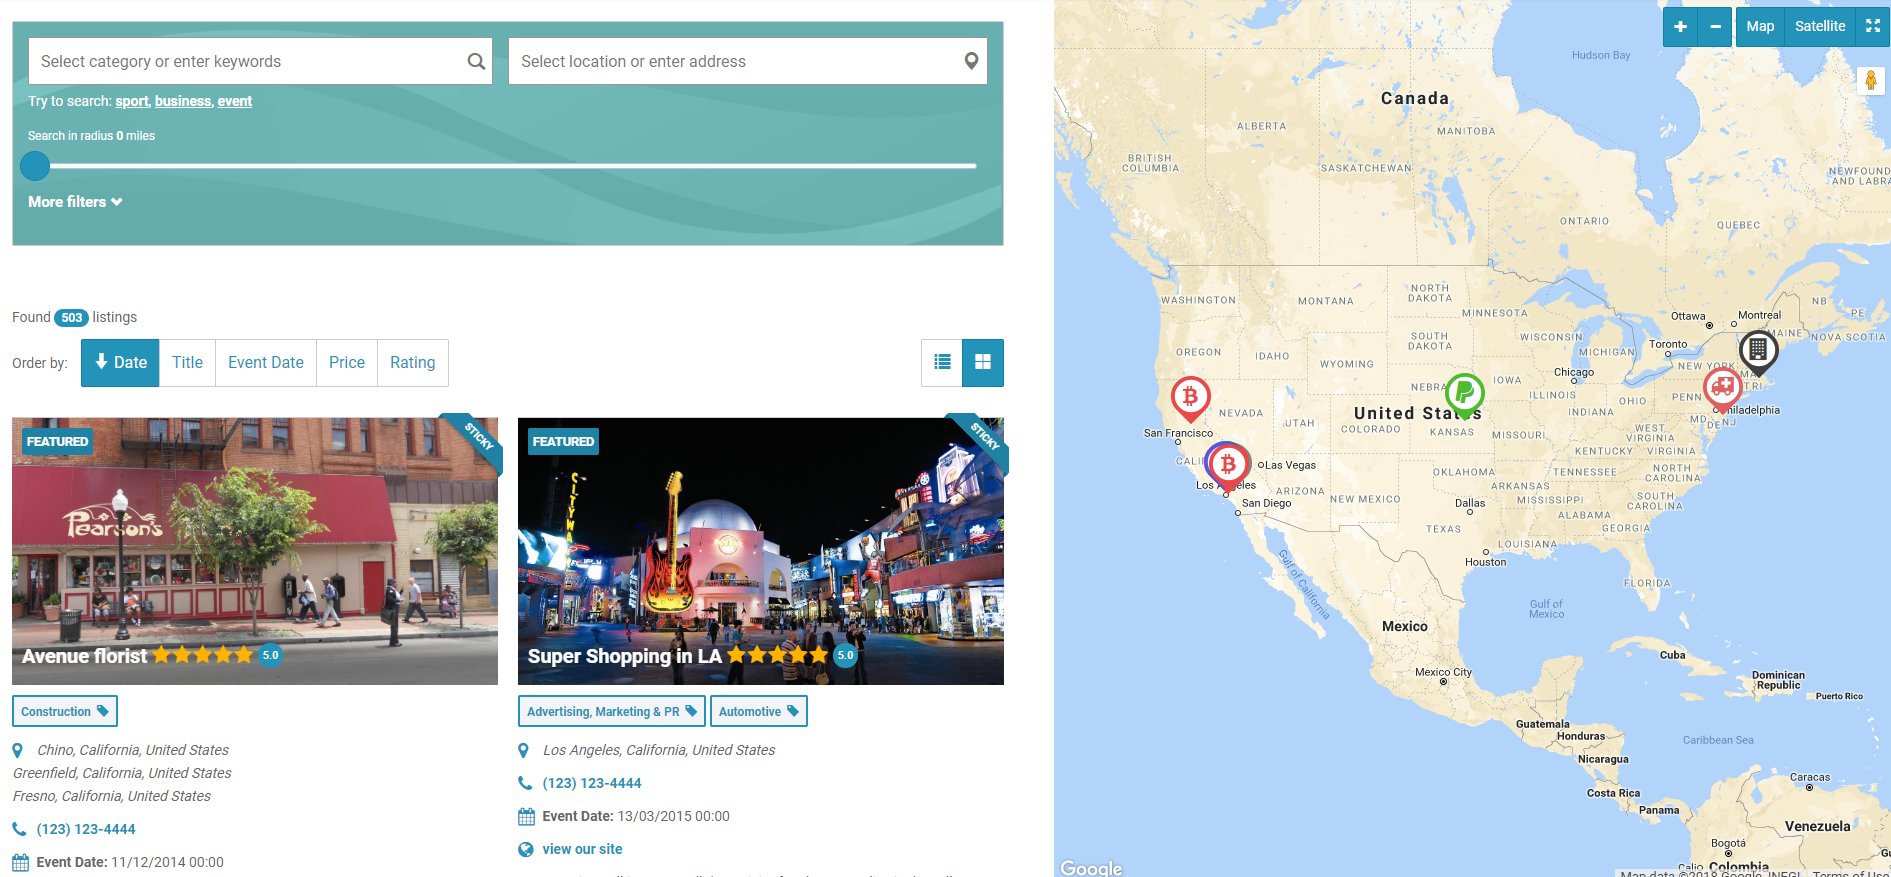
Now show your add on front end
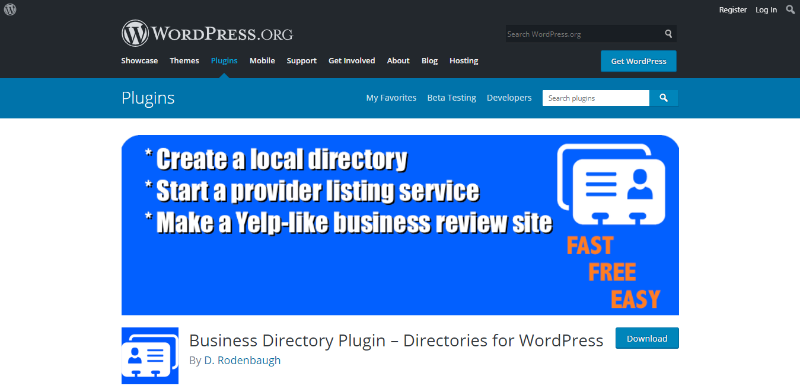
Business Directory Plugin
WordPress business directory plugin and you can add build a local directory, directory of business, a real estate listings site, a Yellow-Pages style business directory, review sections, create a church directory, build an address book directory etc.
Business Directory Plugin Installation
Business Directory Plugin instructions on how to get going quickly install this plugin.

You need to open the first selected link and you can download it from the website.
- Then login into your website.
- Visit to the Plugins page and there click on Add New.
- Choose Upload Plugin to display the Plugin upload field.
- Open Choose File from local file directory.
- Choose the Plugin zip archive to upload and install.
- Click Install Now to install the WordPress Plugin.
- The installation screen will list the installation as successful or note any problems during the install.
- If it’s done successfully then click Activate Plugin to activate it, or Return to Plugin Installer for new installation.
How You Can Setup Business Directory Plugin
And show this message on top.
Business Directory Plugin requires a page with the [businessdirectory] shortcode to function properly.
Now you can create this page by yourself or Business Directory do this for you automatically.
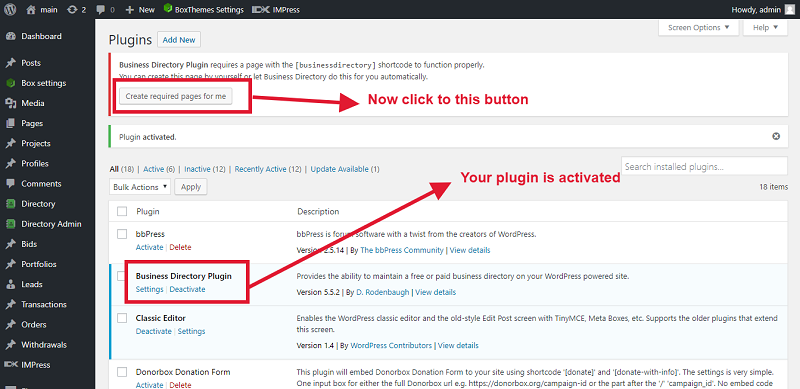
Now show your Plugin
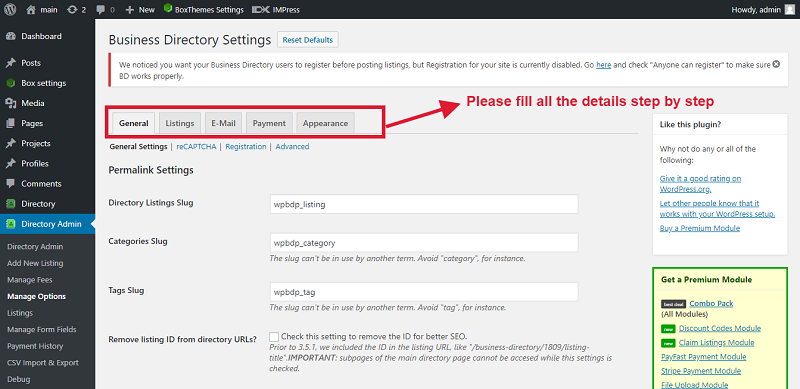
Now click to Directory Admin and fill all the details step by step
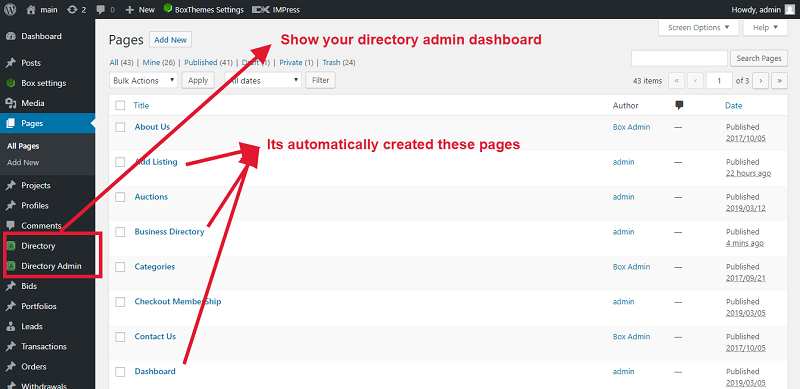
Now goto page and click to this page
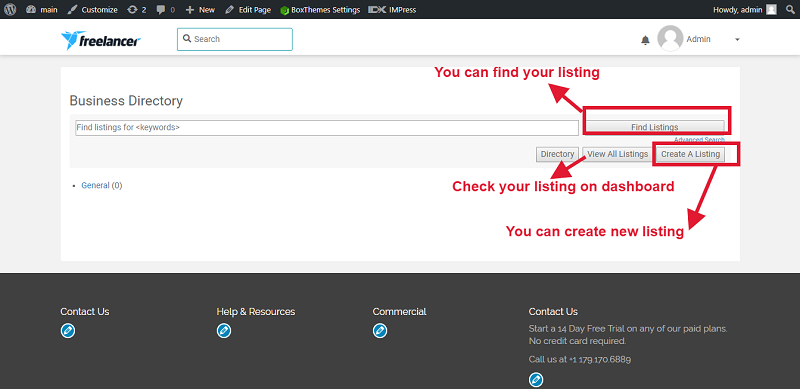
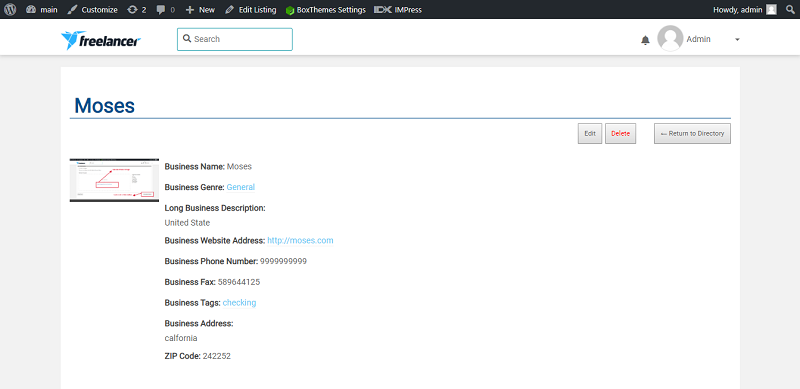
And you can see also in front-end:
Gravity Forms Directory
WordPress Gravity Forms you can used for contact forms, WordPress website post creation, calculator, employment applications etc.
Gravity Forms Directory Plugin Installation
Gravity Forms Directory plugin Set it up following instructions below:
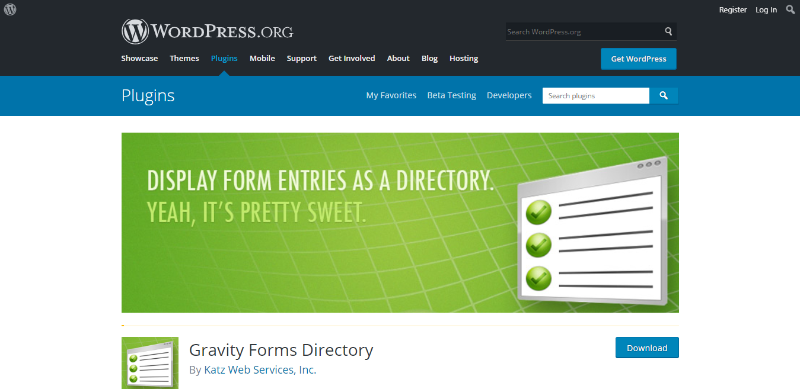
You need to open the first selected link and you can download it from the website.
- Then login into your website.
- Visit to the Plugins page and there click on Add New.

- Choose Upload Plugin to display the Plugin upload field.
- Open Choose File from local file directory.
- Choose the Plugin zip archive to upload and install.
- Click Install Now to install the WordPress Plugin.
- The installation screen will list the installation as successful or note any problems during the install.
- If it’s done successfully then click Activate Plugin to activate it, or Return to Plugin Installer for new installation.
How You Can Setup Gravity Forms Directory
After install this plugin then please go to the dashboard and you can see an option clever options and please setup which you have requirement you can see in backend
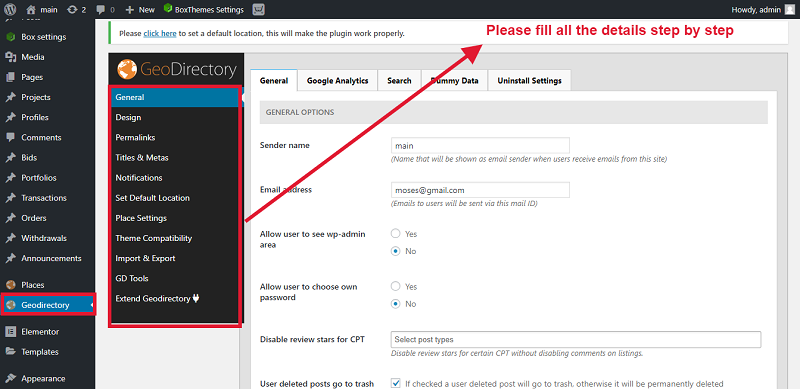
And now front-end-looking as you can see
