
Top Feature Rich WordPress Portfolio Plugins Installation with Set Up
Last updated on September 5th, 2023 at 04:31 am
Envira Gallery
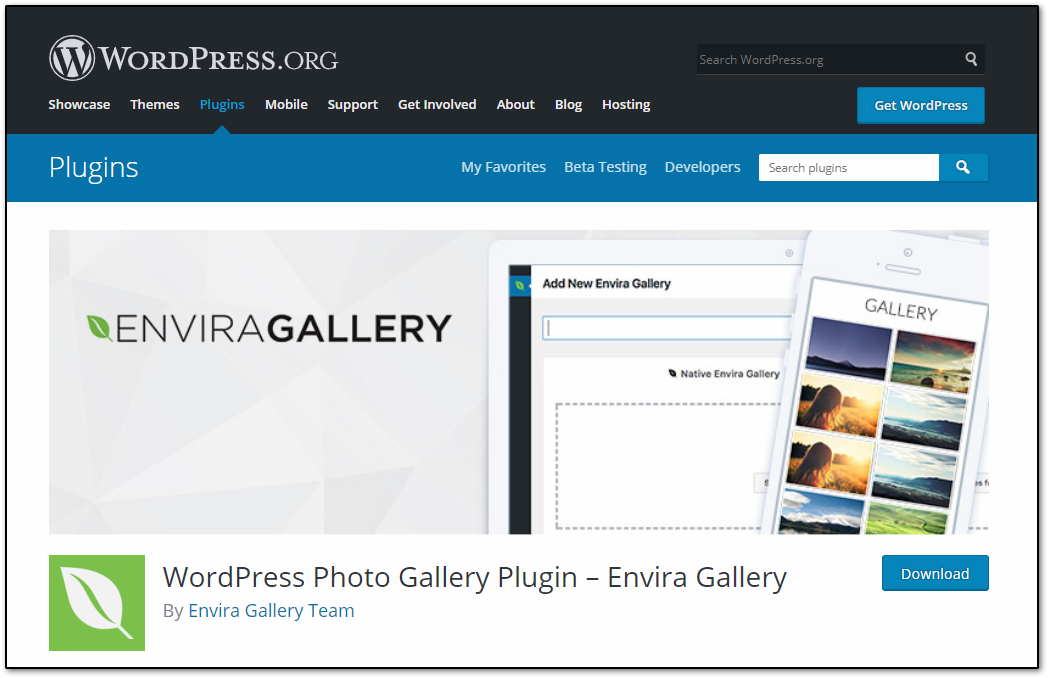
Envira Gallery is a drag and drop, easy fast and powerful photo gallery plugin for WordPress site. Highly optimize for web and server performance.
How to install Envira Gallery
- Login into your dashboard
- On the “Plugins” tab located at the dashboard click on “Add new” and search for the plugin name
- Click “Install now” button to install it on your site
- Click “Activate” to finish the installation.
How to setup the plugin with your site
- Setting up Envira Gallery is so easy, just go back to your WP dashboard.
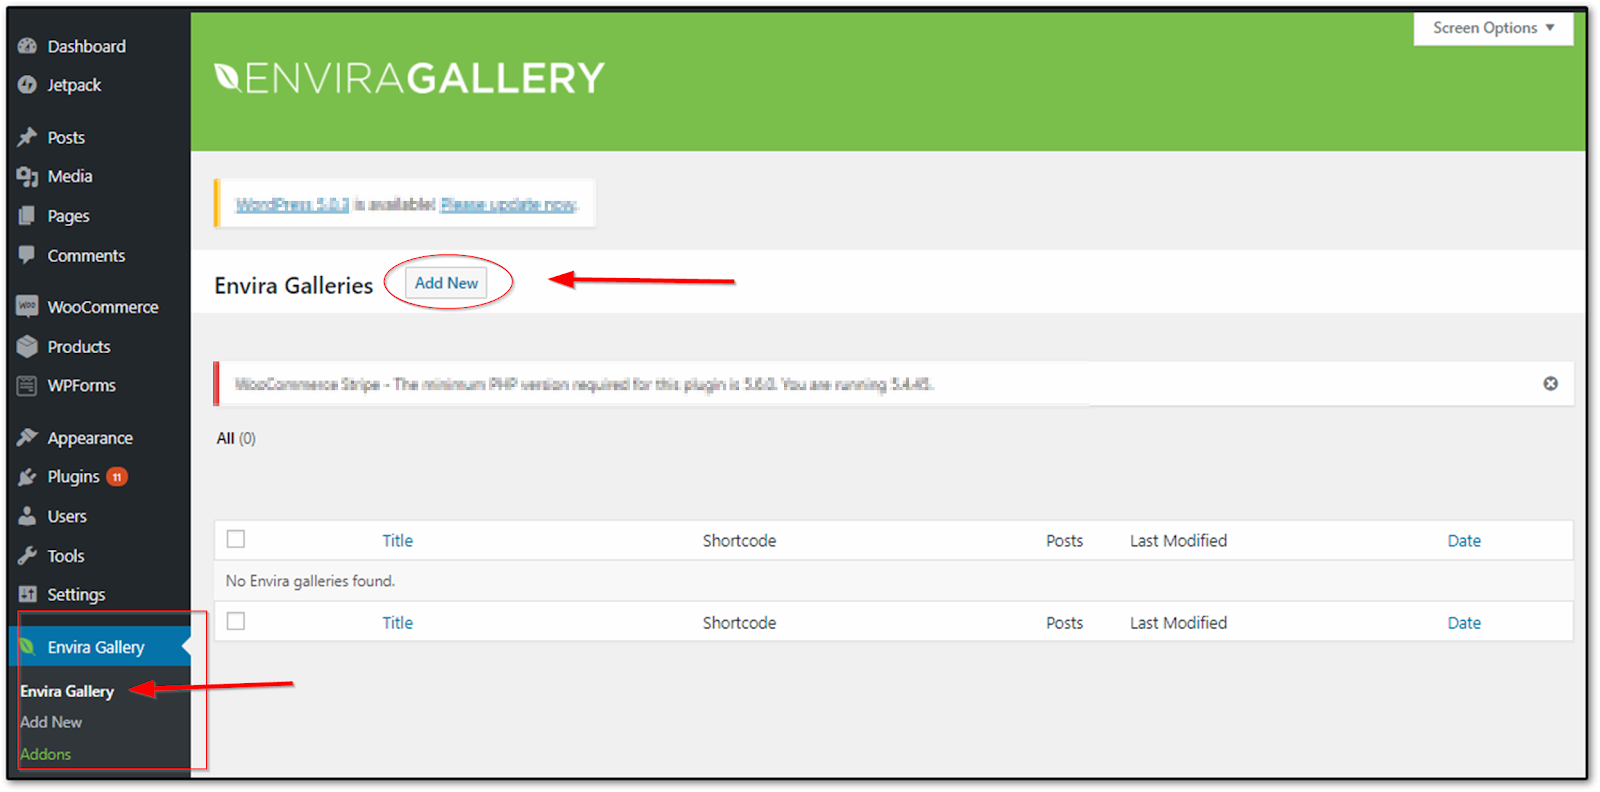
- Click on “Envira Gallery” on the left side menu of the dashboard.
- Click “Add New”
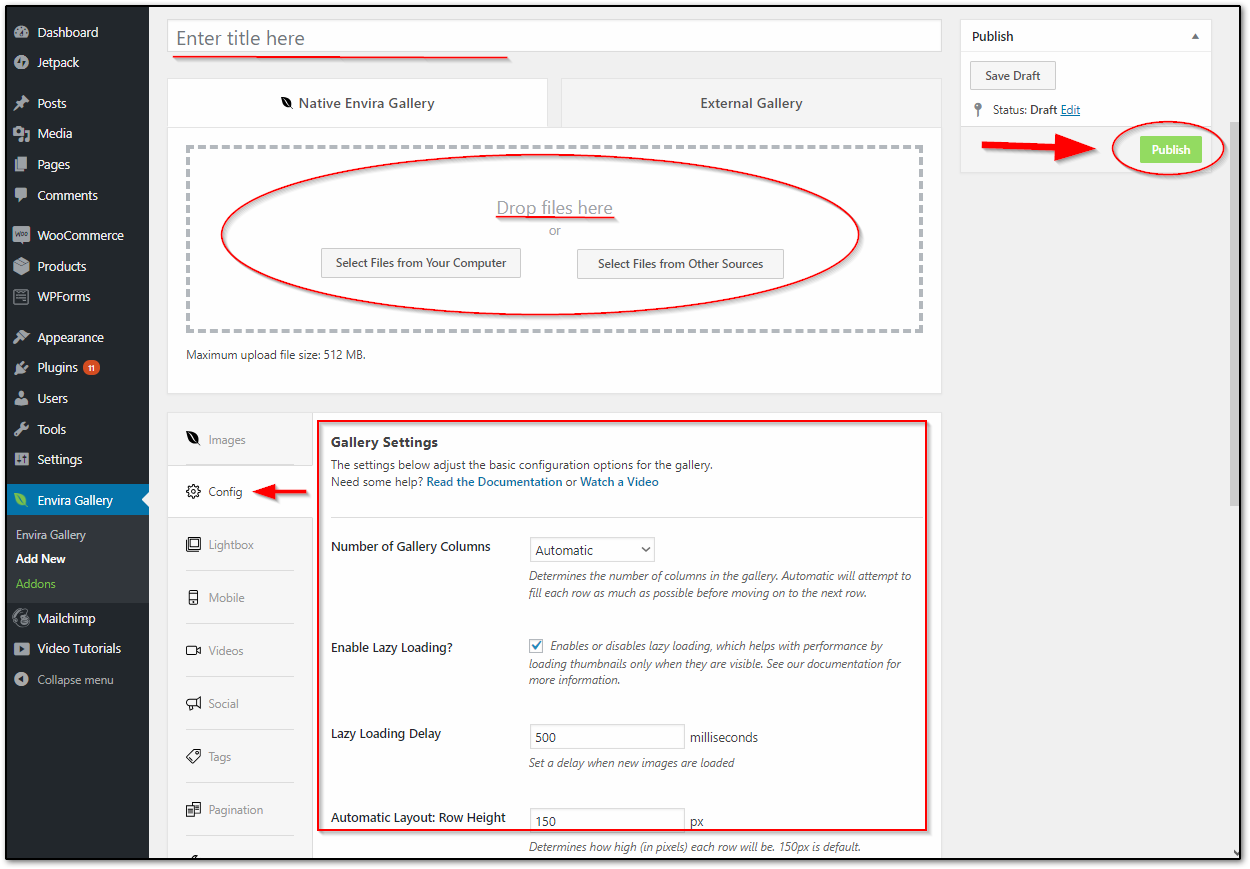
- On the next page, just enter the gallery title on the title box.
- Drag and drop the images and files you want to put on your gallery.
- You can also customize the gallery settings on the “Config” tab.
- Click “Publish” and you are done.
WordPress Portfolio Plugin
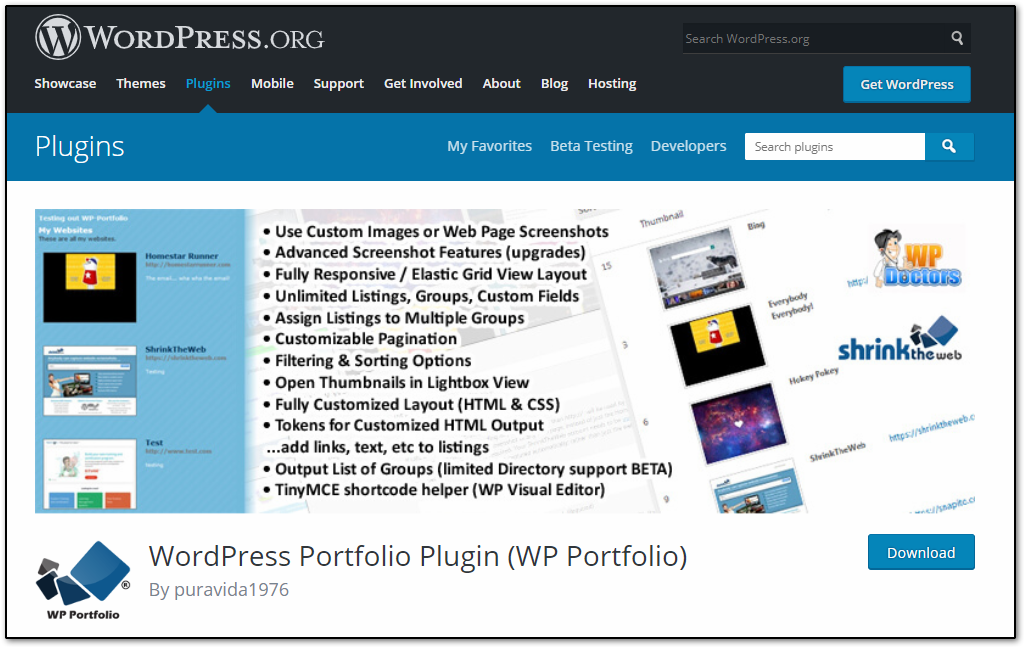
WordPress Portfolio Plugin is one of the best portfolio plugin used to show off your website portfolios through a single page.
How to install WordPress Portfolio Plugin
- Open your WP dashboard
- Navigate and go into “Plugins” tab and then Click on “Add new” button
- Search for the plugin name on the search bar
- Click “Install Now” button to install it on your site
- Click “Activate”.

How to setup the plugin with your site
- Go back to the dashboard.
- Click on ”Add New Website” under “WP Portfolio” tab on the left side menu of the dashboard
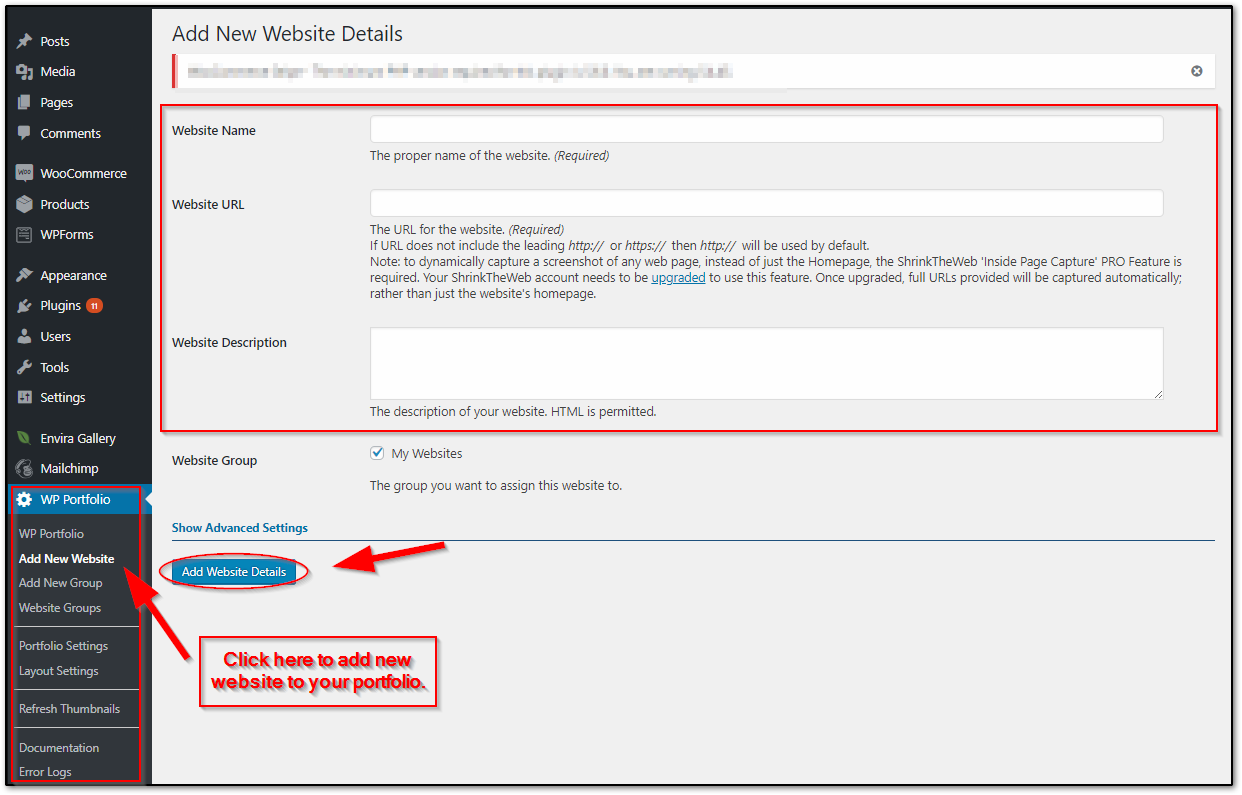
- Add all the website details that you want to put on your portfolio on the text boxes.
- Click on “Add Website Details”
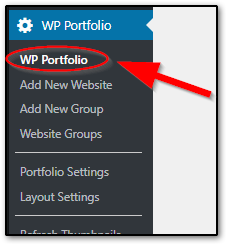
- After adding website details, Click “WP Portfolio”
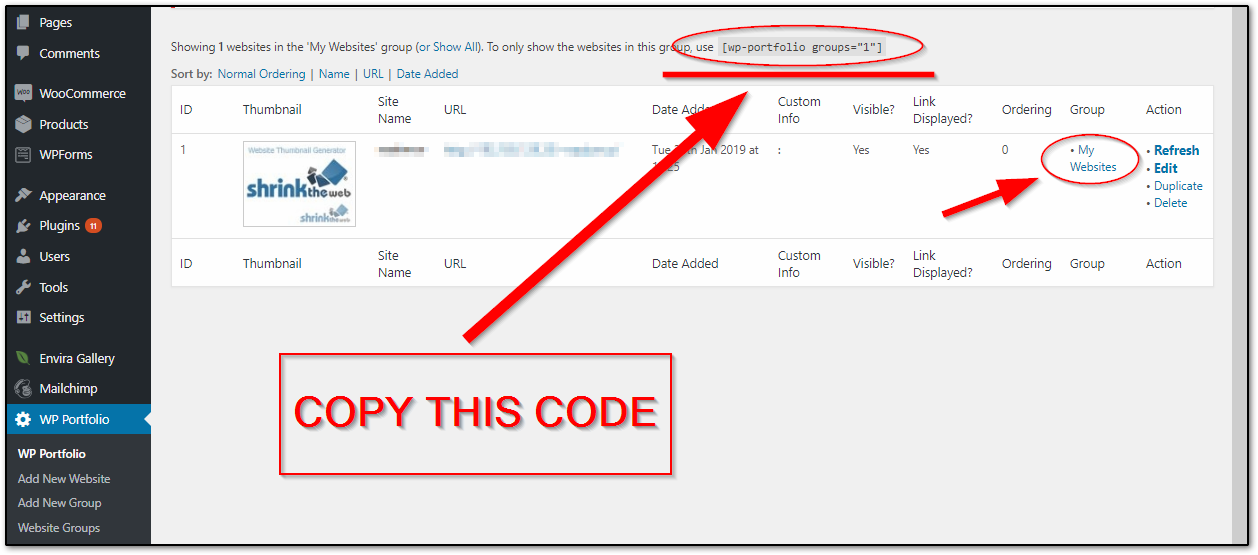
- On the next page you will see the summary of websites in your portfolio
- Click on “My Websites” under the “Group” label on the summary to view the portfolio code. (the portfolio code will show above the summary table)
- Copy the code.
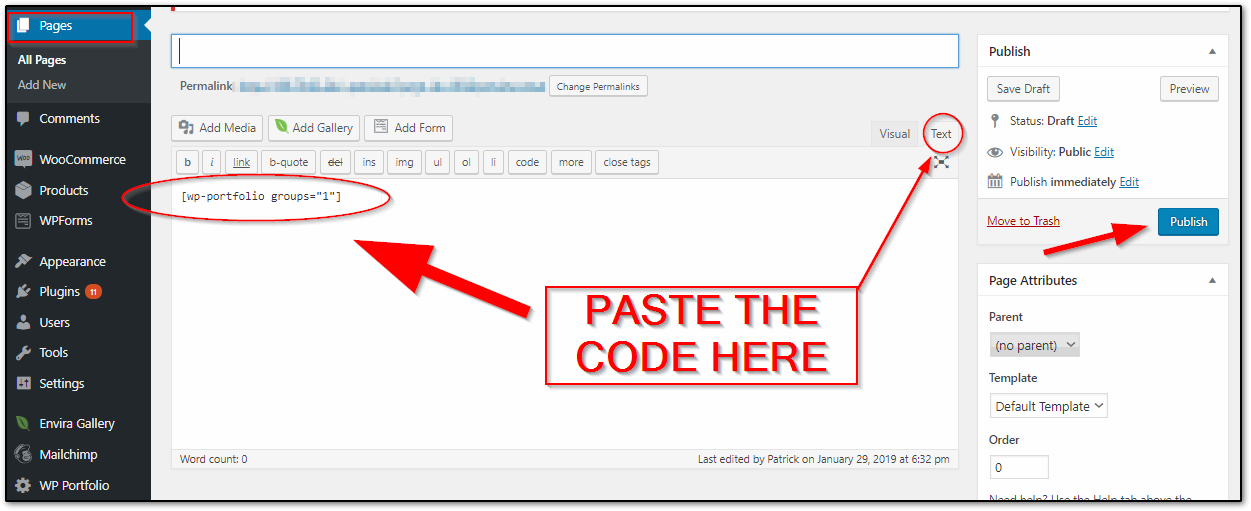
- Paste the code on “Text” tab of the page you want to put your website portfolio
- Click “Publish” and your done.
Projects by WooThemes
Projects By WooThemes is another easy to use portfolio showcase plugin for WordPress site. You can display your projects on your specified page.
How to install Projects By WooThemes
- Login into your site dashboard.
- Go to “Plugins” tab on the left side menu then click on “Add new”
- There Search for the “Projects By WooThemes” plugin on the search bar.
- Then click on the “Install Now” button and wait for the installation process to be complete.
- Click “Activate” to activate the plugin.
How to setup the plugin with your site
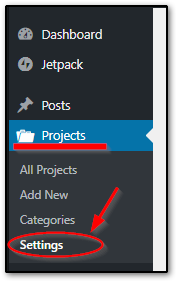
- Go back to the Dashboard and click “Projects” on the left side menu.
- Click “Settings” under “Projects” tab to select your project page.
- Select your project page using the dropdown menu and click on “Save Changes”
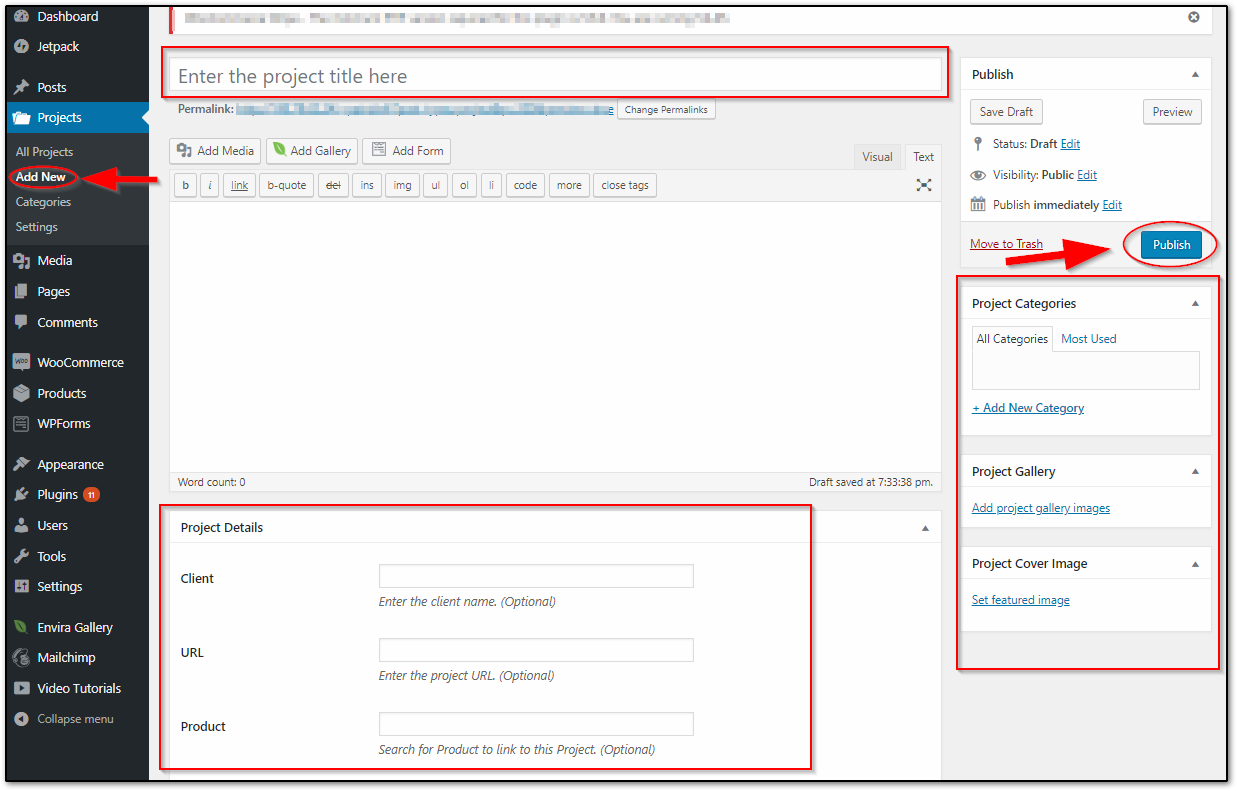
- You can start making your portfolio by clicking on “Add New”
- Enter your project title and project details and click “Publish”
NextGen Gallery
NextGEN Gallery is an easy and simple photo gallery plugin. It is powerful enough to make professional photo gallery for your site.
How to install NextGEN Gallery
- Login into your site dashboard.
- Go and look for “Plugins” on the dashboard tab then Click on “Add new”
- Search for Dave’s WordPress Live Search on the search bar
- Click on “Install Now” and wait for it to install on your site.
- Click “Activate” to activate the plugin.
How to setup the plugin with your site
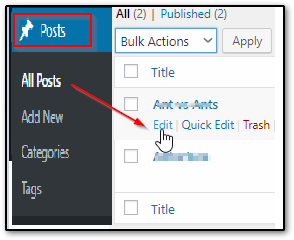
- NextGEN Gallery is very easy to use, just go to the page or post that you want to add images and click “Edit”
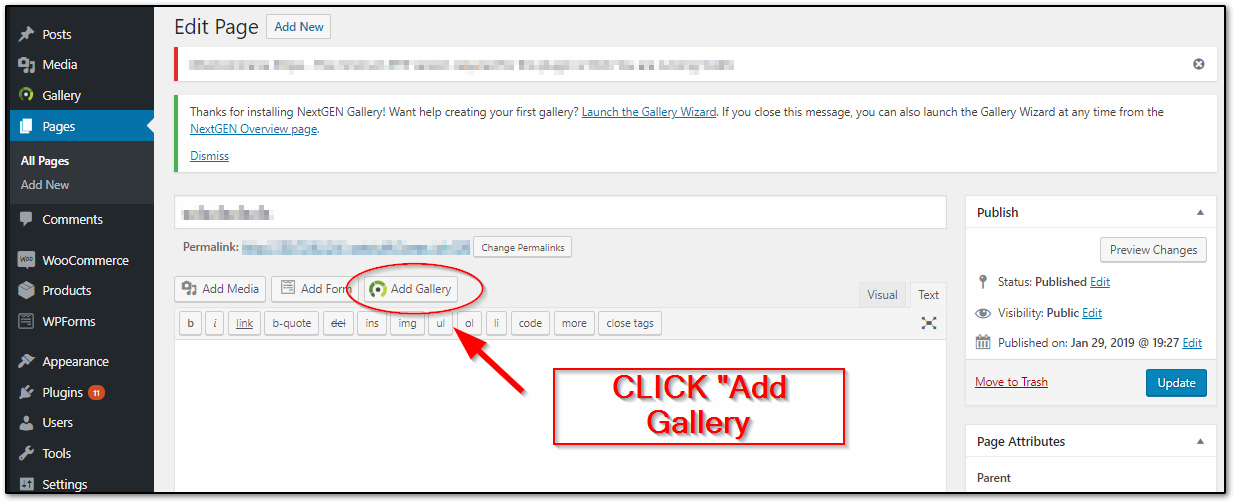
- On the edit page/post page click on “Add Gallery”
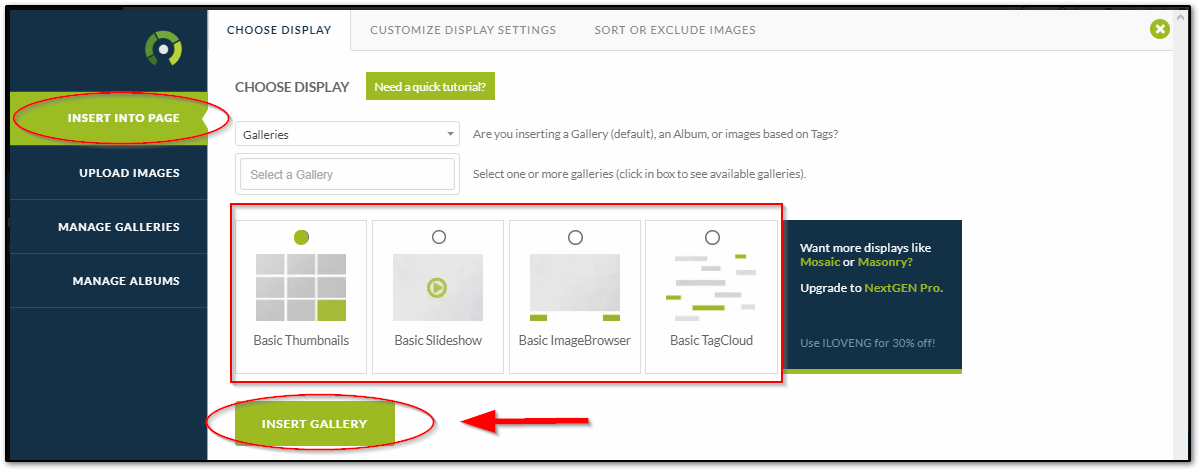
- NextGEN Gallery popup window will appear.
- Click the “Upload Image” tab on located on the popup window.
- Write your gallery title and add the images by clicking on “Add Files” or dragging the images below the gallery title.

- After uploading the images, click on “Insert Into Page” tab and select the gallery design that you want by clicking on the checkbox.
- Click “Insert Gallery” to automatically put the gallery code into your post/page
- After the code is added, click on “Update” and your done.


