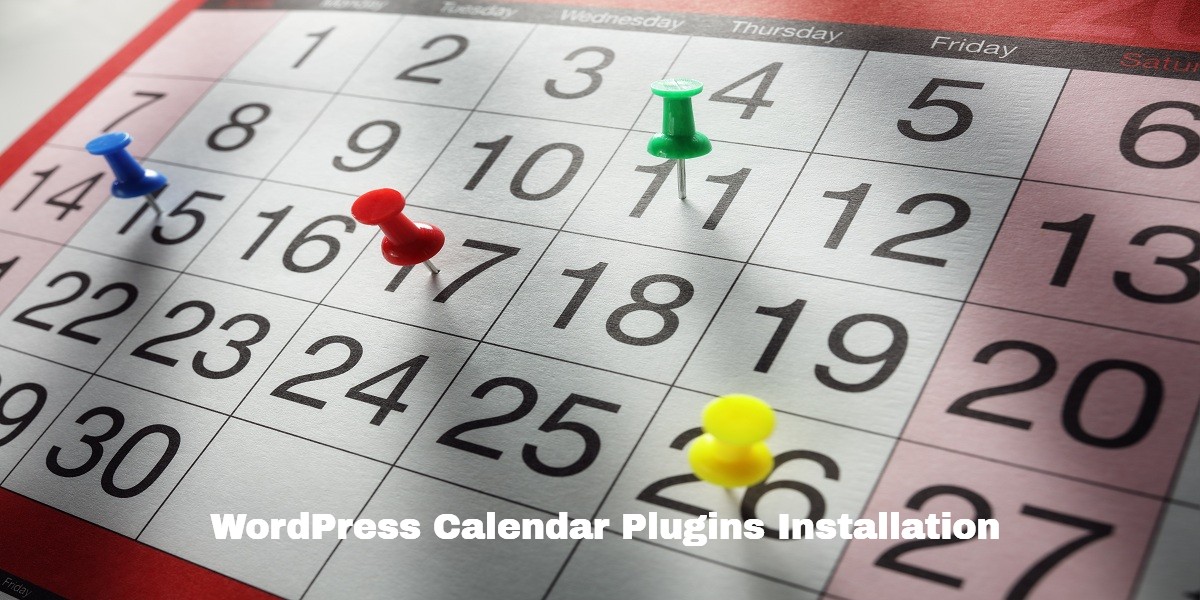
Top Free WordPress Calendar Plugins Installation with Setup
Last updated on September 5th, 2023 at 04:34 am
Events Calender

How to Install Events Calendar?
The Events Calendar plugin creates an event calendar and manage it easily. It has a lot of features like rapidly create events, saved venues & organizers, event list view, event search, completely responsive from mobile to tablet to desktop and many more.
Type Events Calendar in search bar of WordPress.org

Open the first link and download it from the website.
- Then login into your website.
- A visit to the plugin page & there, click on Add New plugin option.
- There select the upload plugin to show the plugin upload area.
- Open Choose File from local file directory.
- Select the plugin zip file to upload the plugin & install them.
- Click Install Now to install the WordPress Plugin.
- The installation screen will list the installation as successful or note any problems during the install.
- If it’s done successfully then click Activate Plugin to activate it, or Return to Plugin Installer for new installation.
How to Set Up Events Calendar?
1. Install and Activate Events Calendar Plugin.
2. At the top of your dashboard, you will see “Events” it has drop down menu “View Calendar, Add Event, Edit Event, Import, Settings, Help and Event Add-Ons.”

3. Click settings and check box depending on your set up.

Then click “ Save Changes”.

Event Organizer

How to Install Event Organiser?
Event Organiser is easy to use, flexible event and calendar for WordPress. It adds event management that integrates well in your site. It allows you to view your events in the WordPress list or in a calendar page in the admin area.
Type Events Organiser in search bar of WordPress.org

Open the first link and download it from the website.
- Then login into your website.
- A visit to the plugin page & there, click on Add New plugin option.
- There select the upload plugin to show the plugin upload area.
- Open Choose File from local file directory.
- Select the plugin zip file to upload the plugin & install them
- Click Install Now to install the WordPress Plugin.
- The installation screen will list the installation as successful or note any problems during the install.
- If it’s done successfully then click Activate Plugin to activate it, or Return to Plugin Installer for new installation.
How to Set Up Event Organiser?
1. Install and Activate Plugin.
2. Click Settings >> Event Organiser and set it up.

Then save changes.

You can also set up Permissions then “Save Changes”.

3. Click Events>> Add New Event>> Publish.

Simple Calendar

How to Install Simple Calendar?
Simple Calendar is a plugin that will help you easily add Google Calendar events to your WordPress site. It displays events from any public Google Calendar. It has features like fully responsive and mobile-friendly monthly grid and list views, customize event content display using simple tags with no coding required, advanced settings to adjust time zones, date/time formats and start of the week and many more.
Type Simple Calendar in search bar of WordPress.org

Open the first link and download it from the website.
- Then login into your website.
- A visit to the plugin page & there, click on Add New plugin option.
- There select the upload plugin to show the plugin upload area.
- Open Choose File from local file directory.
- Select the plugin zip file to upload the plugin & install them.
- Click Install Now to install the WordPress Plugin.
- The installation screen will list the installation as successful or note any problems during the install.
- If it’s done successfully then click Activate Plugin to activate it, or Return to Plugin Installer for new installation.
How to Set Up Simple Calendar?
1. Install and Activate the Plugin.
2. Go to your dashboard. It says Welcome to Simple Calendar 3.1.20. It has menus like Calendar, Settings, Add-Ons, Documentation.

3. Click Settings>> Add New Calendar.

4. Set Up settings you want then Publish.

Booking Calendar

How to Install Booking Calendar?
Booking Calendar plugin provides amazing booking system for your site. It simply show availability and receive bookings for your property. Your visitors can check availability of property like apartment, house or any service you offer and make a booking in easiest way.
Type Booking Calendar in search bar of WordPress.org.

Open the first link and download it from the website.
- Then login into your website.
- A visit to the plugin page & there, click on Add New plugin option.
- There select the upload plugin to show the plugin upload area.
- Open Choose File from local file directory.
- Select the plugin zip file to upload the plugin & install them.
- Click Install Now to install the WordPress Plugin.
- The installation screen will list the installation as successful or note any problems during the install.
- If it’s done successfully then click Activate Plugin to activate it, or Return to Plugin Installer for new installation.
How to Set Up Booking Calendar?
1. Install and Activate Plugin.
2. Go to Menu>> Booking>> Settings.

3. Change settings according to your needs then click save changes.

4. Menu>> Booking>> Add booking.

5. To check list, click “Booking Listing” and this will show.