
Top WordPress Schedule Plugins Installation for Businesses or Appointments
Last updated on September 6th, 2023 at 09:36 am
InkAppointment
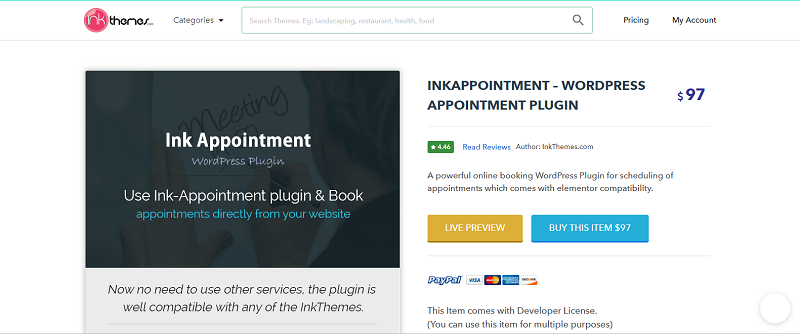
A powerful online booking WordPress plugin for scheduling of appointments which comes with elementor compatibility.
First you need to purchase these plugin and then download it.
After that go to your dashboand and hit Plugin then Add new.
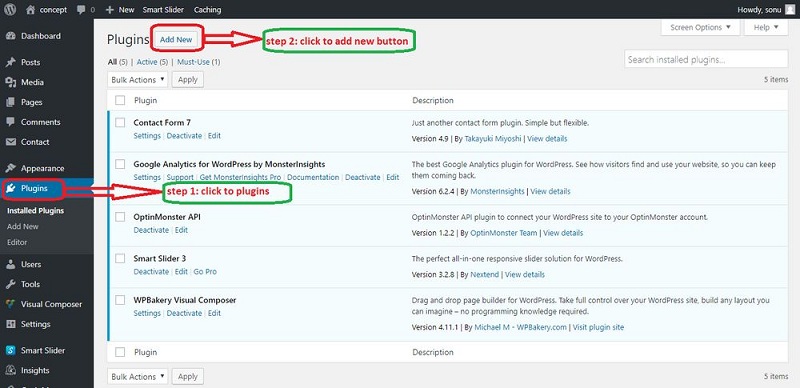
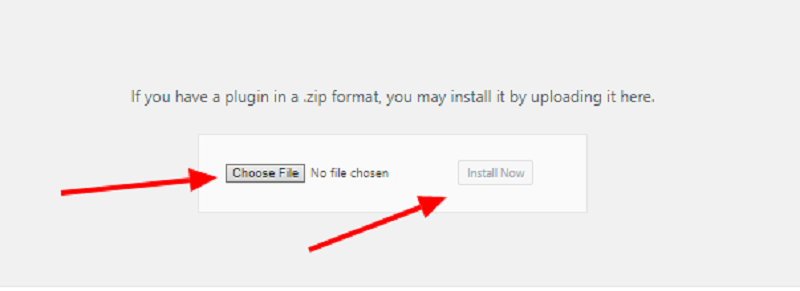
Next to add plugin you will see upload plugin. Click it.

After choosing the file click install now and Activate.
How To Set Up Ink Appointment Plugin
1. Create Services
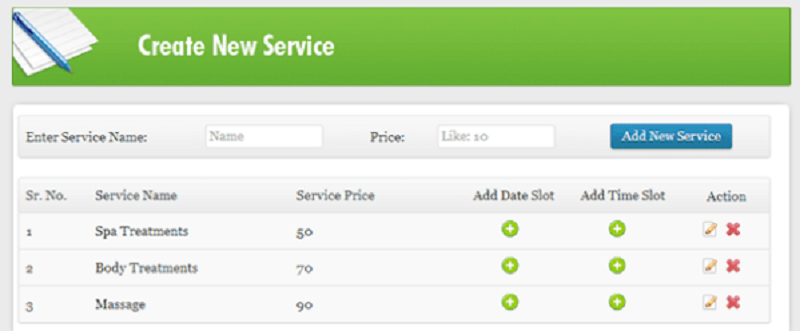
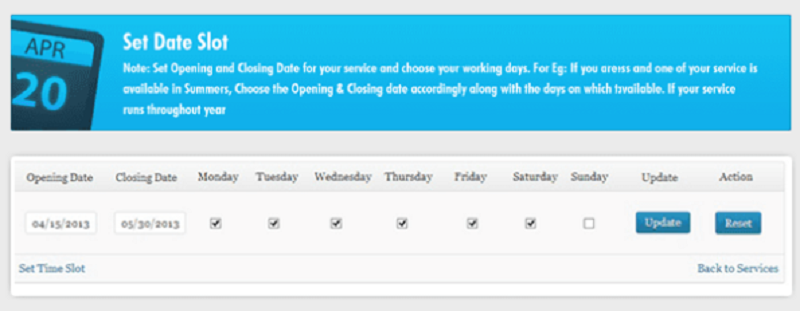
2. Specify Date & Working days for appointments.
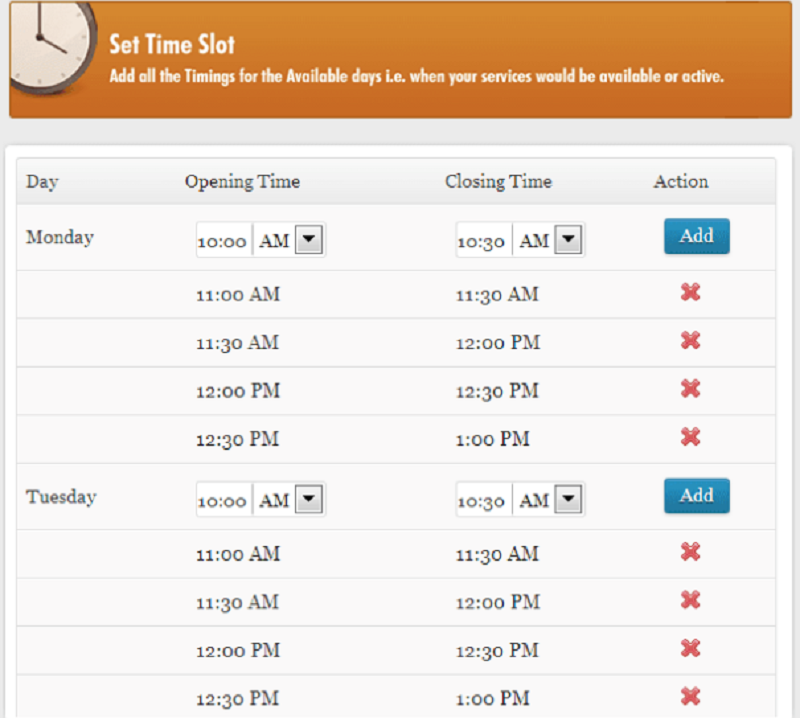
3. You can start booking by setting up the slots for appointments.
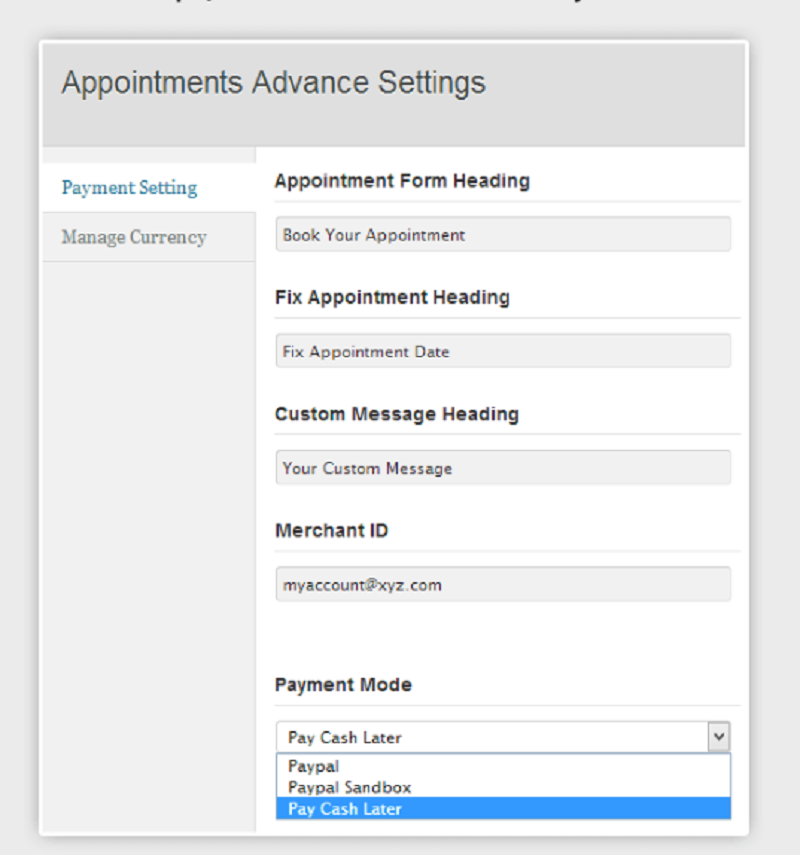
4. Use different modes of payments.
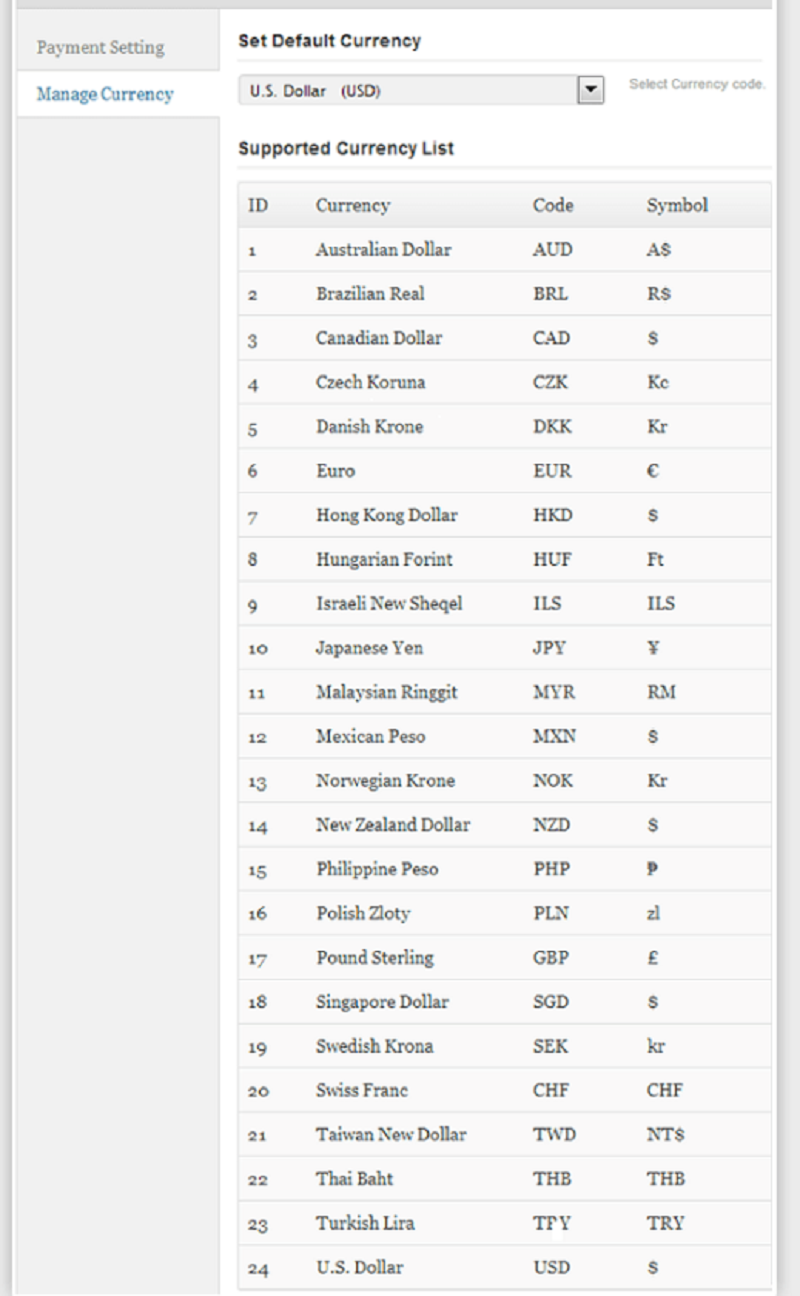
5. Various modes of currencies for accepting payments.
BirchPress
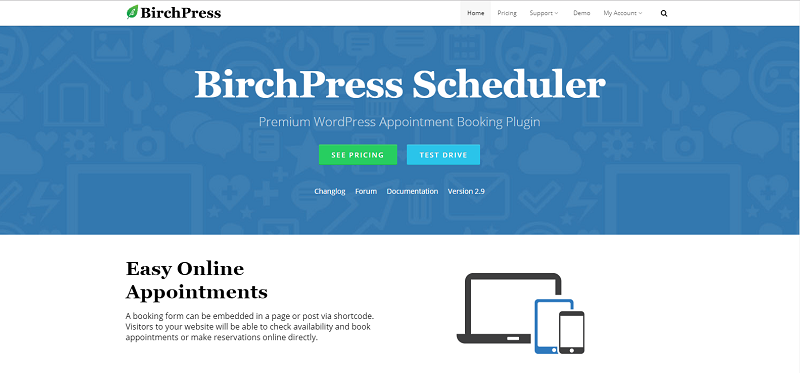
How To Install BirchPress Plugin
A booking structure can be inserted in a page or post through shortcode.
Works with the timetables you as of now have (Google, iCal, iPhone, Android, or Outlook) and imports or fares your arrangements and accessibility consequently.
Effectively design notice messages that are sent when an arrangement is reserved, rescheduled, and dropped. Send adjustable, agreeable email updates about up and coming appointments. Quickly fabricate and plan your booking structure utilizing the implicit structure editorial manager. Pick and pick diverse sorts of fields you need to meet your business needs.
Bundled with PayPal (for tolerating Mastercard and PayPal account installments). Other installment doors can be upheld through WooCommerce coordination. BirchPress Scheduler was worked in view of engineers. There are a large number of capacities, activity snares, and channels that engineers can use to make their own custom usefulness while never contacting the center code.
First, you need to purchase this plugin ( https://www.birchpress.com )
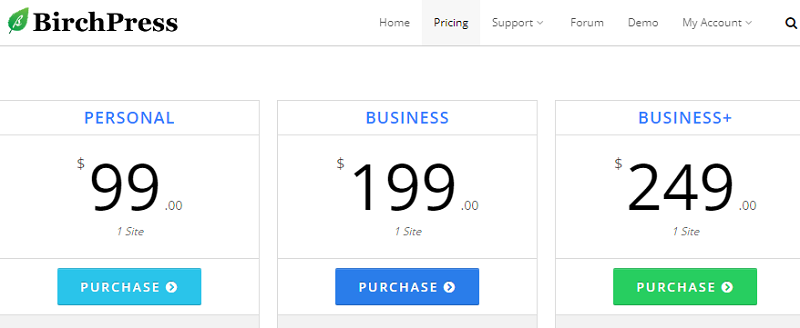
After purchasing the plugin and got the zip file go to your wordpress dashboard and click plugin and then Add new.

Next to add plugin click upload Plugin.

If done choosing the zip file you can tap Install now and then activate.

How To Set Up BirchPress Plugin
In order for you to be much familiar navigating and configuring Birchpress plugin.
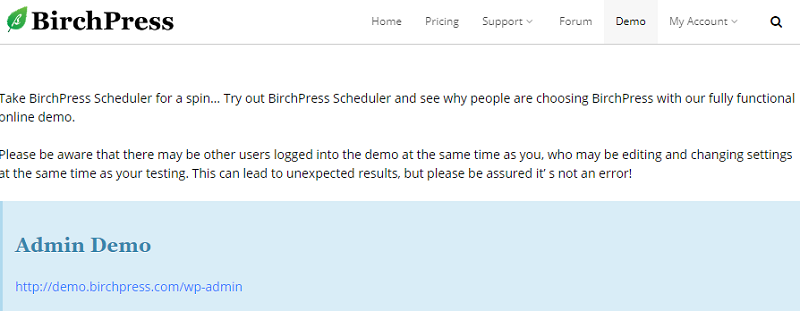
Click on the demo link below.
http://demo.birchpress.com/wp-admin
WP Booking Calendar
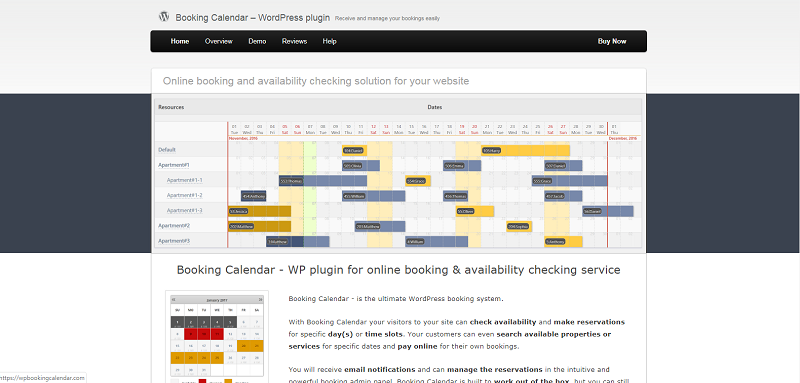
It is the ultimate WordPress booking system. With the help of Booking Calender the website visitors can check the availability and make the reservations for particular days or time. Your customers can search for availability of your properties or services for specific time & date and pay online for the own bookings.
1. Go to your WorPress dashboard.
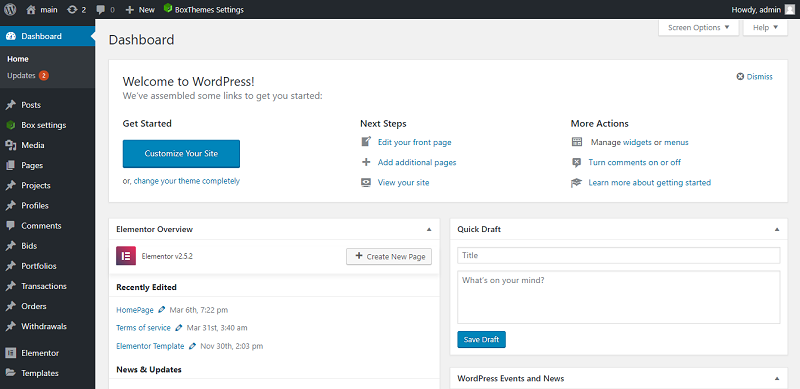
2. Select Plugin tab and Add new.

3. Navigate to the search plugin box and insert your plugin keyword.
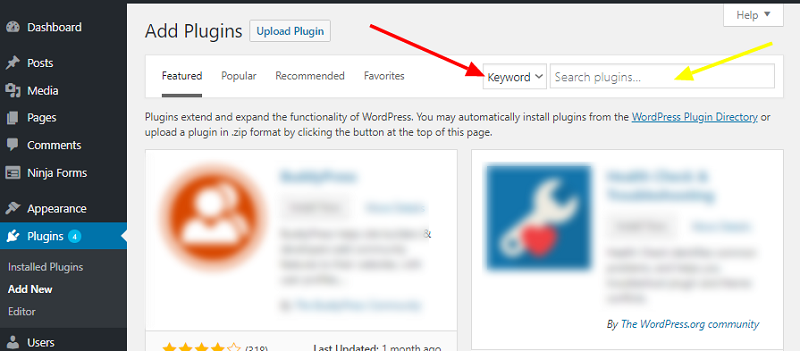
4. After the plugin appears click the install now button and tap Activate.
How To Set Up WP Booking Calendar Plugin
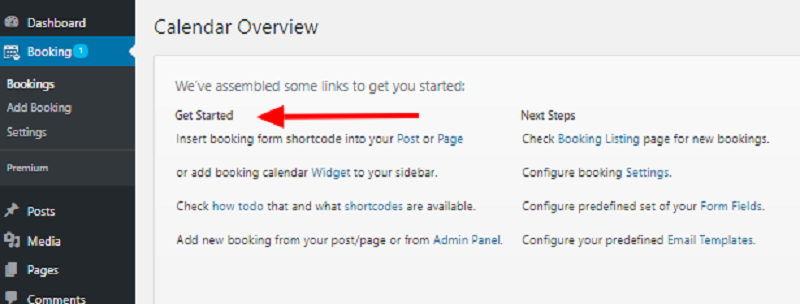
Once done with the activation process go back to your dashboard click on the booking tab and follow the instructions to GET STARTED.
Appointment Calendar
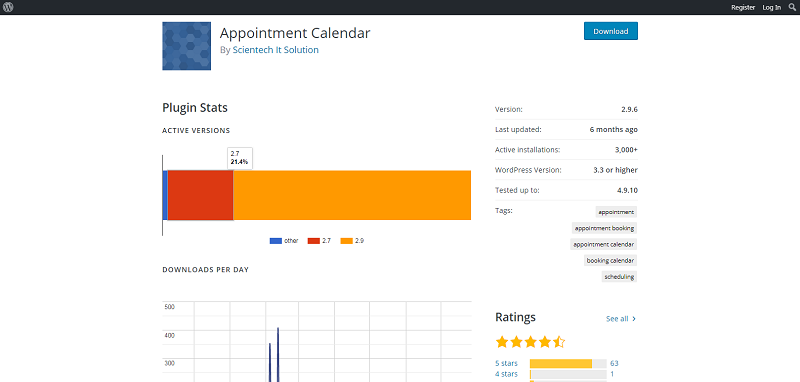
It is a simple but effective plugin which enables you to take online appointment bookings on your WordPress blog. Whatever you are a consultant/lawyer/doctor, etc., you can get benefits from the appointment calendar.
Go to your WordPress site dashboard.
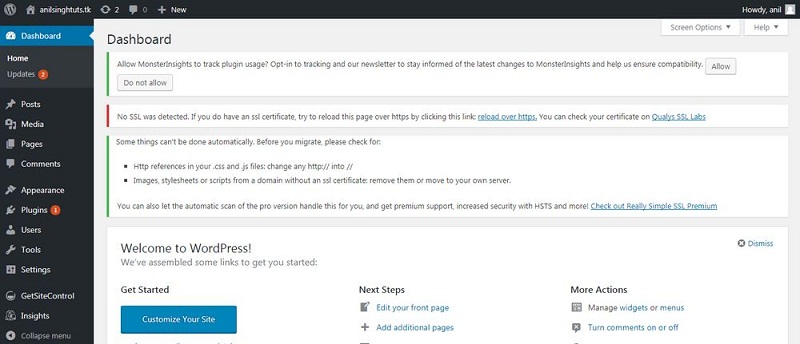
Select plugin tab and hit Add new.

Navigate to the search plugin box and insert your plugin keyword.

After the plugin appears click install now button and activate.
How To Set Up An Appointment Calendar Plugin
Once done with the activation process go back to your dashboard and then click on appointment calendar tab.
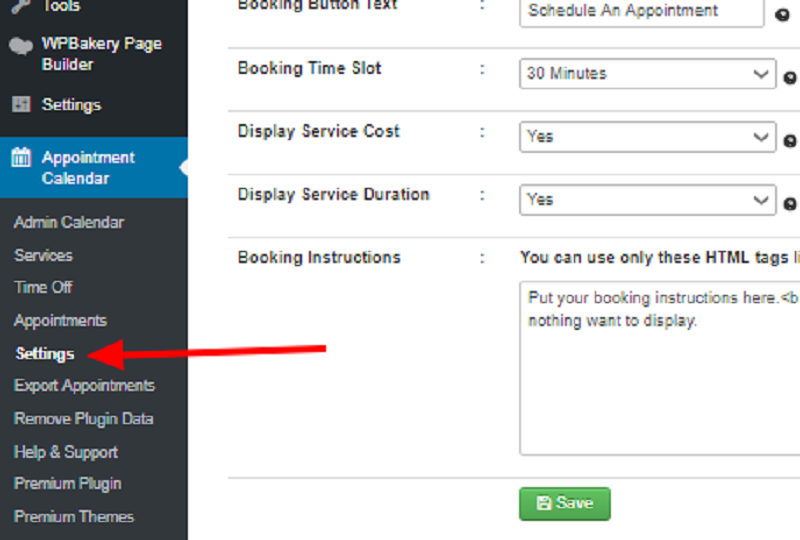
And on the settings you will have 3 choices to configure.


